系统迁移中,暂时无法访问,所有数据会迁移到新的网站。
OpenMV VSCode 扩展发布了,在插件市场直接搜索OpenMV就可以安装
如果有产品硬件故障问题,比如无法开机,论坛很难解决。可以直接找售后维修。
发帖子之前,请确认看过所有的视频教程,https://singtown.com/learn/ 和所有的上手教程http://book.openmv.cc/
每一个新的提问,单独发一个新帖子
帖子需要目的,你要做什么?
如果涉及代码,需要报错提示与全部代码文本,请注意不要贴代码图片
必看:玩转星瞳论坛了解一下图片上传,代码格式等问题。
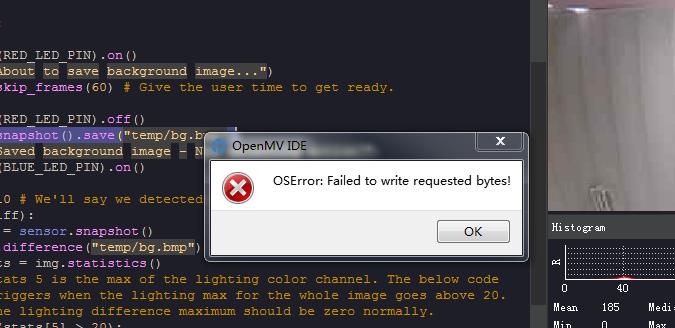
保存图像失败
-
用的mv2,插了空白的sd卡,程序就是例程中的移动检测。
帮忙看看
#
# Note: You will need an SD card to run this example.
#
# This example demonstrates using frame differencing with your OpenMV Cam to do
# motion detection. After motion is detected your OpenMV Cam will take picture.

import sensor, image, pyb, os

RED_LED_PIN = 1
BLUE_LED_PIN = 3

sensor.reset() # Initialize the camera sensor.
sensor.set_pixformat(sensor.RGB565) # or sensor.GRAYSCALE
sensor.set_framesize(sensor.QVGA) # or sensor.QQVGA (or others)
sensor.skip_frames(10) # Let new settings take affect.
sensor.set_auto_whitebal(False) # Turn off white balance.

if not "temp" in os.listdir(): os.mkdir("temp") # Make a temp directory

while(True):

    pyb.LED(RED_LED_PIN).on()
    print("About to save background image...")
    sensor.skip_frames(60) # Give the user time to get ready.

    pyb.LED(RED_LED_PIN).off()
    sensor.snapshot().save("temp/bg.bmp")
    print("Saved background image - Now detecting motion!")
    pyb.LED(BLUE_LED_PIN).on()

    diff = 10 # We'll say we detected motion after 10 frames of motion.
    while(diff):
        img = sensor.snapshot()
        img.difference("temp/bg.bmp")
        stats = img.statistics()
        # Stats 5 is the max of the lighting color channel. The below code
        # triggers when the lighting max for the whole image goes above 20.
        # The lighting difference maximum should be zero normally.
        if (stats[5] > 20):
            diff -= 1

    pyb.LED(BLUE_LED_PIN).off()
    print("Movement detected! Saving image...")
    sensor.snapshot().save("temp/snapshot-%d.jpg" % pyb.rng()) # Save Pic.
-
先把SD卡插入OpenMV ,然后把OpenMV 插入电脑,然后运行程序。
-
@kidswong999 试过试过,我一直都是这样做的,sd卡也显示出来了。
从别的盘复制到sd可以,但是不能从ide往里面保存图像,会卡死。
这个程序是先创建一个temp文件夹,这个文件夹也没创建出来。
图里的那个文件夹是我手动创建的。
-
SD卡格式化成FAT32格式?
-
@kidswong999 在我的电脑里已经有了sd卡,但是程序写的时候还是写到内置存储了。它怎么不会写到sd卡里???
-
有尝试过重新烧录固件?最新的。
-
@kidswong999 固件升级到3.0.0了,还是写不到sd卡里。sd卡里还是空的
-
@kidswong999 还是写到内部存储了
-
你可以把OpenMV 和内存卡寄回给卖家检查维修。
-
@kidswong999
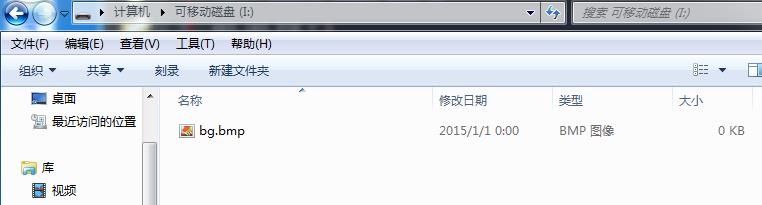
保存到内部存储就可以,保存到sd卡就卡死,等一会sd卡才能再显示出来 。保存的图像就是己损坏的了
-
@yznx 保存到文件系统,都需要重启,才能在电脑的U盘里看到,因为U盘不能主动更新数据。
-
@yznx 保存图像你调好了没?
还有就是,保存的图片能打开看吗?我的显示打开错误