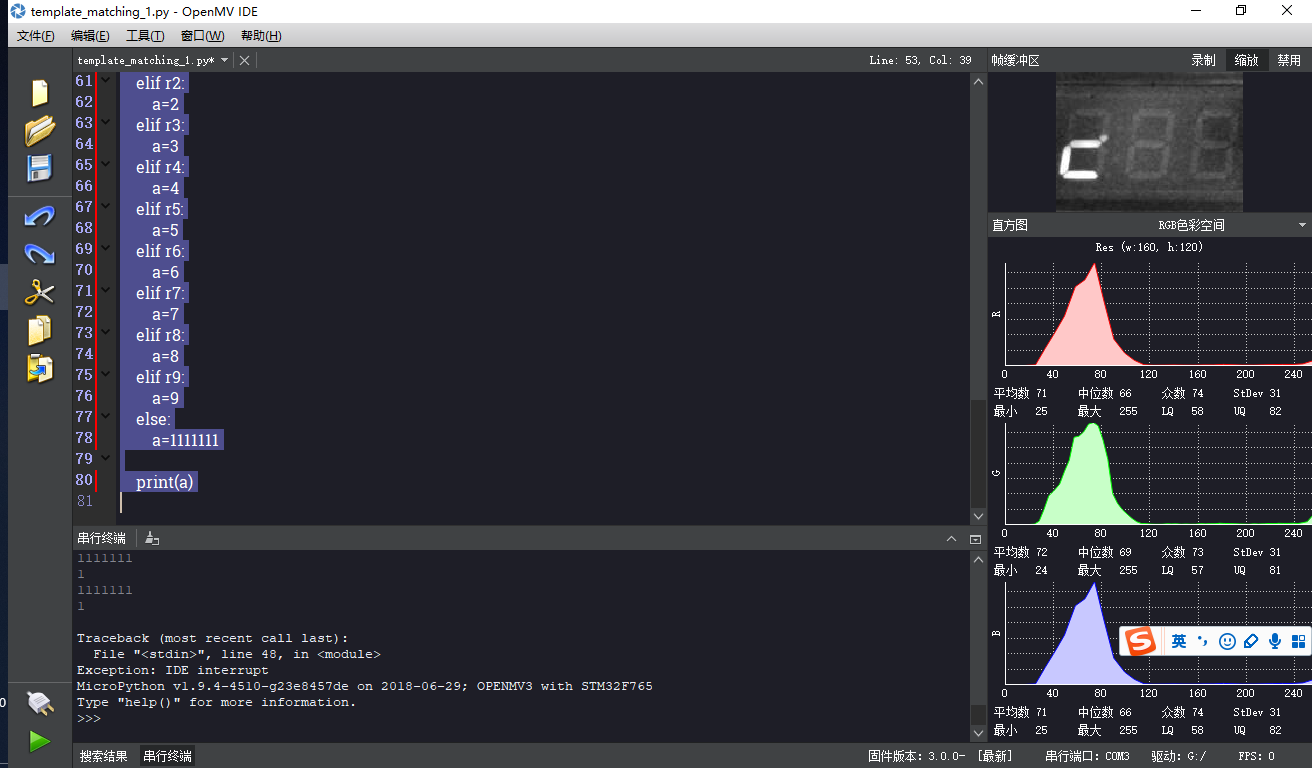
openmv3.0.0可以改变帧率么,。。遇到的问题是,识别数码管数字,数码管有频闪,导致识别结果错误。
-
# Template Matching Example - Normalized Cross Correlation (NCC) # # This example shows off how to use the NCC feature of your OpenMV Cam to match # image patches to parts of an image... expect for extremely controlled enviorments # NCC is not all to useful. # # WARNING: NCC supports needs to be reworked! As of right now this feature needs # a lot of work to be made into somethin useful. This script will reamin to show # that the functionality exists, but, in its current state is inadequate. import time, sensor, image from image import SEARCH_EX, SEARCH_DS # Reset sensor sensor.reset() # Set sensor settings sensor.set_contrast(1) sensor.set_gainceiling(16) # Max resolution for template matching with SEARCH_EX is QQVGA sensor.set_framesize(sensor.QQVGA) # You can set windowing to reduce the search image. #sensor.set_windowing(((640-80)//2, (480-60)//2, 80, 60)) sensor.set_pixformat(sensor.GRAYSCALE) # Load template. # Template should be a small (eg. 32x32 pixels) grayscale image. template0 = image.Image("/0.pgm") template1 = image.Image("/1.pgm") template2 = image.Image("/2.pgm") template3 = image.Image("/3.pgm") template4 = image.Image("/4.pgm") template5 = image.Image("/5.pgm") template6 = image.Image("/6.pgm") template7 = image.Image("/7.pgm") template8 = image.Image("/8.pgm") template9 = image.Image("/9.pgm") clock = time.clock() # Run template matching while (True): clock.tick() img = sensor.snapshot() r0 = img.find_template(template0, 0.7, roi=(50,20,60,80), step=4, search=SEARCH_EX) r1 = img.find_template(template1, 0.7, roi=(50,10,70,100), step=4, search=SEARCH_EX) r2 = img.find_template(template2, 0.7, roi=(50,10,70,100), step=4, search=SEARCH_EX) r3 = img.find_template(template3, 0.7, roi=(50,20,60,80), step=4, search=SEARCH_EX) r4 = img.find_template(template4, 0.7, roi=(50,10,70,100), step=4, search=SEARCH_EX) r5 = img.find_template(template5, 0.7, roi=(50,20,60,80), step=4, search=SEARCH_EX) r6 = img.find_template(template6, 0.7, roi=(50,20,60,80), step=4, search=SEARCH_EX) r7 = img.find_template(template7, 0.7, roi=(50,10,70,100), step=4, search=SEARCH_EX) r8 = img.find_template(template8, 0.7, roi=(50,10,70,100), step=4, search=SEARCH_EX) r9 = img.find_template(template9, 0.7, roi=(50,10,70,100), step=4, search=SEARCH_EX) #img.draw_rectangle(ROI) if r0: a=0 elif r1: a=1 elif r2: a=2 elif r3: a=3 elif r4: a=4 elif r5: a=5 elif r6: a=6 elif r7: a=7 elif r8: a=8 elif r9: a=9 else: a=1111111 print(a) 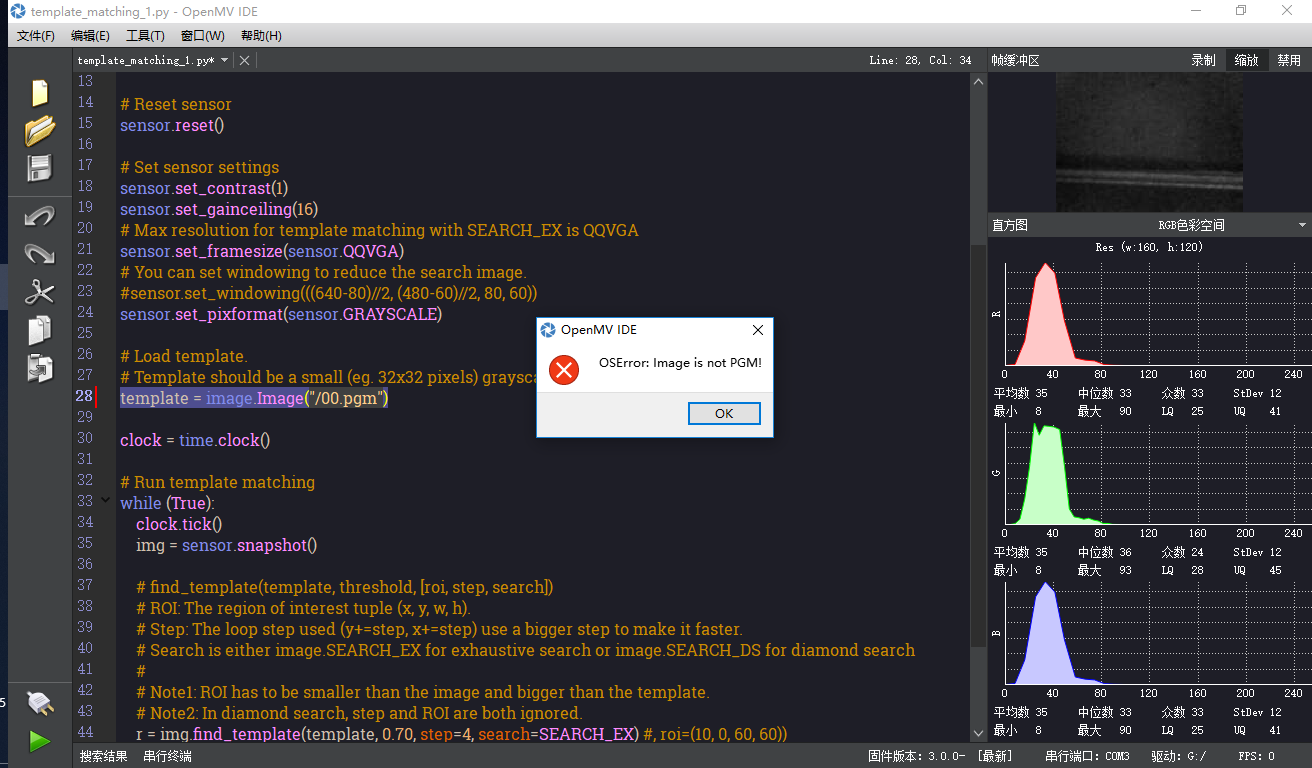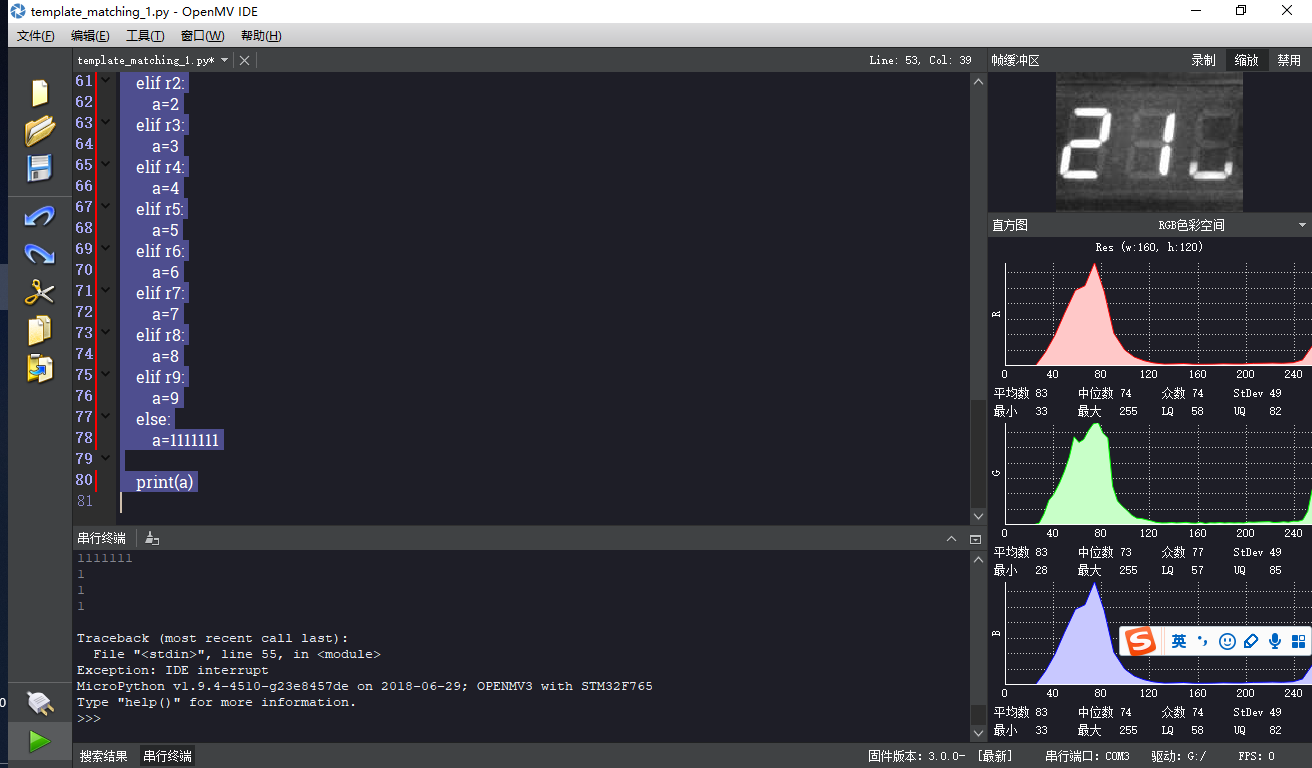

-
这不是OpenMV 帧率的问题。
OpenMV 的快门时间是远远小于你的数码管”轮循LED”的。(摄像头都这样的,如果快门时间能等数码管,那果冻效果太严重了)
尽量从数码管上想办法。不要用片选-轮循的方法显示多位数码管。多用几个io,独立控制每个数码管。
-
你好,如果数码管的频率改不了,针对openmv有什么方法或者思路吗?
-
改OpenMV的曝光时间。