特征点检测例程这个报错怎么解决?(纯小白,请大佬指点)
-
# This work is licensed under the MIT license. # Copyright (c) 2013-2023 OpenMV LLC. All rights reserved. # https://github.com/openmv/openmv/blob/master/LICENSE # # Object tracking with keypoints example. # Show the camera an object and then run the script. A set of keypoints will be extracted # once and then tracked in the following frames. If you want a new set of keypoints re-run # the script. NOTE: see the docs for arguments to tune find_keypoints and match_keypoints. import sensor import time import image # Reset sensor sensor.reset() # Sensor settings sensor.set_contrast(3) sensor.set_gainceiling(16) sensor.set_framesize(sensor.VGA) sensor.set_windowing((320, 240)) sensor.set_pixformat(sensor.GRAYSCALE) sensor.skip_frames(time=2000) sensor.set_auto_gain(False, value=100)#报错在这,后面这个参数删去之后就可以使用但是和视频教程不一样 def draw_keypoints(img, kpts): if kpts: print(kpts) img.draw_keypoints(kpts) img = sensor.snapshot() time.sleep_ms(1000) kpts1 = None # NOTE: uncomment to load a keypoints descriptor from file # kpts1 = image.load_descriptor("/desc.orb") # img = sensor.snapshot() # draw_keypoints(img, kpts1) clock = time.clock() while True: clock.tick() img = sensor.snapshot() if kpts1 is None: # NOTE: By default find_keypoints returns multi-scale keypoints extracted from an image pyramid. kpts1 = img.find_keypoints(max_keypoints=150, threshold=10, scale_factor=1.2) draw_keypoints(img, kpts1) else: # NOTE: When extracting keypoints to match the first descriptor, we use normalized=True to extract # keypoints from the first scale only, which will match one of the scales in the first descriptor. kpts2 = img.find_keypoints(max_keypoints=150, threshold=10, normalized=True) if kpts2: match = image.match_descriptor(kpts1, kpts2, threshold=85) if match.count() > 10: # If we have at least n "good matches" # Draw bounding rectangle and cross. img.draw_rectangle(match.rect()) img.draw_cross(match.cx(), match.cy(), size=10) print(kpts2, "matched:%d dt:%d" % (match.count(), match.theta())) # NOTE: uncomment if you want to draw the keypoints # img.draw_keypoints(kpts2, size=KEYPOINTS_SIZE, matched=True) # Draw FPS img.draw_string(0, 0, "FPS:%.2f" % (clock.fps()))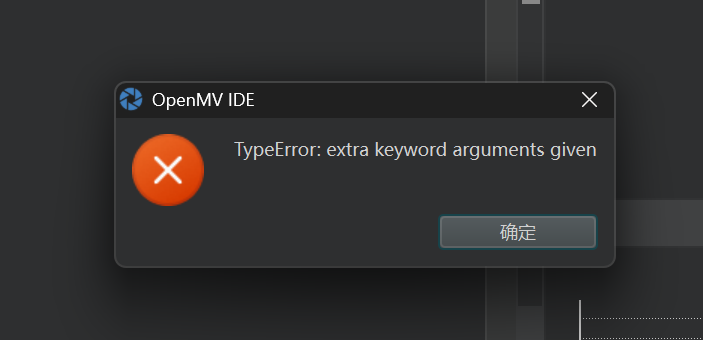
-
sensor.set_auto_gain(False, value=100)改为sensor.set_auto_gain(False, gain_db=100)