我想先识别白纸,然后在白纸上识别圆形,应该怎样改动这个代码呢?
-
# Single Color RGB565 Blob Tracking Example
#
# This example shows off single color RGB565 tracking using the OpenMV Cam.

import sensor, image, time, math, lcd

threshold_index = 0 # 0 for red, 1 for green, 2 for blue

# Color Tracking Thresholds (L Min, L Max, A Min, A Max, B Min, B Max)
# The below thresholds track in general red/green/blue things. You may wish to tune them...
thresholds = [(67, 100, -128, 37, -128, 69)] # generic_blue_thresholds
blob=[0,0,16000,16000]
sensor.reset()
sensor.set_pixformat(sensor.RGB565)
sensor.set_framesize(sensor.QVGA)
sensor.skip_frames(time = 2000)
sensor.set_auto_gain(False) # must be turned off for color tracking
sensor.set_auto_whitebal(False) # must be turned off for color tracking
clock = time.clock()
lcd.init()
# Only blobs that with more pixels than "pixel_threshold" and more area than "area_threshold" are
# returned by "find_blobs" below. Change "pixels_threshold" and "area_threshold" if you change the
# camera resolution. "merge=True" merges all overlapping blobs in the image.

while(True):
    clock.tick()
    img = sensor.snapshot()
    for blob in img.find_blobs([thresholds[threshold_index]],pixels_threshold=200, area_threshold=19000, merge=True):
        # These values depend on the blob not being circular - otherwise they will be shaky.
        if blob.elongation() > 0.5:
            img.draw_edges(blob.min_corners(), color=(255,0,0))
            img.draw_line(blob.major_axis_line(), color=(0,255,0))
            img.draw_line(blob.minor_axis_line(), color=(0,0,255))
        # These values are stable all the time.
        for c in img.find_circles(threshold=3500,  left_roi = [blob[0],blob[1],blob[2],blob[3]], x_margin=10, y_margin=10, r_margin=10, r_min=2, r_max=100, r_step=2):
            img.draw_circle(c.x(), c.y(), c.r(), color=(255, 0, 0))
            img.draw_rectangle(blob.rect())
            img.draw_cross(blob.cx(), blob.cy())
        # Note - the blob rotation is unique to 0-180 only.
            img.draw_keypoints([(blob.cx(), blob.cy(), int(math.degrees(blob.rotation())))], size=20)

            img.draw_string(0,0,'x='+str(blob.cx()), color=(255,0,0))
            img.draw_string(0,10,'y='+str(blob.cy()), color=(255,0,0))
            img.draw_string(0,20,'h='+str(blob.h()), color=(255,0,0))
            img.draw_string(0,30,'w='+str(blob.w()), color=(255,0,0))
            lcd.display(img) # Take a picture and display the image.
    print(clock.fps())
-
有没有实际图片?
-
@kidswong999
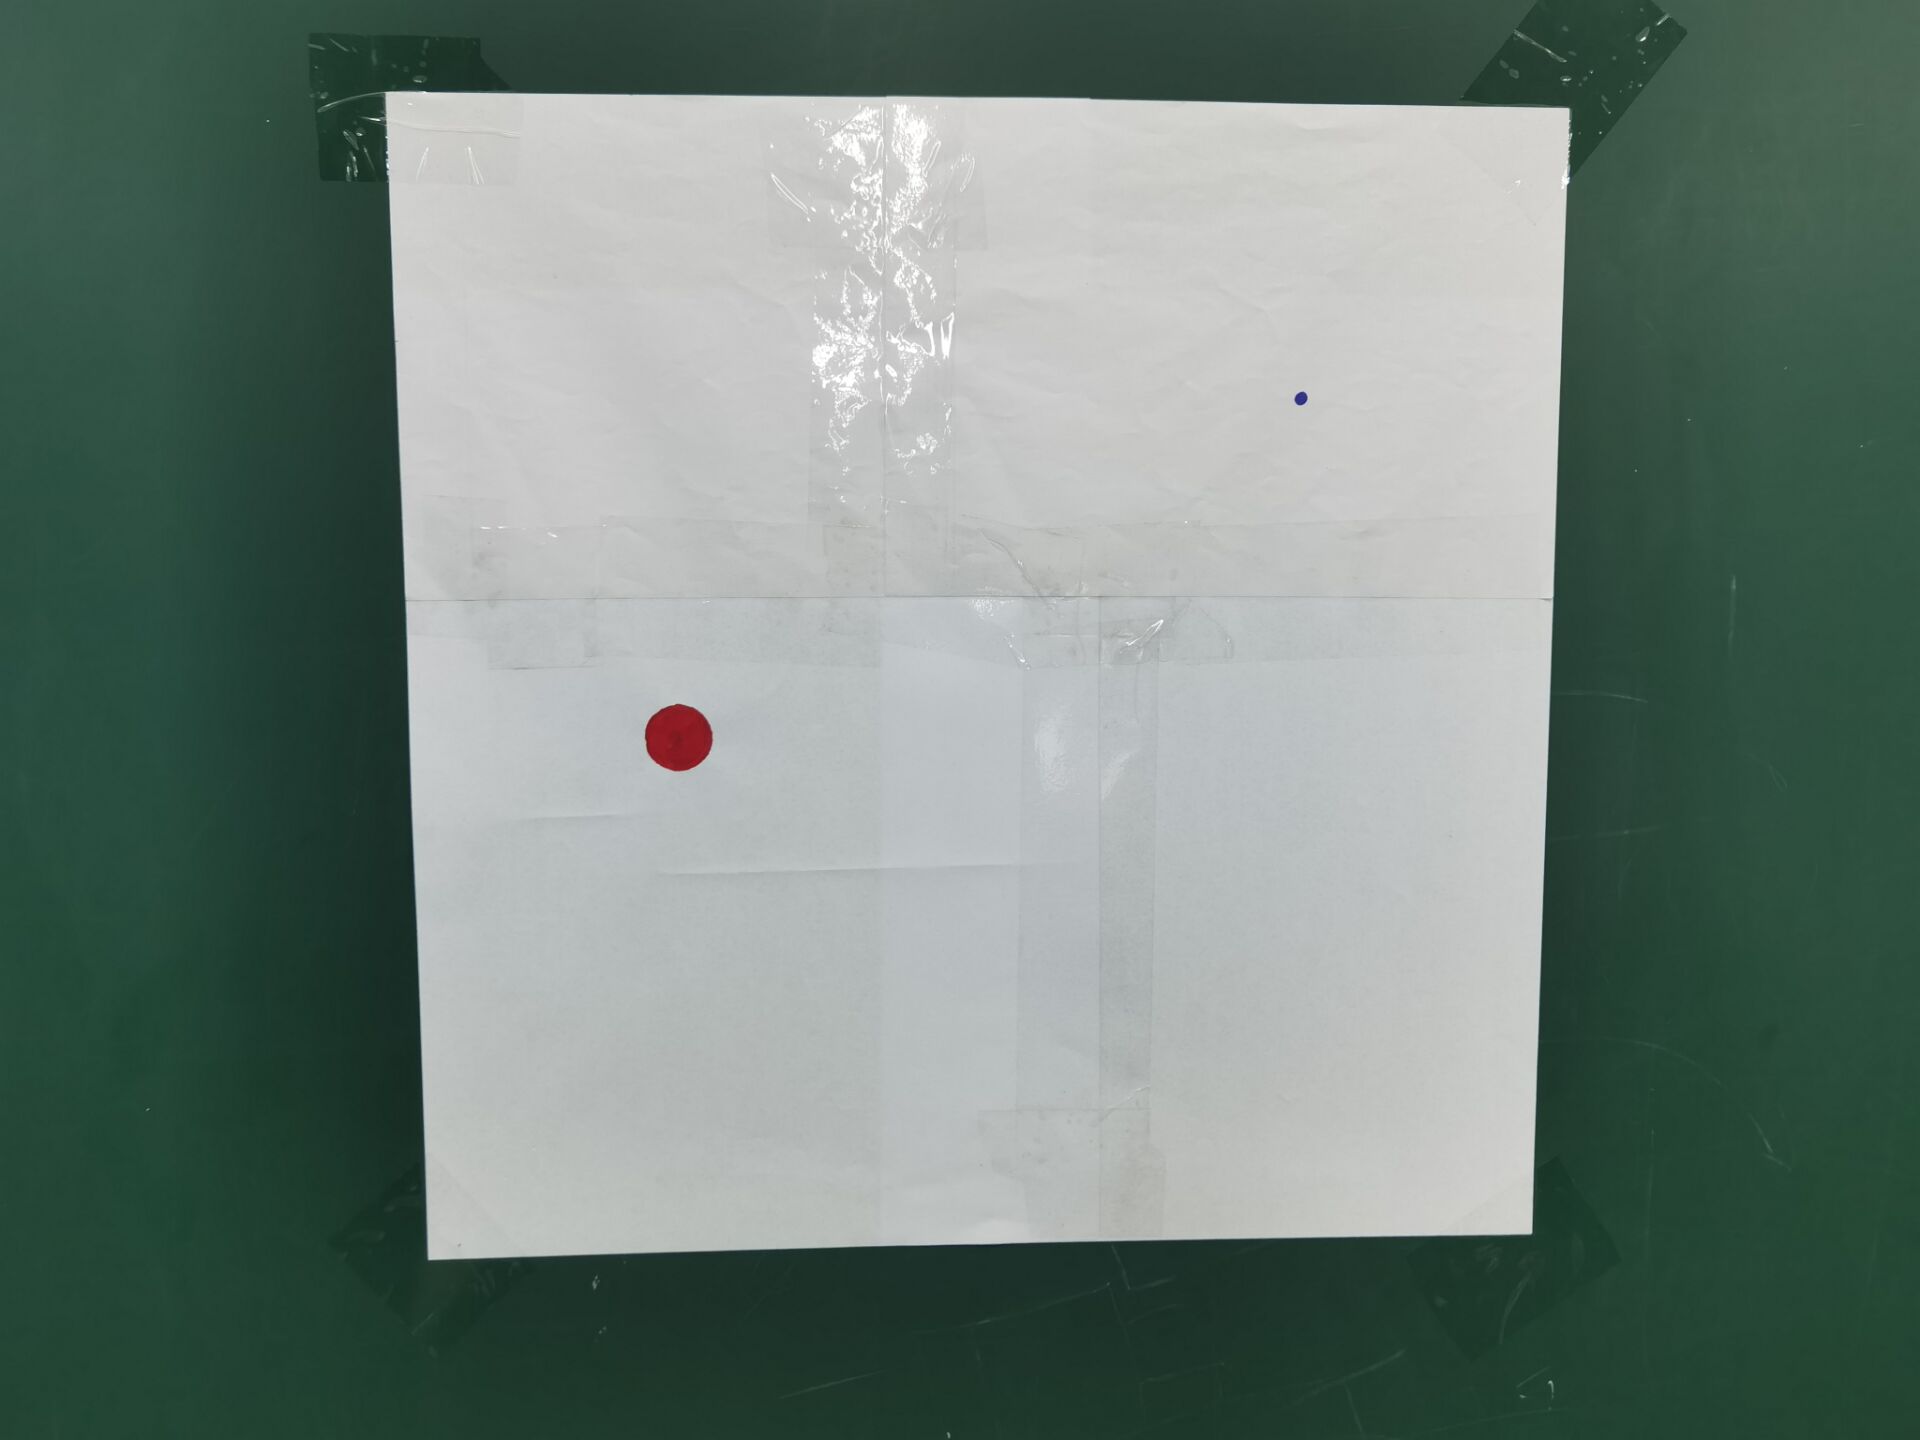 大概是这样的
-
你这个就直接找红色的色块就行了。