# This work is licensed under the MIT license.
# Copyright (c) 2013-2023 OpenMV LLC. All rights reserved.
# https://github.com/openmv/openmv/blob/master/LICENSE
#
# Face Eye Detection Example
#
# This script uses the built-in frontalface detector to find a face and then
# the eyes within the face. If you want to determine the eye gaze please see the
# iris_detection script for an example on how to do that.
import sensor
import time
import image
# Reset sensor
sensor.reset()
# Sensor settings
sensor.set_contrast(1)
sensor.set_gainceiling(16)
sensor.set_framesize(sensor.HQVGA)
sensor.set_pixformat(sensor.GRAYSCALE)
# Load Haar Cascade
# By default this will use all stages, lower satges is faster but less accurate.
face_cascade = image.HaarCascade("frontalface", stages=25)
eyes_cascade = image.HaarCascade("eye", stages=24)
print(face_cascade, eyes_cascade)
# FPS clock
clock = time.clock()
while True:
clock.tick()
# Capture snapshot
img = sensor.snapshot()
# Find a face !
# Note: Lower scale factor scales-down the image more and detects smaller objects.
# Higher threshold results in a higher detection rate, with more false positives.
objects = img.find_features(face_cascade, threshold=0.5, scale_factor=1.5)
# Draw faces
for face in objects:
img.draw_rectangle(face)
# Now find eyes within each face.
# Note: Use a higher threshold here (more detections) and lower scale (to find small objects)
eyes = img.find_features(
eyes_cascade, threshold=0.5, scale_factor=1.2, roi=face
)
for e in eyes:
img.draw_rectangle(e)
# Print FPS.
# Note: Actual FPS is higher, streaming the FB makes it slower.
print(clock.fps())
W
wep1
@wep1
0
声望
6
楼层
598
资料浏览
0
粉丝
0
关注
wep1 发布的帖子
-
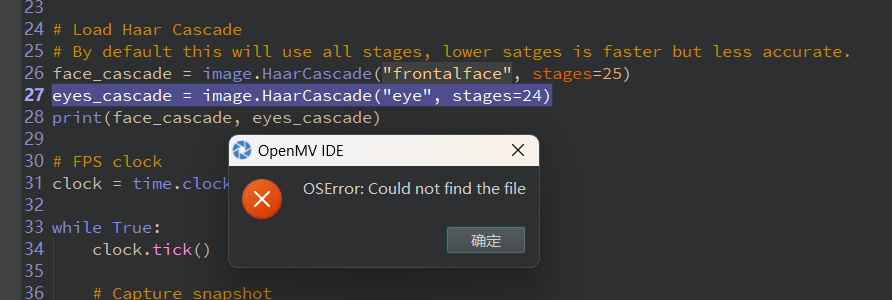
人眼识别示例代码报错 OSError: Could not find the file 如何解决?
-
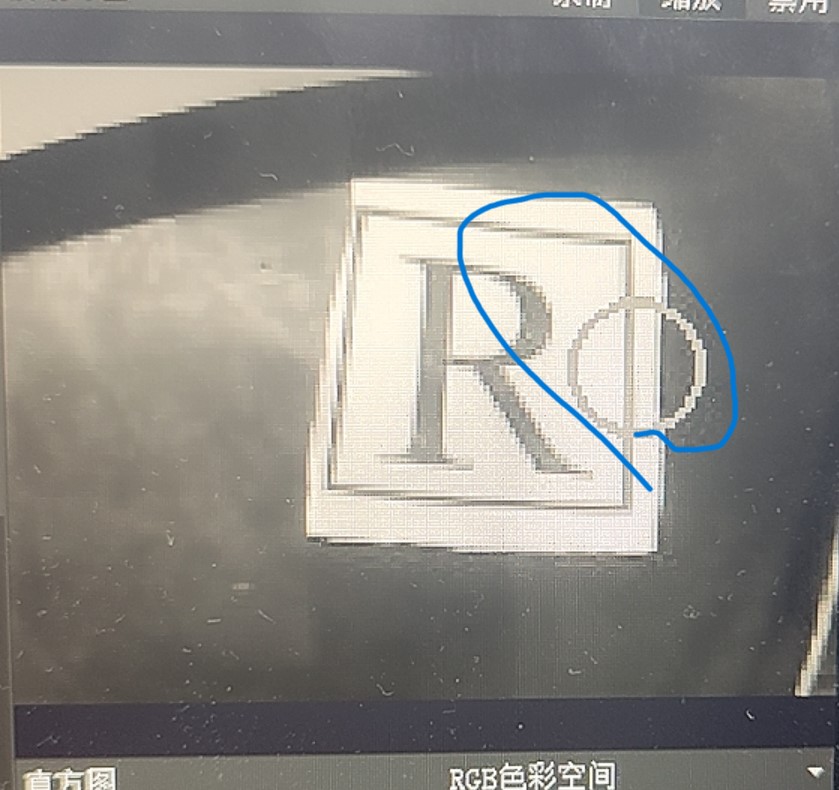
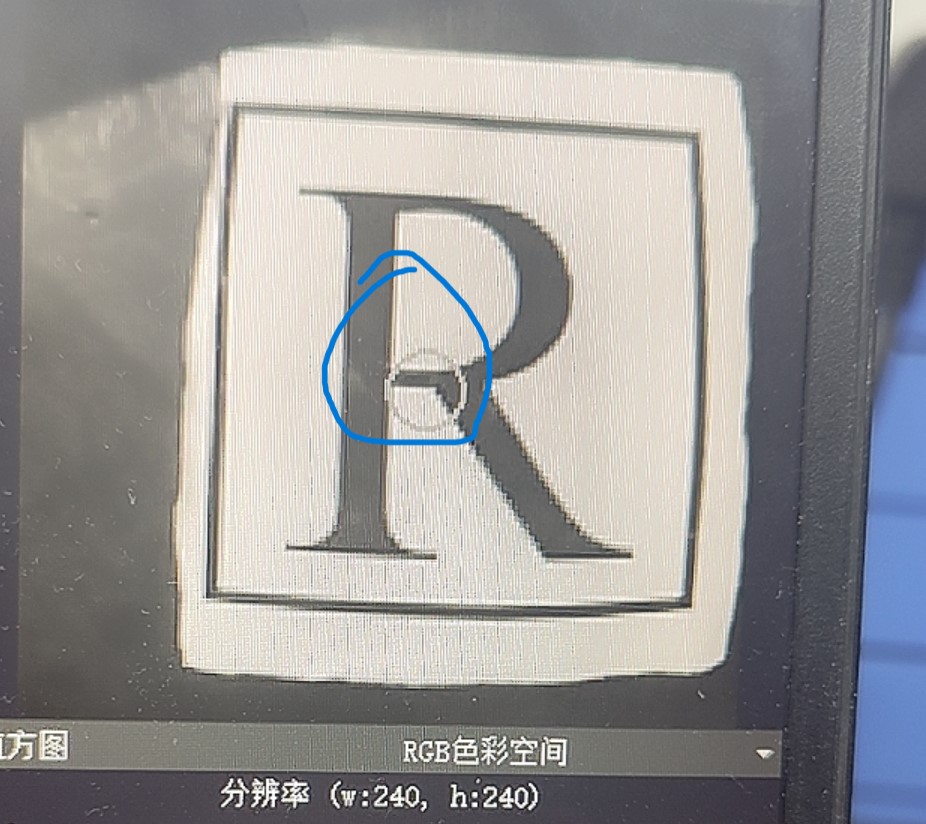
为什么目标检测中,我将训练好的模型进行识别,在摄像头分辨率为QVGA时位置显示正确,而设置为QQVGA时会出现偏差?
# Edge Impulse - OpenMV Object Detection Example import sensor, image, time, os, tf, math, uos, gc sensor.reset() # Reset and initialize the sensor. sensor.set_pixformat(sensor.GRAYSCALE) # Set pixel format to RGB565 (or GRAYSCALE) sensor.set_framesize(sensor.QQVGA) # Set frame size to QVGA (320x240) sensor.set_windowing((240, 240)) # Set 240x240 window. sensor.skip_frames(time=2000) # Let the camera adjust. net = None labels = None min_confidence = 0.5 try: # load the model, alloc the model file on the heap if we have at least 64K free after loading net = tf.load("trained.tflite", load_to_fb=uos.stat('trained.tflite')[6] > (gc.mem_free() - (64*1024))) except Exception as e: raise Exception('Failed to load "trained.tflite", did you copy the .tflite and labels.txt file onto the mass-storage device? (' + str(e) + ')') try: labels = [line.rstrip('\n') for line in open("labels.txt")] except Exception as e: raise Exception('Failed to load "labels.txt", did you copy the .tflite and labels.txt file onto the mass-storage device? (' + str(e) + ')') colors = [ # Add more colors if you are detecting more than 7 types of classes at once. (255, 0, 0), ( 0, 255, 0), (255, 255, 0), ( 0, 0, 255), (255, 0, 255), ( 0, 255, 255), (255, 255, 255), ] clock = time.clock() while(True): clock.tick() img = sensor.snapshot().lens_corr(1.85) # detect() returns all objects found in the image (splitted out per class already) # we skip class index 0, as that is the background, and then draw circles of the center # of our objects ### if r: for i, detection_list in enumerate(net.detect(img, thresholds=[(math.ceil(min_confidence * 255), 255)])): if (i == 0): continue # background class if (len(detection_list) == 0): continue # no detections for this class? print("********** %s **********" % labels[i]) for d in detection_list: [x, y, w, h] = d.rect() center_x = math.floor(x + (w / 2)) center_y = math.floor(y + (h / 2)) print('x %d\ty %d' % (center_x, center_y)) img.draw_circle((center_x, center_y, 12), color=colors[i], thickness=2) print(clock.fps(), "fps", end="\n\n")
图一为QVGA
图二为QQVGA -
如何解决NameError: local variable referenced before assignment
import sensor, image, time,math,pyb from pyb import UART,LED import json import ustruct sensor.reset() sensor.set_pixformat(sensor.RGB565) sensor.set_framesize(sensor.QVGA) sensor.skip_frames(time = 2000) sensor.set_auto_gain(False) # must be turned off for color tracking sensor.set_auto_whitebal(False) # must be turned off for color tracking red_threshold_01=(10, 100, 127, 32, -43, 67) clock = time.clock() uart = UART(3,115200) #定义串口3变量 uart.init(115200, bits=8, parity=None, stop=1) # init with given parameters def find_max(blobs): #定义寻找色块面积最大的函数 max_size=0 for blob in blobs: if blob.pixels() > max_size: max_blob=blob max_size = blob.pixels() return max_blob def sending_data(cx,cy,cw,ch): global uart; #frame=[0x2C,18,cx%0xff,int(cx/0xff),cy%0xff,int(cy/0xff),0x5B]; #data = bytearray(frame) data = ustruct.pack("<bbhhhhb", #格式为俩个字符俩个短整型(2字节) 0x2C, #帧头1 0x12, #帧头2 int(cx), # up sample by 4 #数据1 int(cy), # up sample by 4 #数据2 int(cw), # up sample by 4 #数据1 int(ch), # up sample by 4 #数据2 0x5B) uart.write(data); #必须要传入一个字节数组 while(True): clock.tick() img = sensor.snapshot() blobs = img.find_blobs([red_threshold_01]) max_b = find_max(blobs) cx=0;cy=0; if blobs: #如果找到了目标颜色 cx=max_b[5] cy=max_b[6] cw=max_b[2] ch=max_b[3] img.draw_rectangle(max_b[0:4]) # rect img.draw_cross(max_b[5], max_b[6]) # cx, cy FH = bytearray([0x2C,0x12,cx,cy,cw,ch,0x5B]) #sending_data(cx,cy,cw,ch) uart.write(FH) print(cx,cy,cw,ch)