# find_line_segments()找到有限长度的线(但是很慢)。
# Use find_line_segments()找到非无限的线(而且速度很快)。
enable_lens_corr = False # turn on for straighter lines...
import sensor, image, time ,math
sensor.reset()
sensor.set_pixformat(sensor.RGB565) # grayscale is faster
sensor.set_framesize(sensor.QQVGA)
sensor.skip_frames(time = 2000)
clock = time.clock()
# 所有线段都有 `x1()`, `y1()`, `x2()`, and `y2()` 方法来获得他们的终点
# 一个 `line()` 方法来获得所有上述的四个元组值,可用于 `draw_line()`.
def getlinemax(ls = [])
ml = ls[0]
for l in ls
if (ml[0] < l[0])
ml = l
return ml
def gettheta(p1,p2,p3)
v1 = p1 - p2
v2 = p3 - p2
a = (v1[0]*v2[0],v1[1]*v2[1])
b = sqrt(v1[0]*v1[0]+v1[1]*v1[1])*sqrt(v2[0]*v2[0]+v2[1]*v2[1])
return acos(a/b)
while(True):
clock.tick()
img = sensor.snapshot()
if enable_lens_corr: img.lens_corr(1.8) # for 2.8mm lens...
# `merge_distance`控制附近行的合并。 在0(默认),没有合并。
# 在1处,任何距离另一条线一个像素点的线都被合并...等等,
# 因为你增加了这个值。 您可能希望合并线段,因为线段检测会产生大量
# 的线段结果。
# `max_theta_diff` 控制要合并的任何两线段之间的最大旋转差异量。
# 默认设置允许15度。
l1 = []
l2 = []
for l in img_find_segments(merge_distance = 5,max_theta_diff = 5):
img.draw_line(l.line() ,color = (255,0,0)
num = len(lines)
if num == 3
l1.append(line.length())
l2.append(line.line())
zipl = zip(l1,l2) #将识别的线段长度和直线元组绑定
lm = getlinemax(zipl) #得到最长线段所对应的直线元组
mlength = lm[0]
mline = lm[1]
if lm[1][0] - lm[1][2] > 0 && lm[1][1] - lm[1][3] > 0
p1 = (lm[1][0],lm[1][2])
p2 = (lm[1][1],lm[1][3])
p3 = (lm[1][1]+lm[0],lm[1][3])
a = gettheta(p1,p2,p3)
if a > 90
a = 180 - a
print(a)
print("FPS %f" % clock.fps())
T
t5mh 发布的帖子
-
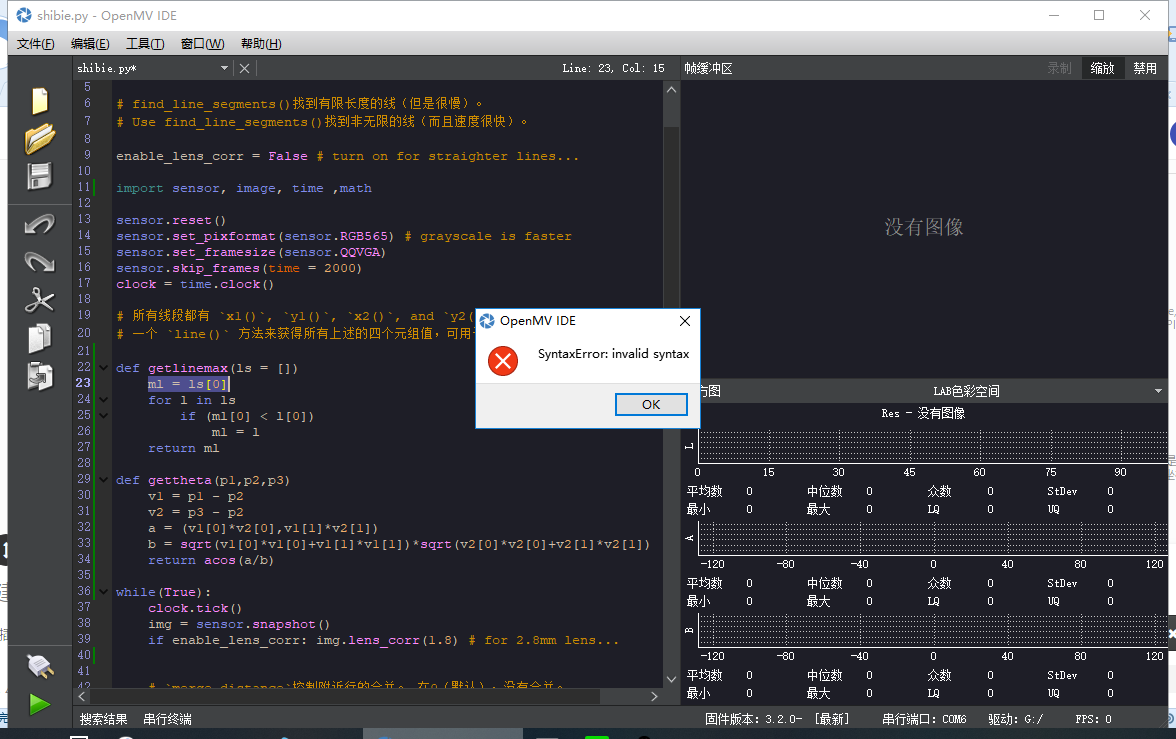
RE: 构建函数出现的错误,怎么解决????急急急!
-
构建函数出现的错误,怎么解决????急急急!
线段检测例程
这个例子展示了如何在图像中查找线段。对于在图像中找到的每个线对象,
都会返回一个包含线条旋转的线对象。
find_line_segments()找到有限长度的线(但是很慢)。
Use find_line_segments()找到非无限的线(而且速度很快)。
enable_lens_corr = False # turn on for straighter lines...
import sensor, image, time ,math
sensor.reset()
sensor.set_pixformat(sensor.RGB565) # grayscale is faster
sensor.set_framesize(sensor.QQVGA)
sensor.skip_frames(time = 2000)
clock = time.clock()所有线段都有
x1()
,y1()
,x2()
, andy2()
方法来获得他们的终点一个
line()
方法来获得所有上述的四个元组值,可用于draw_line()
.def getlinemax(ls = [])
ml = ls[0]
for l in ls
if (ml[0] < l[0])
ml = l
return mldef gettheta(p1,p2,p3)
v1 = p1 - p2
v2 = p3 - p2
a = (v1[0]*v2[0],v1[1]*v2[1])
b = sqrt(v1[0]*v1[0]+v1[1]*v1[1])*sqrt(v2[0]*v2[0]+v2[1]*v2[1])
return acos(a/b)while(True):
clock.tick()
img = sensor.snapshot()
if enable_lens_corr: img.lens_corr(1.8) # for 2.8mm lens...# `merge_distance`控制附近行的合并。 在0(默认),没有合并。 # 在1处,任何距离另一条线一个像素点的线都被合并...等等, # 因为你增加了这个值。 您可能希望合并线段,因为线段检测会产生大量 # 的线段结果。 # `max_theta_diff` 控制要合并的任何两线段之间的最大旋转差异量。 # 默认设置允许15度。 l1 = [] l2 = [] for l in img_find_segments(merge_distance = 5,max_theta_diff = 5): img.draw_line(l.line() ,color = (255,0,0) num = len(lines) if num == 3 l1.append(line.length()) l2.append(line.line()) zipl = zip(l1,l2) #将识别的线段长度和直线元组绑定 lm = getlinemax(zipl) #得![0_1556011898117_QQ截图20190423173113.png](https://fcdn.singtown.com/50fd47b3-ebbc-458e-b741-38563dadce57.png)
请在这里粘贴代码
-
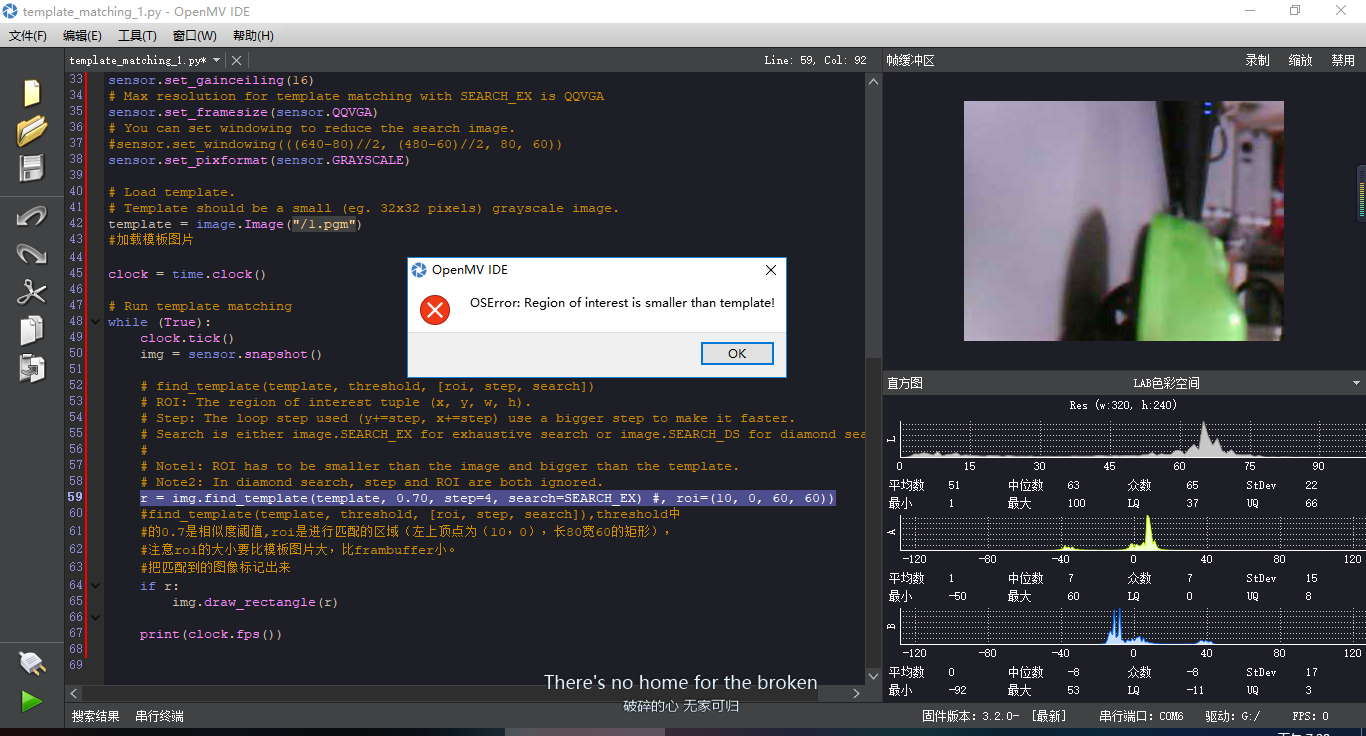
openmv例程中这个是什么错误?为什么会有这样的错误??
# Template Matching Example - Normalized Cross Correlation (NCC) # # This example shows off how to use the NCC feature of your OpenMV Cam to match # image patches to parts of an image... expect for extremely controlled enviorments # NCC is not all to useful. # # WARNING: NCC supports needs to be reworked! As of right now this feature needs # a lot of work to be made into somethin useful. This script will reamin to show # that the functionality exists, but, in its current state is inadequate. import time, sensor, image from image import SEARCH_EX, SEARCH_DS #从imgae模块引入SEARCH_EX和SEARCH_DS。使用from import仅仅引入SEARCH_EX, #SEARCH_DS两个需要的部分,而不把image模块全部引入。 # Reset sensor sensor.reset() # Set sensor settings sensor.set_contrast(1) sensor.set_gainceiling(16) # Max resolution for template matching with SEARCH_EX is QQVGA sensor.set_framesize(sensor.QQVGA) # You can set windowing to reduce the search image. #sensor.set_windowing(((640-80)//2, (480-60)//2, 80, 60)) sensor.set_pixformat(sensor.GRAYSCALE) # Load template. # Template should be a small (eg. 32x32 pixels) grayscale image. template = image.Image("/template.pgm") #加载模板图片 clock = time.clock() # Run template matching while (True): clock.tick() img = sensor.snapshot() # find_template(template, threshold, [roi, step, search]) # ROI: The region of interest tuple (x, y, w, h). # Step: The loop step used (y+=step, x+=step) use a bigger step to make it faster. # Search is either image.SEARCH_EX for exhaustive search or image.SEARCH_DS for diamond search # # Note1: ROI has to be smaller than the image and bigger than the template. # Note2: In diamond search, step and ROI are both ignored. r = img.find_template(template, 0.70, step=4, search=SEARCH_EX) #, roi=(10, 0, 60, 60)) #find_template(template, threshold, [roi, step, search]),threshold中 #的0.7是相似度阈值,roi是进行匹配的区域(左上顶点为(10,0),长80宽60的矩形), #注意roi的大小要比模板图片大,比frambuffer小。 #把匹配到的图像标记出来 if r: img.draw_rectangle(r) print(clock.fps())
-
分辨不同人脸扫描图片的有点没懂?
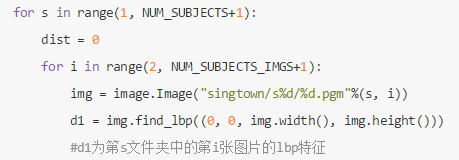
求大佬解惑,视频教程(人脸识别)中说,第一次循环是s=1,i=2,会是s1文件夹中的第一张图片?为什么呢?下面的文件地址不应该是第二张图片,2.pgm吗