Q
q14z 发布的帖子
-
用tflite能不能和多模板匹配一样,找到多个模板发布在 OpenMV Cam
我用TensorFlow Lite训练出来的数字识别模型,只能判断它是不是这个数字,能不能和多模板匹配一样告诉我有哪几个模板
-
RE: 用录制移动物体动图例程生成的gif转换为png后,在Edge impulse上训练会报错发布在 OpenMV Cam
就是我想用edge impulse训练一个动作,用代码来录制gif,把gif转换为png后上传到edge impulse,但是在训练的时候会报错
报错内容为 错误:不支持 / 的操作数类型:'int' 和 'NoneType' -
用录制移动物体动图例程生成的gif转换为png后,在Edge impulse上训练会报错发布在 OpenMV Cam
报错为: 错误:不支持 / 的操作数类型:'int' 和 'NoneType'
请问有相关操作指导没
还是说目前不能用openmv4 plus来训练动作识别模型# 录制移动物体动图 # # 注意:您将需要SD卡来运行此示例。 # # 您可以使用OpenMV Cam来录制gif文件。可以用于RGB565图或灰度图。 # 使用像GIMP这样的照片编辑软件在将GIF上传到网络之前对其进行压缩和优化。 # # 此示例演示如何使用OpenMV的帧差异来进行运动检测。检测到运动后, # 您的OpenMV摄像机将拍摄视频。 import sensor, image, time, gif, pyb, os RED_LED_PIN = 1 BLUE_LED_PIN = 3 sensor.reset() # 初始化sensor sensor.set_pixformat(sensor.RGB565) # or sensor.GRAYSCALE #设置图像色彩格式,有RGB565色彩图和GRAYSCALE灰度图两种 sensor.set_framesize(sensor.QQVGA) # or sensor.QVGA (or others) #设置图像像素大小 sensor.skip_frames(time = 2000) # 让新的设置生效 sensor.set_auto_whitebal(False) # 关闭白平衡 if not "temp" in os.listdir(): os.mkdir("temp") # 新建一个新的文件夹 while(True): pyb.LED(RED_LED_PIN).on() print("About to save background image...") sensor.skip_frames(time = 2000) # 给用户一个时间来准备 pyb.LED(RED_LED_PIN).off() sensor.snapshot().save("temp/bg.bmp") print("Saved background image - Now detecting motion!") pyb.LED(BLUE_LED_PIN).on() diff = 10 # We'll say we detected motion after 10 frames of motion. while(diff): img = sensor.snapshot() img.difference("temp/bg.bmp") stats = img.statistics() # state[5]是照明颜色通道的最大值。当整个图像的最大光照高于20时 # 触发下面的代码。 # 照明差异最大值应该为零。 if (stats[5] > 20): diff -= 1 g = gif.Gif("example-%d.gif" % pyb.rng(), loop=True) clock = time.clock() # 跟踪FPS帧率 print("You're on camera!") for i in range(100): clock.tick() # clock.avg()返回帧与帧之间的毫秒数,其中包含gif延迟 g.add_frame(sensor.snapshot(), delay=int(clock.avg()/10)) # centiseconds. print(clock.fps()) g.close() pyb.LED(BLUE_LED_PIN).off() print("Restarting...") -
运行gif录制动图时,每次都会自动断开连接,并且录制出来的gif打不开发布在 OpenMV Cam
# 录制动图例程
#
# 注意:您将需要SD卡来运行此示例。
#
# You can use your OpenMV Cam to record gif files. You can either feed the
# recorder object RGB565 frames or Grayscale frames. Use photo editing software
# like GIMP to compress and optimize the Gif before uploading it to the web.
# 你可以用你的OpenMV摄像头来记录gif文件。您可以提供记录器对象RGB565帧或灰度帧。
# 使用像GIMP这样的照片编辑软件来压缩和优化Gif,然后再上传到web。

import sensor, image, time, gif, pyb

RED_LED_PIN = 1
BLUE_LED_PIN = 3

sensor.reset() # 初始化sensor

sensor.set_pixformat(sensor.RGB565) # or sensor.GRAYSCALE
#设置图像色彩格式,有RGB565色彩图和GRAYSCALE灰度图两种

sensor.set_framesize(sensor.QQVGA) # or sensor.QVGA (or others)
#设置图像像素大小

sensor.skip_frames(time = 2000) # 让新的设置生效
clock = time.clock() # 跟踪FPS帧率

pyb.LED(RED_LED_PIN).on()
sensor.skip_frames(30) # Give the user time to get ready.
#程序开始时,先等待30帧图像,让用户有时间准备

pyb.LED(RED_LED_PIN).off()
pyb.LED(BLUE_LED_PIN).on()

g = gif.Gif("example.gif", loop=True)
#gif.Gif(filename, width=Auto, height=Auto, color=Auto, loop=True)创建一个gif对象,filename为保存gif动图的文件路径

print("You're on camera!")
for i in range(100):
    clock.tick()
    # clock.avg()返回帧与帧之间的毫秒数,其中包含gif延迟
    g.add_frame(sensor.snapshot(), delay=10) # centiseconds.
    #gif.add_frame(image, delay=10),向gif动图中添加图片,delay=10指每隔
    #10分秒添加一张图。
    print(clock.fps())

g.close()
pyb.LED(BLUE_LED_PIN).off()
print("Done! Reset the camera to see the saved recording.")
用的是openmvh7 plus 最新的固件版本
-
使用串口通讯接受数据时,使用decode数据就没有了发布在 OpenMV Cam
在stm32传输数据给openmv4 plus 时不使用decode函数能收到准确的ascii码,在使用后接收到的没有数据。
import sensor, image, time
from pyb import UART


clock = time.clock() # Tracks FPS.
uart = UART(3,115200)   #定义串口3变量
#设置串口
uart.init(115200, bits=8, parity=None, stop=0) # init with given parameters


#图像循环
while(True):
    if uart.any():
        a = uart.readline().decode()
        print(a)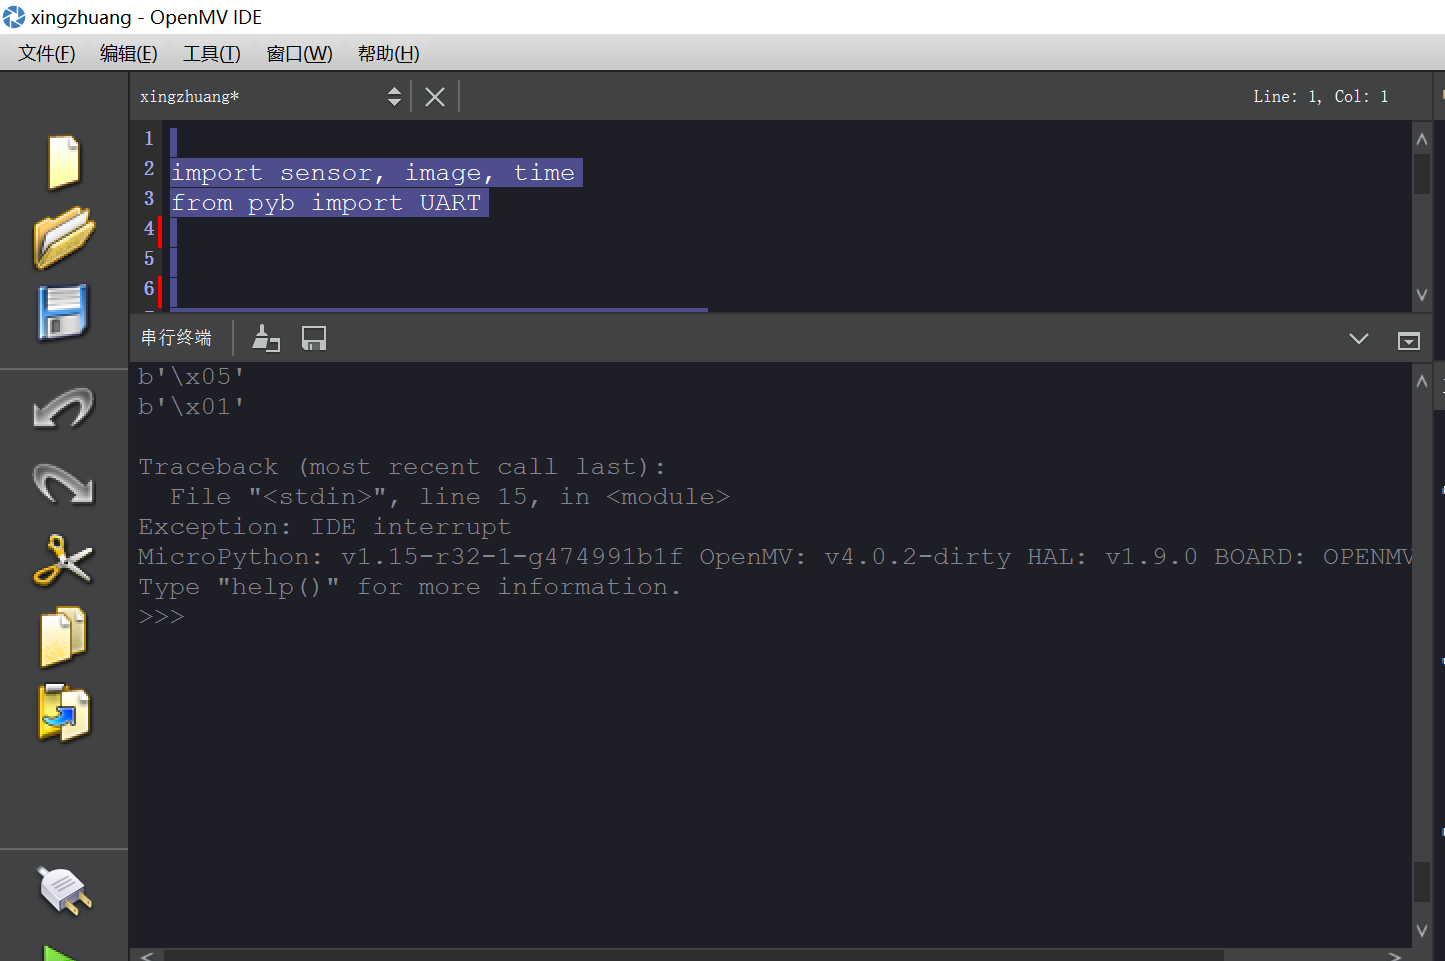
import sensor, image, time
from pyb import UART


clock = time.clock() # Tracks FPS.
uart = UART(3,115200)   #定义串口3变量
#设置串口
uart.init(115200, bits=8, parity=None, stop=0) # init with given parameters


#图像循环
while(True):
    if uart.any():
        a = uart.readline()
        print(a)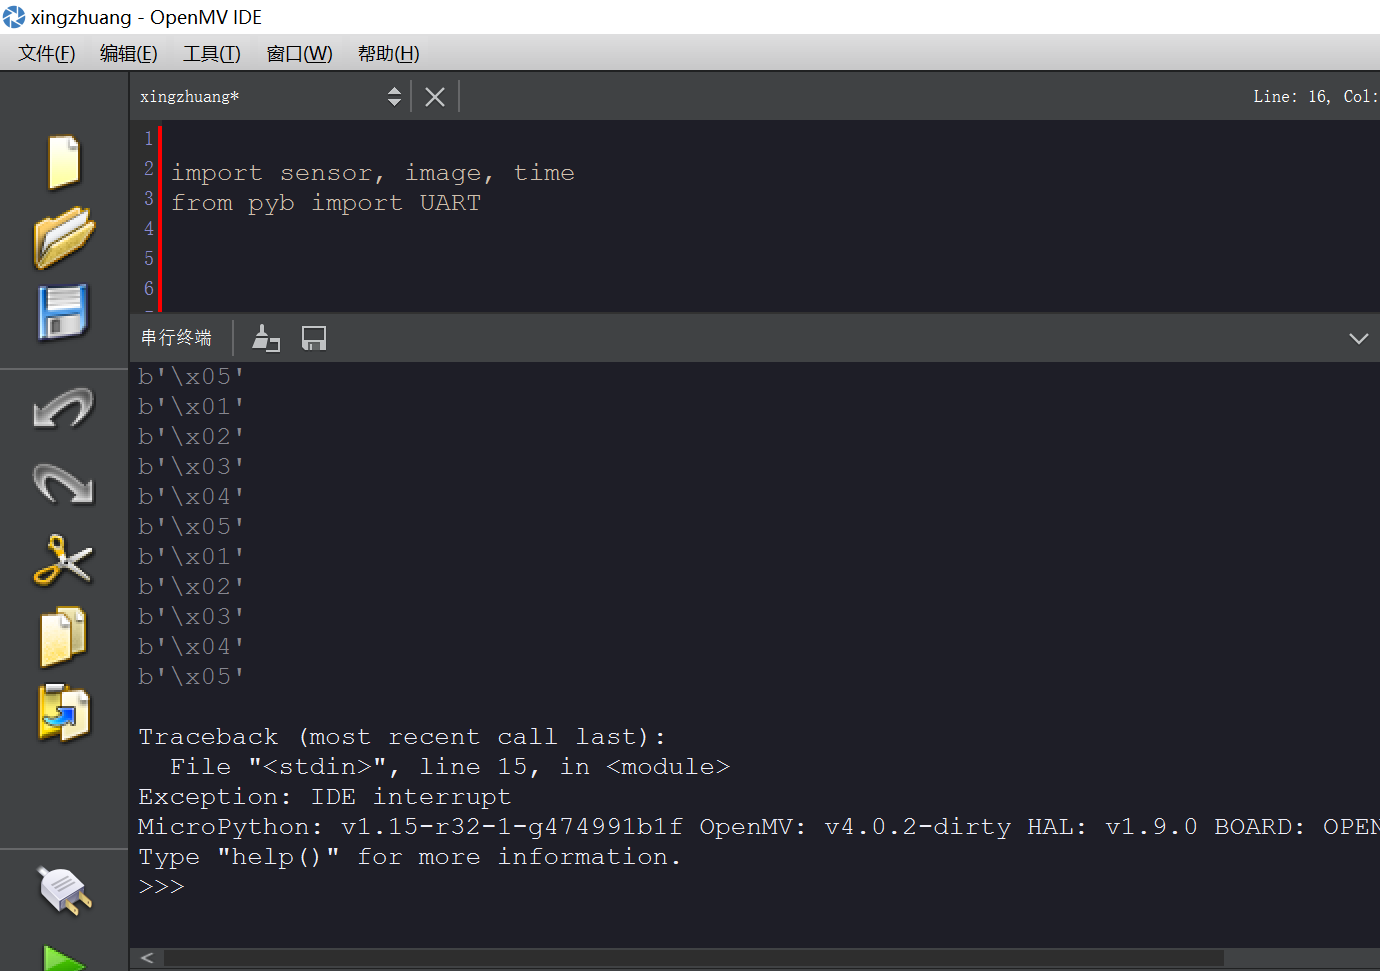
-
RE: 运行边缘检测例程的时候会出现很多噪声?发布在 OpenMV Cam
没有报错提示
# 边缘检测例子: # # 这个程序示范了在图像上使用morph函数来进行边缘检测。 # 然后在进行阈值和滤波 import sensor, image, time #设置核函数滤波,核内每个数值值域为[-128,127],核需为列表或元组 kernel_size = 1 # kernel width = (size*2)+1, kernel height = (size*2)+1 kernel = [-1, -1, -1,\ -1, +8, -1,\ -1, -1, -1] # 这个一个高通滤波器。见这里有更多的kernel # http://www.fmwconcepts.com/imagemagick/digital_image_filtering.pdf thresholds = [(100, 255)] # grayscale thresholds设置阈值 sensor.reset() # 初始化 sensor. #初始化摄像头 sensor.set_pixformat(sensor.GRAYSCALE) # or sensor.RGB565 #设置图像色彩格式,有RGB565色彩图和GRAYSCALE灰度图两种 sensor.set_framesize(sensor.QQVGA) # or sensor.QVGA (or others) #设置图像像素大小 sensor.skip_frames(10) # 让新的设置生效 clock = time.clock() # 跟踪FPS帧率 # 在OV7725 sensor上, 边缘检测可以通过设置sharpness/edge寄存器来增强。 # 注意:这将在以后作为一个函数实现 if (sensor.get_id() == sensor.OV7725): sensor.__write_reg(0xAC, 0xDF) sensor.__write_reg(0x8F, 0xFF) while(True): clock.tick() # 追踪两个snapshots()之间经过的毫秒数. img = sensor.snapshot() # 拍一张照片,返回图像 img.morph(kernel_size, kernel) #morph(size, kernel, mul=Auto, add=0),morph变换,mul根据图像对比度 #进行调整,mul使图像每个像素乘mul;add根据明暗度调整,使得每个像素值加上add值。 #如果不设置则不对morph变换后的图像进行处理。 img.binary(thresholds) #利用binary函数对图像进行分割 # Erode pixels with less than 2 neighbors using a 3x3 image kernel # 腐蚀像素小于2邻居使用3x3图像内核 img.erode(1, threshold = 2) #侵蚀函数erode(size, threshold=Auto),去除边缘相邻处多余的点。threshold #用来设置去除相邻点的个数,threshold数值越大,被侵蚀掉的边缘点越多,边缘旁边 #白色杂点少;数值越小,被侵蚀掉的边缘点越少,边缘旁边的白色杂点越多。 print(clock.fps()) # 注意: 当连接电脑后,OpenMV会变成一半的速度。当不连接电脑,帧率会增加。 -
openmv4与stm32串口通信,超过1M距离不能通信发布在 OpenMV Cam
openmv4和stm32位置没用变化,是待识别物体与openmv超过1m左右时,stm32接收到的数据没有继续变化,但是openmv上数据还是实时在变。
stm32程序void USART2_IRQHandler(void) //串口2中断服务程序 { static uint16_t rebuf[8]={0},i=0; u8 j=0; if( USART_GetITStatus(USART2,USART_IT_RXNE)!=RESET) { rebuf[i++]=USART_ReceiveData(USART2); if(rebuf[0]!=0x2C)/ i=0; if((i==2)&&(rebuf[1]!=0x12))/ i=0; if(rebuf[i-1]==0x3C) { for(j =0;j<i;j++) { RxBuffer1[j] = rebuf[j]; } i = 0; } USART_ClearFlag(USART2,USART_FLAG_RXNE);openmv程序
def sending_data(cx,cy):
    data = ustruct.pack("<bbhhb",
                   0x2C,
                   0x12,
                   int(cx),
                   int(cy),
                   0x3C)
    uart.write(data);