比如把img划分成10*10的格子,在每个格子里面寻找黑点,然后返回点的坐标
I
iv2r
@iv2r
0
声望
19
楼层
1499
资料浏览
0
粉丝
1
关注
iv2r 发布的帖子
-
请问怎样提高这段代码的识别准确性,现在识别不太稳定,会乱入其他类型发布在 OpenMV Cam
import sensor, image, time

sensor.reset()
sensor.set_pixformat(sensor.RGB565) # 灰度更快
sensor.set_framesize(sensor.QQVGA)
sensor.skip_frames(time = 2000)
clock = time.clock()
sensor.set_auto_gain(False) # 颜色跟踪必须关闭自动增益
sensor.set_auto_whitebal(False) # 颜色跟踪必须关闭白平衡

threshold_B=[(0, 15, 0, 40, -80, -20)]
#threshold_B=[(34, 58, -5, 46, -128, -14)]
thresholds_R=[(30, 100, 15, 127, 15, 127)]

while(True):
    clock.tick()
    img = sensor.snapshot().lens_corr(1.8)
    if img.find_blobs(threshold_B, pixels_threshold=100, area_threshold=100, merge=True): #找蓝色色块
        if img.find_circles(threshold = 3500, x_margin = 10, y_margin = 10, r_margin = 10,r_min = 2, r_max = 100, r_step = 2):#圆形
            for c in img.find_circles(threshold = 3500, x_margin = 10, y_margin = 10, r_margin = 10,r_min = 2, r_max = 100, r_step = 2):
                #img.draw_circle(c.x(), c.y(), c.r(), color = (255, 0, 0))
                print("蓝色")

        else:

            print("蓝色假")
    if img.find_blobs(thresholds_R, pixels_threshold=100, area_threshold=100, merge=True): #找红色色块
        if img.find_circles(threshold = 3500, x_margin = 10, y_margin = 10, r_margin = 10,r_min = 2, r_max = 100, r_step = 2):#圆形
            for c in img.find_circles(threshold = 3500, x_margin = 10, y_margin = 10, r_margin = 10,r_min = 2, r_max = 100, r_step = 2):
                img.draw_circle(c.x(), c.y(), c.r(), color = (255, 0, 0))

                print("红色假")
        else:

            print("红色")
    print("FPS %f" % clock.fps())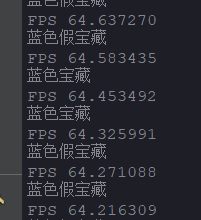

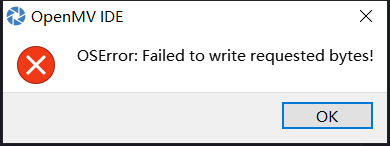
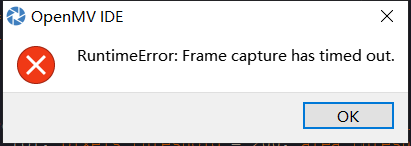 请问运行一会会出现这个提示框是代码的问题吗