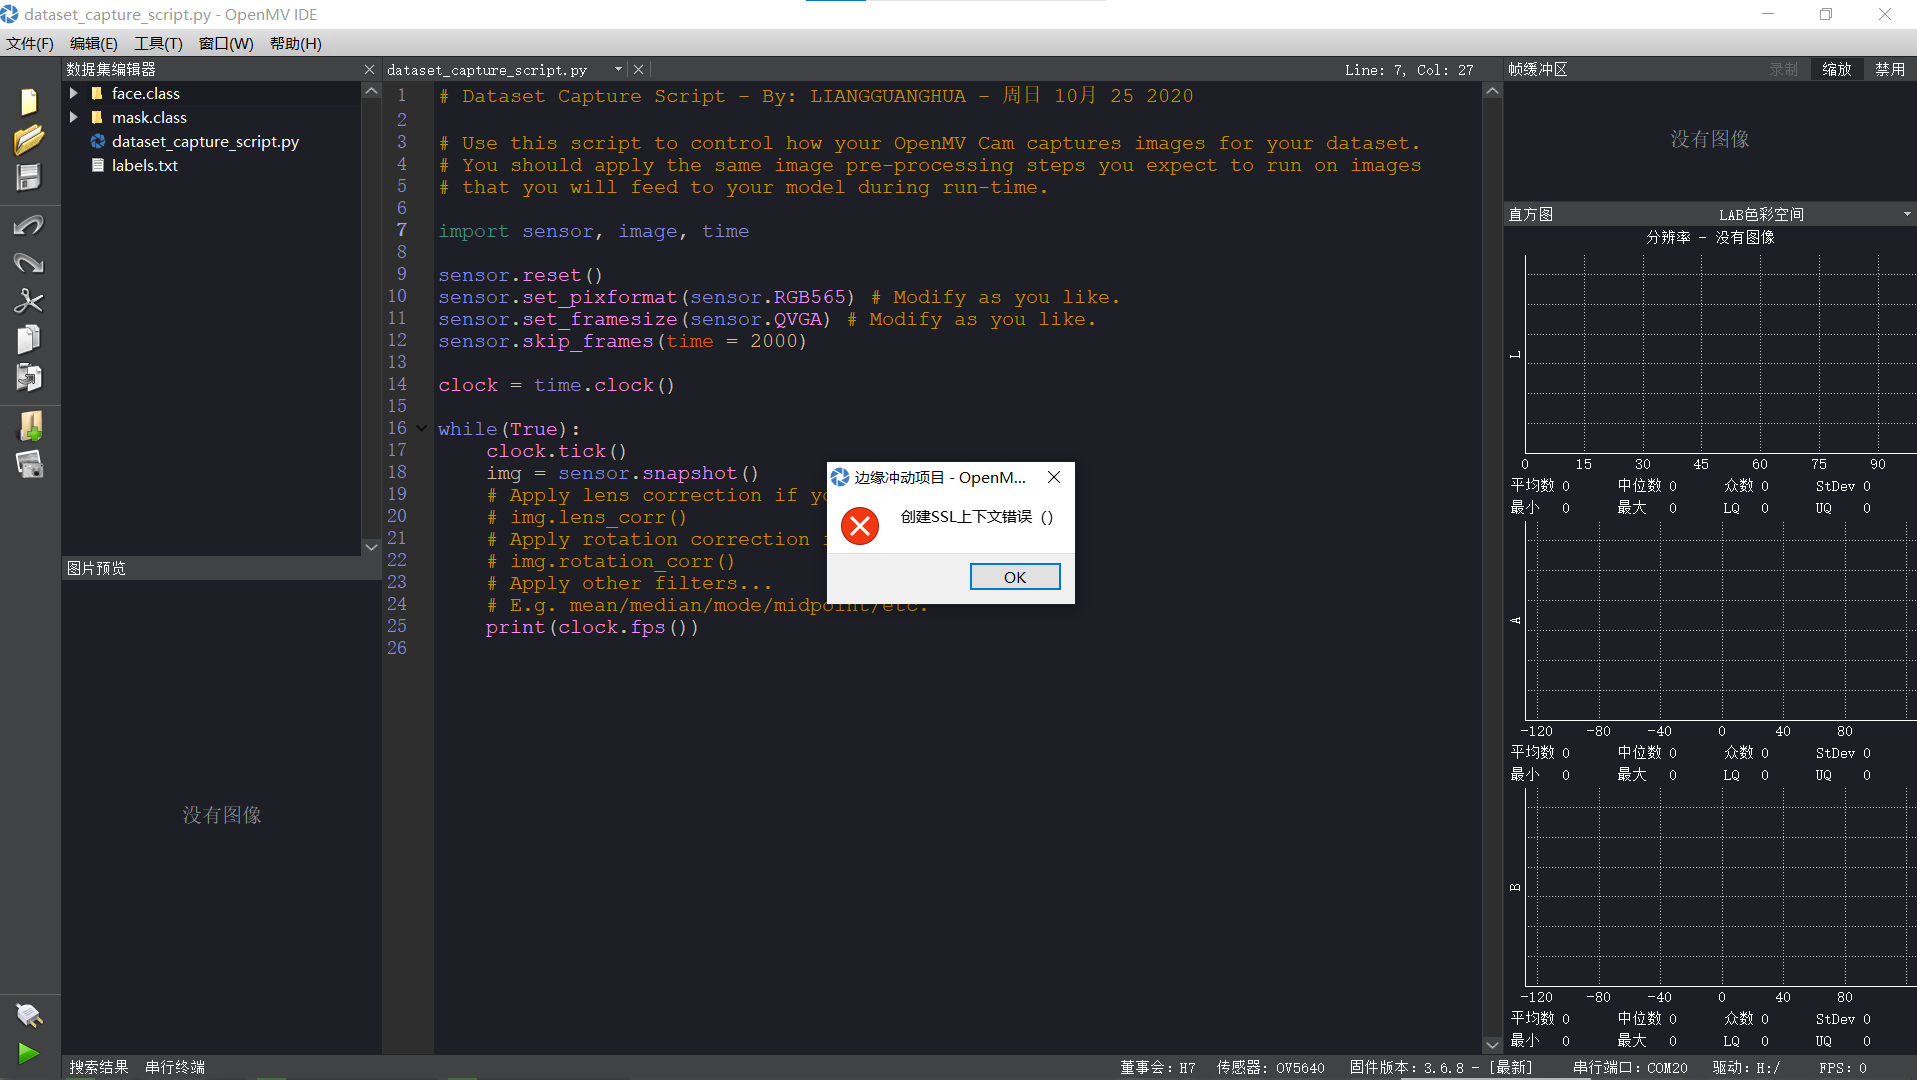
@kidswong999 在 按照视频教程步骤做的,api密钥传输数据集到Edge时会报错,这怎么处理? 中说:
这个方法不能将两个文件整个上传,只能单个图片的形式上传,在建立模型时会按照单个图片的来建模分类,不是以有没有戴口罩的文件来建模分类,这个要怎么处理捏?
@kidswong999 在 按照视频教程步骤做的,api密钥传输数据集到Edge时会报错,这怎么处理? 中说:
这个方法不能将两个文件整个上传,只能单个图片的形式上传,在建立模型时会按照单个图片的来建模分类,不是以有没有戴口罩的文件来建模分类,这个要怎么处理捏?
# Hello World Example
#
# Welcome to the OpenMV IDE! Click on the green run arrow button below to run the script!

import sensor, image, time

sensor.reset()                      # Reset and initialize the sensor.
sensor.set_pixformat(sensor.RGB565) # Set pixel format to RGB565 (or GRAYSCALE)
sensor.set_framesize(sensor.QVGA)   # Set frame size to QVGA (320x240)
sensor.skip_frames(time = 2000)     # Wait for settings take effect.
clock = time.clock()                # Create a clock object to track the FPS.

while(True):
    clock.tick()                    # Update the FPS clock.
    img = sensor.snapshot()         # Take a picture and return the image.
    print(clock.fps())              # Note: OpenMV Cam runs about half as fast when connected
                                    # to the IDE. The FPS should increase once disconnected.
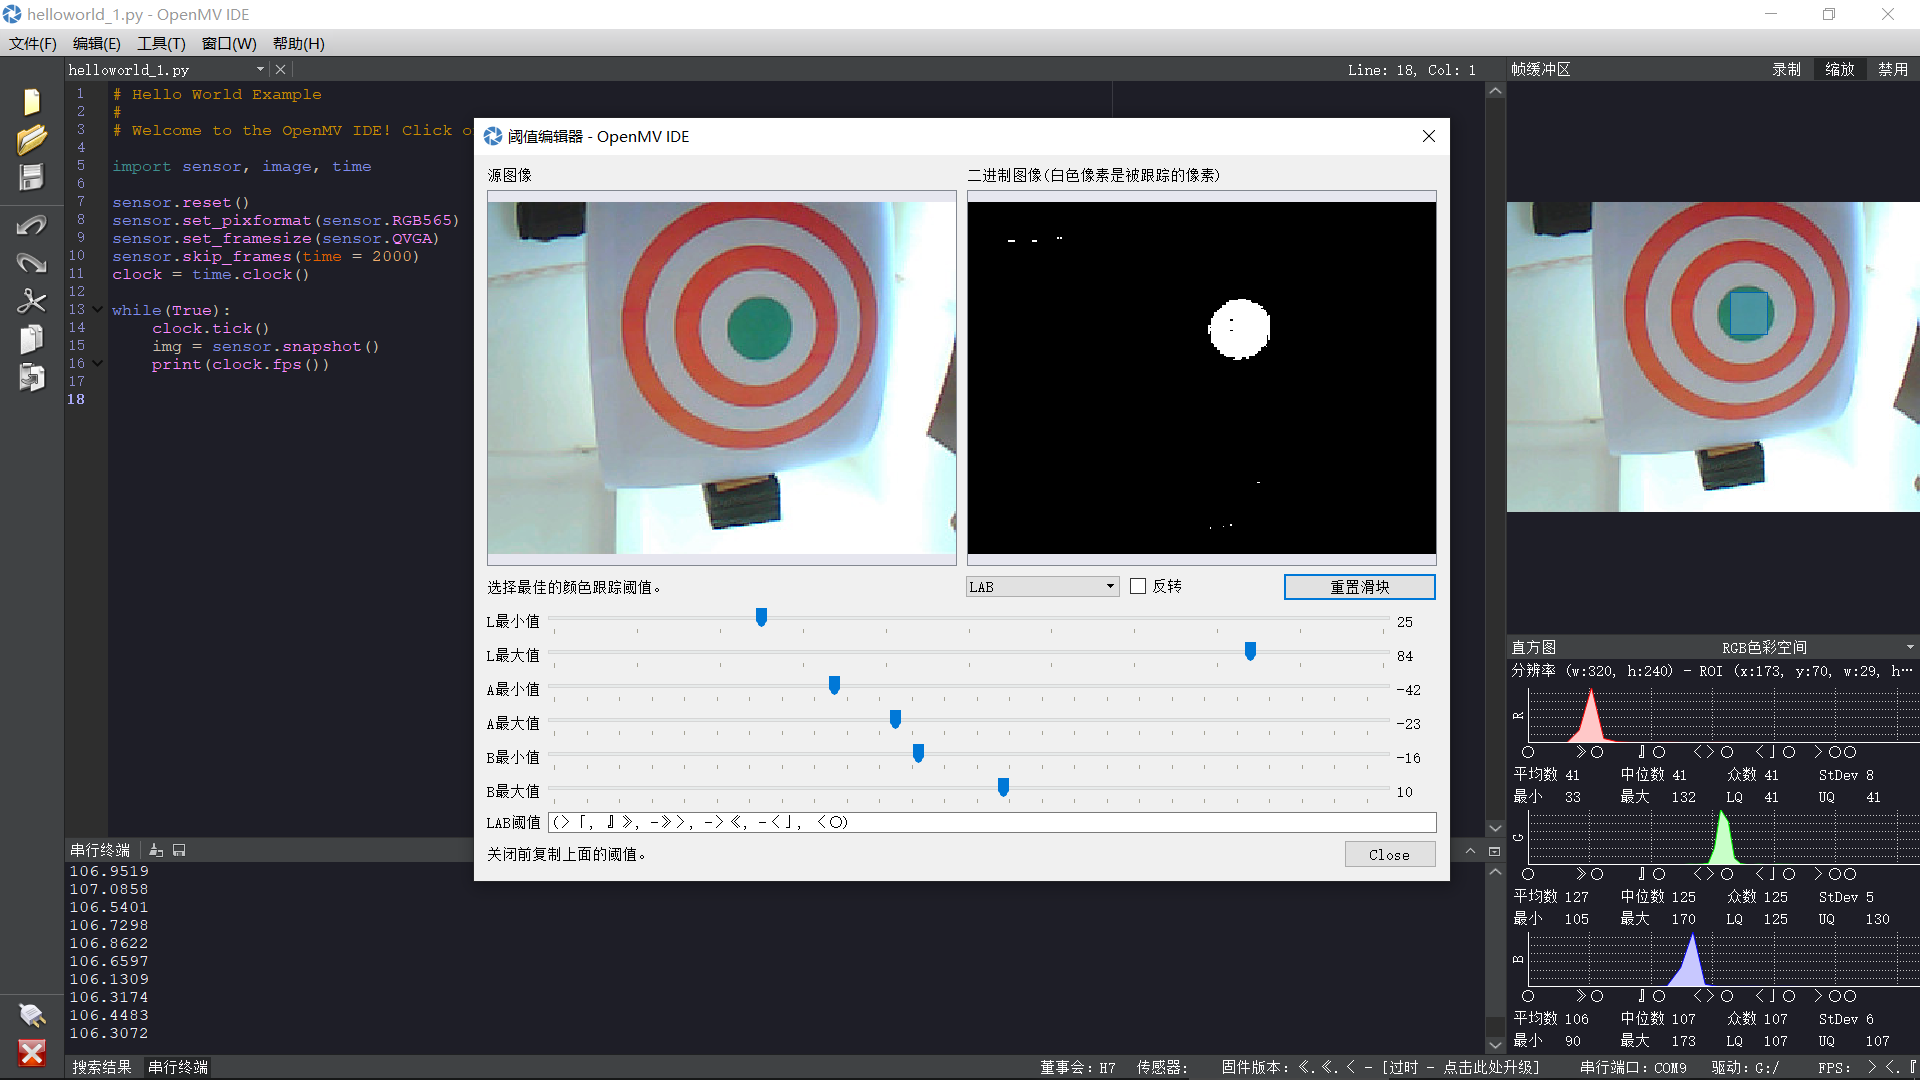
为什么openmv固件更新后自检完成蓝灯闪烁了,openmv与IDE就连接不上了呢,没更新之前都是可以正常使用的?(主页里常见故障的方法没有解决这个问题的方法)
@26qc把 sensor.set_pixformat这个要换成sensor.GRAYSCALE试试
import sensor, image, time, network, usocket, sys, json
from pyb import Servo
from pyb import UART
from pid import PID
pan_servo=Servo(1)
tilt_servo=Servo(2)
pan_pid = PID(p=0.07, i=0, imax=90) #脱机运行或者禁用图像传输,使用这个PID
tilt_pid = PID(p=0.05, i=0, imax=90) #脱机运行或者禁用图像传输,使用这个PID
#pan_pid = PID(p=0.1, i=0, imax=90)#在线调试使用这个PID
#tilt_pid = PID(p=0.1, i=0, imax=90)#在线调试使用这个PID
SSID ='OPENMV_AP' # Network SSID
KEY ='1234567890' # Network key (must be 10 chars)
HOST = '' # Use first available interface
PORT = 8080 # Arbitrary non-privileged port
sensor.reset()
sensor.set_contrast(1)
sensor.set_brightness(1)
sensor.set_saturation(1)
sensor.set_gainceiling(16)
sensor.set_pixformat(sensor.RGB565)
sensor.set_framesize(sensor.QQVGA)
sensor.skip_frames(time = 2000)
sensor.set_auto_gain(False) # must be turned off for color tracking
sensor.set_auto_whitebal(False) # must be turned off for color tracking
clock = time.clock() # Tracks FPS.
uart = UART(3,115200)
wlan = network.WINC(mode=network.WINC.MODE_AP)
wlan.start_ap(SSID, key=KEY, security=wlan.WEP, channel=2)
def start_streaming(s):
print ('Waiting for connections..')
client, addr = s.accept()
# 将客户端套接字超时设置为2秒
client.settimeout(2.0)
print ('Connected to ' + addr[0] + ':' + str(addr[1]))
# 从客户端读取请求
data = client.recv(1024)
# 应该在这里解析客户端请求

# 发送多部分head
client.send("HTTP/1.1 200 OK\r\n" \
            "Server: OpenMV\r\n" \
            "Content-Type: multipart/x-mixed-replace;boundary=openmv\r\n" \
            "Cache-Control: no-cache\r\n" \
            "Pragma: no-cache\r\n\r\n")

# FPS clock
clock = time.clock()

# 开始流媒体图像
#注:禁用IDE预览以增加流式FPS。
while (True):
    clock.tick() # Track elapsed milliseconds between snapshots().


    img = sensor.snapshot().lens_corr(1.8)
    for c in img.find_circles(threshold = 2500, x_margin = 10, y_margin = 10, r_margin = 10,
            r_min = 2, r_max = 100, r_step = 2):  #threshold检测像素点大小,step渐增半径数
        area = (c.x()-c.r(), c.y()-c.r(), 2*c.r(), 2*c.r())

        #area为识别到的圆的区域,即圆的外接矩形框 x,y为中心坐标
        statistics = img.get_statistics(roi=area)#像素颜色统计
        #(0,100,0,120,0,120)是红色的阈值,所以当区域内的众数(也就是最多的颜色),范围在这个阈值内,就说明是红色的圆。
        #l_mode(),a_mode(),b_mode()是L通道,A通道,B通道的众数。
        if 60<statistics.l_mode()<100 and -128<statistics.a_mode()<127 and -124<statistics.b_mode()<127:#if the circle is red
            img.draw_circle(c.x(), c.y(), c.r(), color = (255, 0, 0))#识别到的红色圆形用红色的圆框出来
        else:
            img.draw_rectangle(area, color = (255, 255, 255))
            #将非红色的圆用白色的矩形框出来
        a = {str(c[0]),str(c[1]),str(c[2])}
        a_str = json.dumps(a)
        output_str = json.dumps(statistics)
        uart.write(output_str+'\n')
        uart.write(a_str+'\n')


    b=[]
    if uart.any():
        a = uart.read().decode()
        for items in a:
            if items=='{':
                continue
            elif items=='}':
                continue
            elif items==',':
                continue
            else:
                b.append(int(items))

    if b :
        pan_error = b[0]-img.width()/2
        tilt_error = b[1]-img.height()/2

        pan_output=pan_pid.get_pid(pan_error,1)/2
        tilt_output=tilt_pid.get_pid(tilt_error,1)

        pan_servo.angle(pan_servo.angle()+pan_output)
        tilt_servo.angle(tilt_servo.angle()-tilt_output)


    cframe = img.compressed(quality=35)
    header = "\r\n--openmv\r\n" \
             "Content-Type: img/jpeg\r\n"\
             "Content-Length:"+str(cframe.size())+"\r\n\r\n"
    client.send(header)
    client.send(cframe)
while(True):
# 创建服务器套接字
s = usocket.socket(usocket.AF_INET, usocket.SOCK_STREAM)
try:
# Bind and listen
s.bind([HOST, PORT])
s.listen(5)
    # 设置服务器套接字超时
    # 注意:由于WINC FW bug,如果客户端断开连接,服务器套接字必须
    # 关闭并重新打开。在这里使用超时关闭并重新创建套接字。
    s.settimeout(3)
    start_streaming(s)
except OSError as e:
    s.close()
    print("socket error: ", e)
    #sys.print_exception(e)