系统迁移中,暂时无法访问,所有数据会迁移到新的网站。
OpenMV VSCode 扩展发布了,在插件市场直接搜索OpenMV就可以安装
如果有产品硬件故障问题,比如无法开机,论坛很难解决。可以直接找售后维修。
发帖子之前,请确认看过所有的视频教程,https://singtown.com/learn/ 和所有的上手教程http://book.openmv.cc/
每一个新的提问,单独发一个新帖子
帖子需要目的,你要做什么?
如果涉及代码,需要报错提示与全部代码文本,请注意不要贴代码图片
必看:玩转星瞳论坛了解一下图片上传,代码格式等问题。
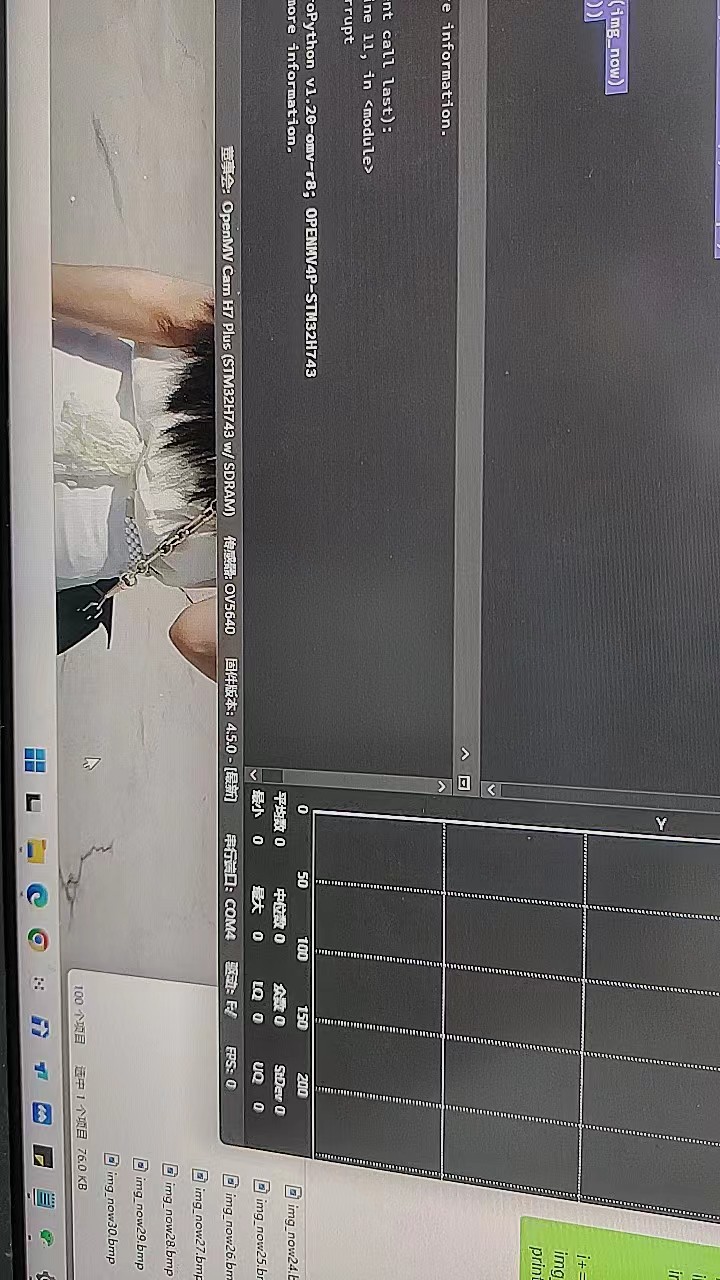
为什么openmv上调用difference后有条纹
-
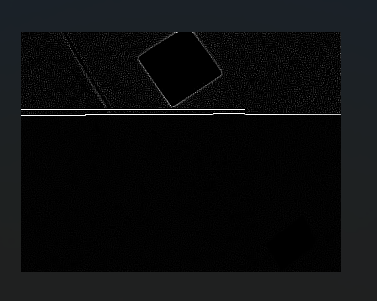
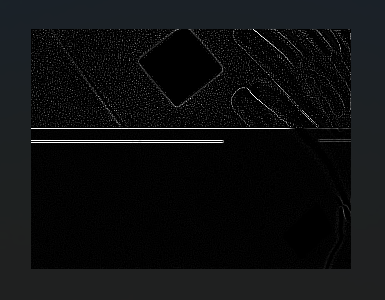
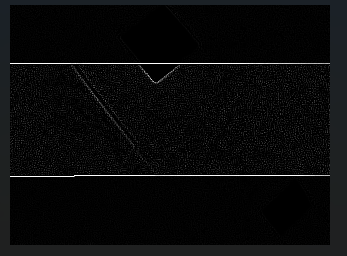
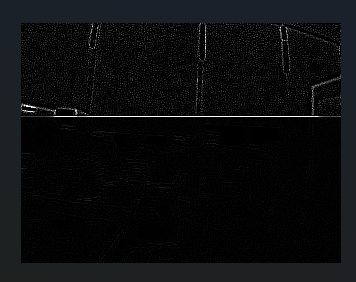
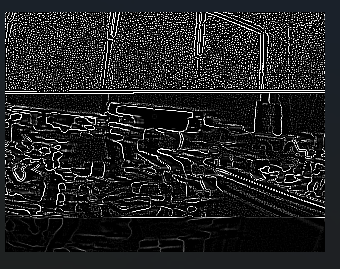
import sensor, image, time

sensor.reset()
sensor.set_pixformat(sensor.GRAYSCALE)
sensor.set_framesize(sensor.QVGA)


sensor.skip_frames(time = 2000) # Give the user time to get ready.

i=0
m=320
n=240
temp = sensor.alloc_extra_fb(m, n, sensor.GRAYSCALE)
img_past = sensor.alloc_extra_fb(m, n, sensor.GRAYSCALE)
img_now = sensor.alloc_extra_fb(m, n, sensor.GRAYSCALE)
kernel_edge = [1, 1,  1, \
          1,  -8,  1, \
           1,  1,  1]


img_past=sensor.snapshot()
clock = time.clock()
while i < 1000:
    # 获取当前灰度图
    img_now = sensor.snapshot()

    #当前灰度图归一化
    #temp.normalize(0, 255)
#    img_now.replace(temp)
    #差分图的绝对值
    img_now.save("temp3_withoutdifference/img_now"+str(i)+".bmp")
    img_diff2 = img_now.difference(img_past)
    img_diff2.morph(1, kernel_edge)
    img_diff2.save("temp2/diff"+str(i)+".bmp")


    i+=1
    img_past.replace(img_now)
    print(clock.fps())
-
问题在于
img_now = sensor.snapshot()
img_diff2 = img_now.difference(img_past)
应该换成
img = sensor.snapshot()
img_now.replace(img)
img.difference(img_past)
img_diff2.replace(img)
下面的代码是可以运行的
import sensor, image, time

sensor.reset()
sensor.set_pixformat(sensor.GRAYSCALE)
sensor.set_framesize(sensor.QVGA)


sensor.skip_frames(time = 2000) # Give the user time to get ready.

i=0
m=320
n=240
#temp = sensor.alloc_extra_fb(m, n, sensor.GRAYSCALE)
img_past = sensor.alloc_extra_fb(m, n, sensor.GRAYSCALE)
img_now = sensor.alloc_extra_fb(m, n, sensor.GRAYSCALE)
kernel_edge = [1, 1,  1, \
          1,  -8,  1, \
           1,  1,  1]


img=sensor.snapshot()
img_past.replace(img)

clock = time.clock()
while i < 1000:
    # 获取当前灰度图
    img = sensor.snapshot()

    #当前灰度图归一化
    #temp.normalize(0, 255)
    img_now.replace(img)
    #差分图的绝对值
#    img.save("temp3_withoutdifference/img_now"+str(i)+".bmp")
    img.difference(img_past)
    img.morph(1, kernel_edge)
#    img.save("temp2/diff"+str(i)+".bmp")


    i+=1
    img_past.replace(img_now)
    print(clock.fps())