openmv串口通信 出现busy
-

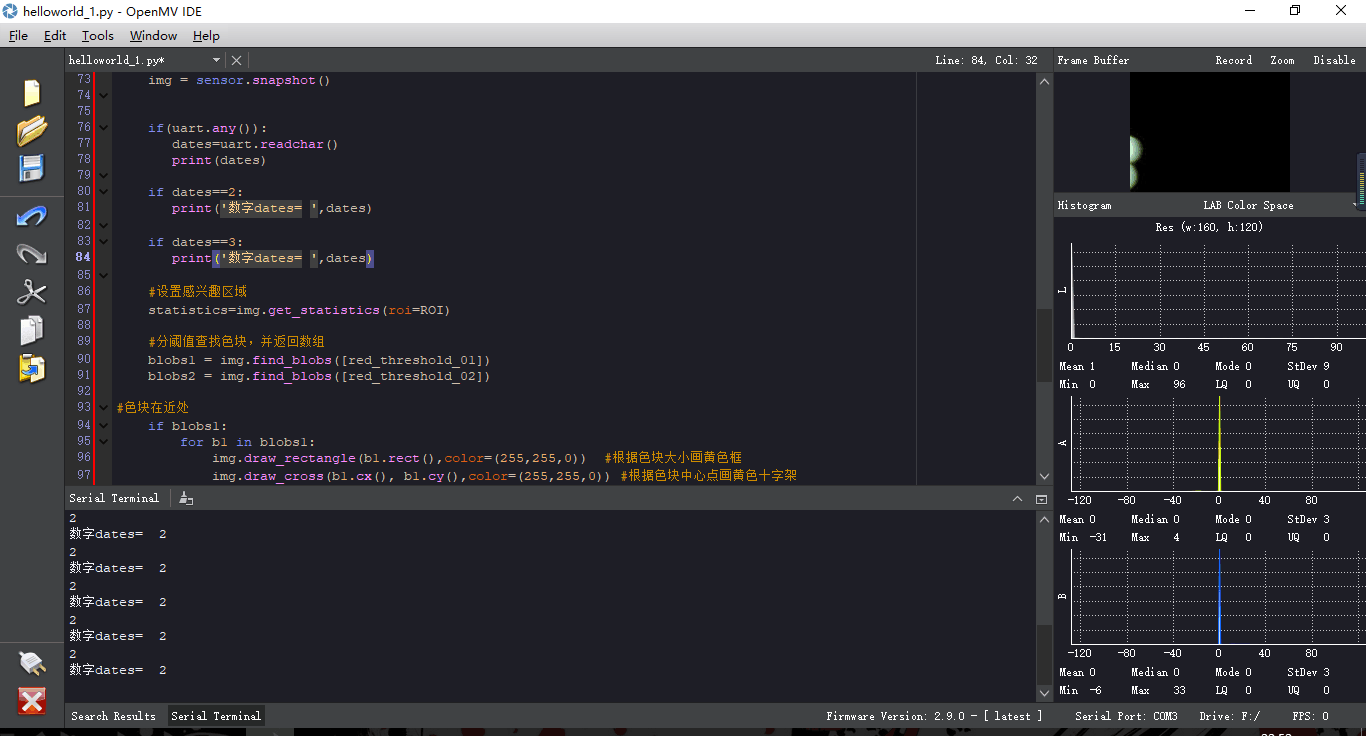
openmv串口接收数据,为什么接收一定数量数据后,就会卡顿,而且画面不动

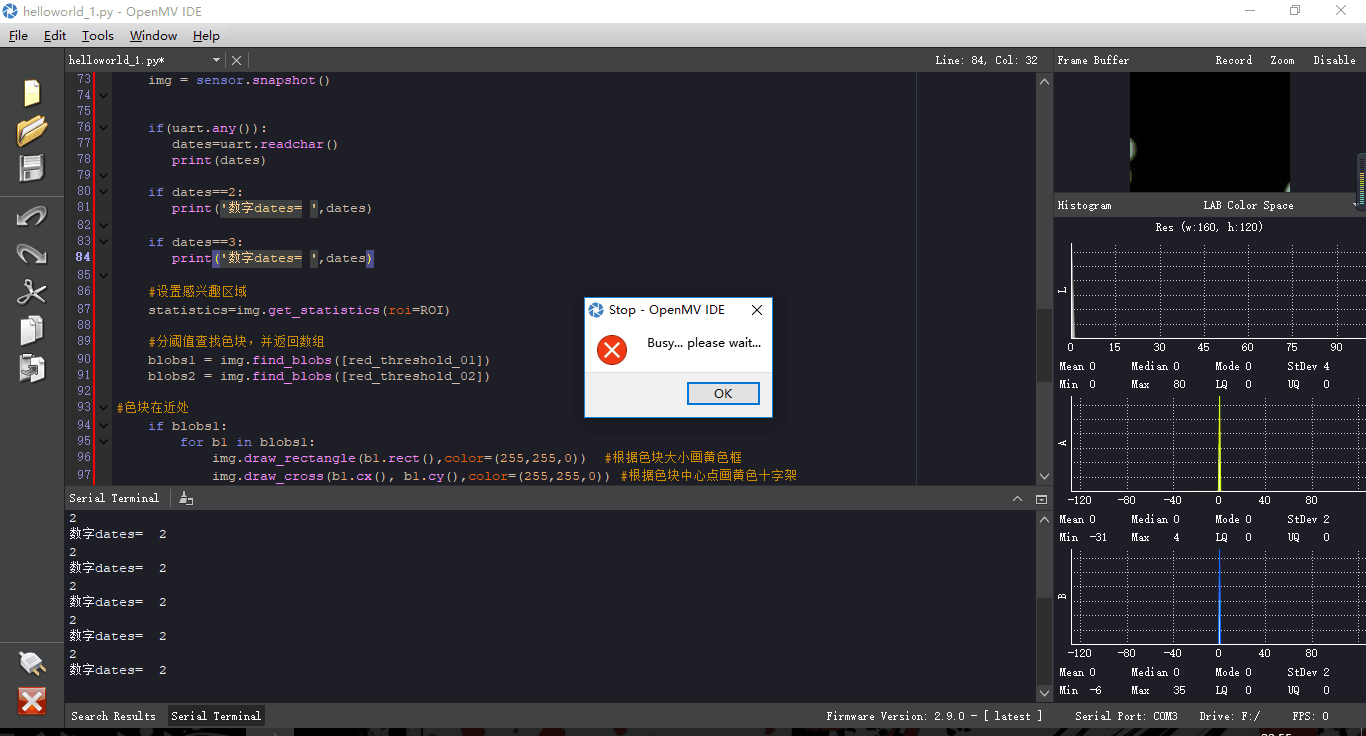
然后就出现这种提示
-
请提供能重复出现问题的代码。
-
@kidswong999 import sensor, image, time
from pyb import UART
from pyb import Servo
import json#设置阈值
red_threshold_01 = ( 7, 58, 10, 81, 21, 74) #近阈值
red_threshold_02 = ( 9, 68, 8, 71, 6, 70) #远阈值
enable=0uart = UART(3, 115200)
def dj(b):
step=0
x = b #将b[5]赋值给x
c=abs(80-b) #把cx与中心x值的差赋值给c
#下面为简单的识别舵机运动算法,具体根据实际调试修改参数,可以自行优化
if x > 81:
step=step-int(x-80)
if -800 > step:
step=step+int(x-80)
if x < 79:
step=step+int(80-x)
if step > 900:
step=step-int(80-x)
s1.pulse_width(1400-4*step) #舵机旋转角度
d=step
#print('偏转量 :',step)def dj1(b):
step=0
x = b #将b[5]赋值给x
c=abs(80-b) #把cx与中心x值的差赋值给c
#下面为简单的识别舵机运动算法,具体根据实际调试修改参数,可以自行优化
if x > 81:
step=step-int(x-80)
if -800 > step:
step=step+int(x-80)
if x < 79:
step=step+int(80-x)
if step > 900:
step=step-int(80-x)
s1.pulse_width(1400-5*step) #舵机旋转角度
d=step
#print('偏转量 :',step)sensor.reset()
sensor.set_pixformat(sensor.RGB565)
sensor.set_framesize(sensor.QQVGA)
sensor.set_auto_whitebal(False)
sensor.set_auto_gain(False) #关闭自动亮度增益,太暗了可以自行打开
sensor.set_contrast(3) #设置对比度为3
sensor.set_brightness(-3) #设置亮度最低
sensor.set_auto_exposure(False)
sensor.skip_frames(10)
clock = time.clock()#用于灭灯时关闭图像识别(dj函数),1为开启,0为关闭
date=1 #默认为开启s1 = Servo(1) #P7 舵机
s1.pulse_width(750) #舵机初始化到中间位置#设置感兴趣区域大小
ROI=(0,0,160,120)dates=0
while(True):
img = sensor.snapshot()#通过读入ardiuo发送过来的信息来控制dj函数关闭与开启
if(uart.any()):
dates=uart.readchar()
print(dates)
#type(dates)
#date=2
#print('date= ',date)#当date为2时,表示开始灭灯,此时不仅要关闭dj函数,还要让舵机中位(为后退做准备)
if dates==2:
print('字符dates= ',dates)
#s1.pulse_width(1400)
#time.sleep(6000)
#date=3#当date为3时,表示后退已完成,开始新一轮转圈
if dates==3:
print('数字dates= ',dates)
#time.sleep(4000)
#s1.pulse_width(750)
#date=1#设置感兴趣区域 statistics=img.get_statistics(roi=ROI) #分阈值查找色块,并返回数组 blobs1 = img.find_blobs([red_threshold_01]) blobs2 = img.find_blobs([red_threshold_02])#色块在近处
if blobs1:
for b1 in blobs1:
img.draw_rectangle(b1.rect(),color=(255,255,0)) #根据色块大小画黄色框
img.draw_cross(b1.cx(), b1.cy(),color=(255,255,0)) #根据色块中心点画黄色十字架
if date==1:
if b1[3]>=15:
dj1(b1[5])
#print('b1[5]= ',b1[5])
#print('jin')
else:
if b1[3]<15:
dj(b1[5])
#print('jin')#色块不在近处但在远处
else:
if blobs2:
for b2 in blobs2:
if b2[2]>1 and b2[3]>1:
img.draw_rectangle(b2.rect(),color=(255,255,255)) #根据色块大小画白色框
img.draw_cross(b2.cx(), b2.cy(),color=(255,255,255)) #根据色块中心点画白色十字架
if date==1:
if b2[3]>=15:
dj1(b2[5])
#print('yuan')
#print('b2[5]= ',b2[5])
else:
if b2[3]<15:
dj(b2[5])
#print('b2[5]= ',b2[5])
#print('yuan')
你好小助手这是openmv代码int Echo = A5; // Echo回声脚
int Trig = A4;// Trig 触发脚()
int Distance1 = 0;
int Distance2 = 0;
int Distance3 = 0;
int Distance = 0;
int a = 1;
unsigned char val = 2;
unsigned char bal = 3;
unsigned char kal = 4;void setup()
{
Serial.begin(115200);
//初始化电机驱动IO为输出方式
//初始化超声波引脚
pinMode(Echo, INPUT);
// 定义超声波输入脚
pinMode(Trig, OUTPUT); // 定义超声波输出脚
delay(100); //开机延时}
void Distance_test() // 量出前方距离
{
digitalWrite(Trig, LOW); // 给触发脚低电平2μs
delayMicroseconds(2);
digitalWrite(Trig, HIGH); // 给触发脚高电平10μs,这里至少是10μs
delayMicroseconds(10);//10us
digitalWrite(Trig, LOW); // 持续给触发脚低电
float Fdistance = pulseIn(Echo, HIGH); // 读取高电平时间(单位:微秒)
Fdistance= Fdistance/58; //为什么除以58等于厘米, Y米=(X秒344)/2
// X秒=( 2Y米)/344 ==》X秒=0.0058*Y米 ==》厘米=微秒/58
switch (a){
case 1:Distance1 = Fdistance;
case 2:Distance1 = Fdistance;
case 3:Distance1 = Fdistance;
}
if(a==3){a=0;}
else a++;
Distance=Distance1+Distance2+Distance3;
}void loop()
{
Distance_test();
Distance_test();
Distance_test(); /取3次距离平均值/
if(Distance<30){ /如果前一个动作为前行,后退消除惯性/
Serial.write(val); /发送数据是arduino停止对准光源/
Serial.write(bal);
Serial.write(kal);
}
}
这是测试用的arduino代码,if(any)那里接受数据的地方,把数据打印到电脑串口调试器里,每次发送一定量数据之后就会出现busy的情况,然后摄像头卡顿,这是为什么
-
求大佬解释一下,突然出现的问题
-
我不知道你怎么跟你解释,因为我没法复现这个问题。
而且你贴了好几百行的代码,真的没法看。
-
你需要精简代码,只剩出bug的代码。
-
@kidswong999 import sensor, image, time
from pyb import UART
from pyb import Servo
import json#设置阈值
red_threshold_01 = ( 7, 58, 10, 81, 21, 74) #近阈值
enable=0uart = UART(3, 115200)
sensor.reset()
sensor.set_pixformat(sensor.RGB565)
sensor.set_framesize(sensor.QQVGA)
sensor.set_auto_whitebal(False)
sensor.set_auto_gain(False) #关闭自动亮度增益,太暗了可以自行打开
sensor.set_contrast(3) #设置对比度为3
sensor.set_brightness(-3) #设置亮度最低
sensor.set_auto_exposure(False)
sensor.skip_frames(10)
clock = time.clock()#设置感兴趣区域大小
ROI=(0,0,160,120)dates=0
while(True):
img = sensor.snapshot()#以下为串口通信测试代码
if(uart.any()):
dates=uart.readchar()
print(dates)if dates==2: print('字符dates= ',dates) if dates==3: print('数字dates= ',dates)#测试代码到此结束
#设置感兴趣区域
statistics=img.get_statistics(roi=ROI)

#分阈值查找色块,并返回数组
blobs1 = img.find_blobs([red_threshold_01])
#色块在近处
if blobs1:
for b1 in blobs1:
img.draw_rectangle(b1.rect(),color=(255,255,0)) #根据色块大小画黄色框
img.draw_cross(b1.cx(), b1.cy(),color=(255,255,0)) #根据色块中心点画黄色十字架
小助手这是精简后的代码,和arduino通信的,求告知问题所在
-
求助啊,真的不知道是什么问题
-
@kidswong999 求助啊,串口通信只要是太快了一直发,就会出现这种情况

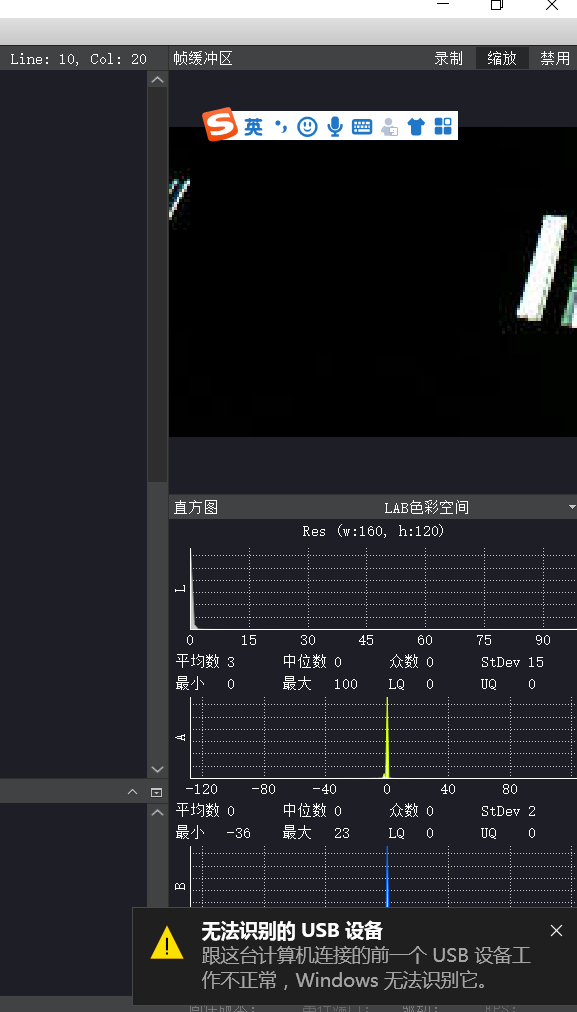
然后接着电脑就显示这种信息了
-
@kidswong999 换了三个摄像头都是这种情况
-
是不是寄存器空间太小了,有没有清空数据累的操作