运行追小球的小车代码没有反应
-
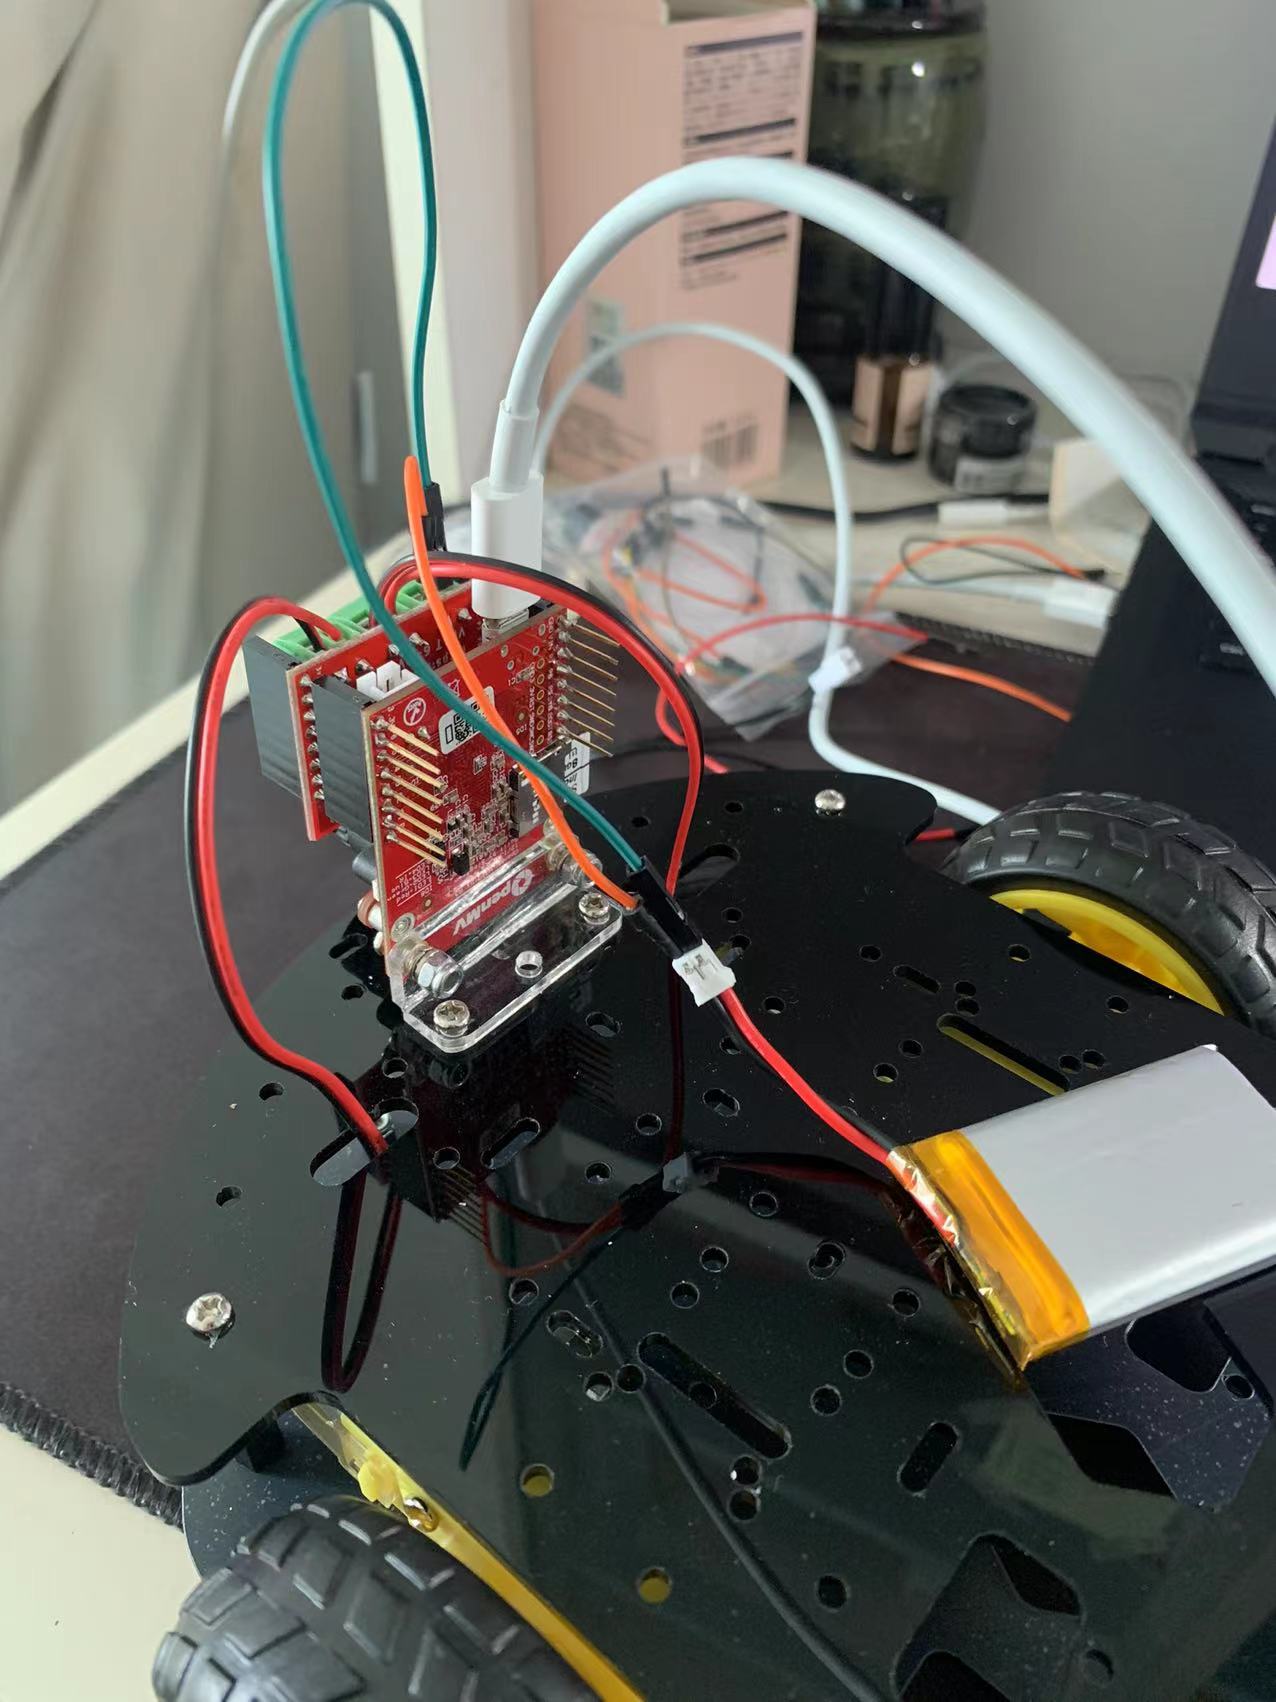
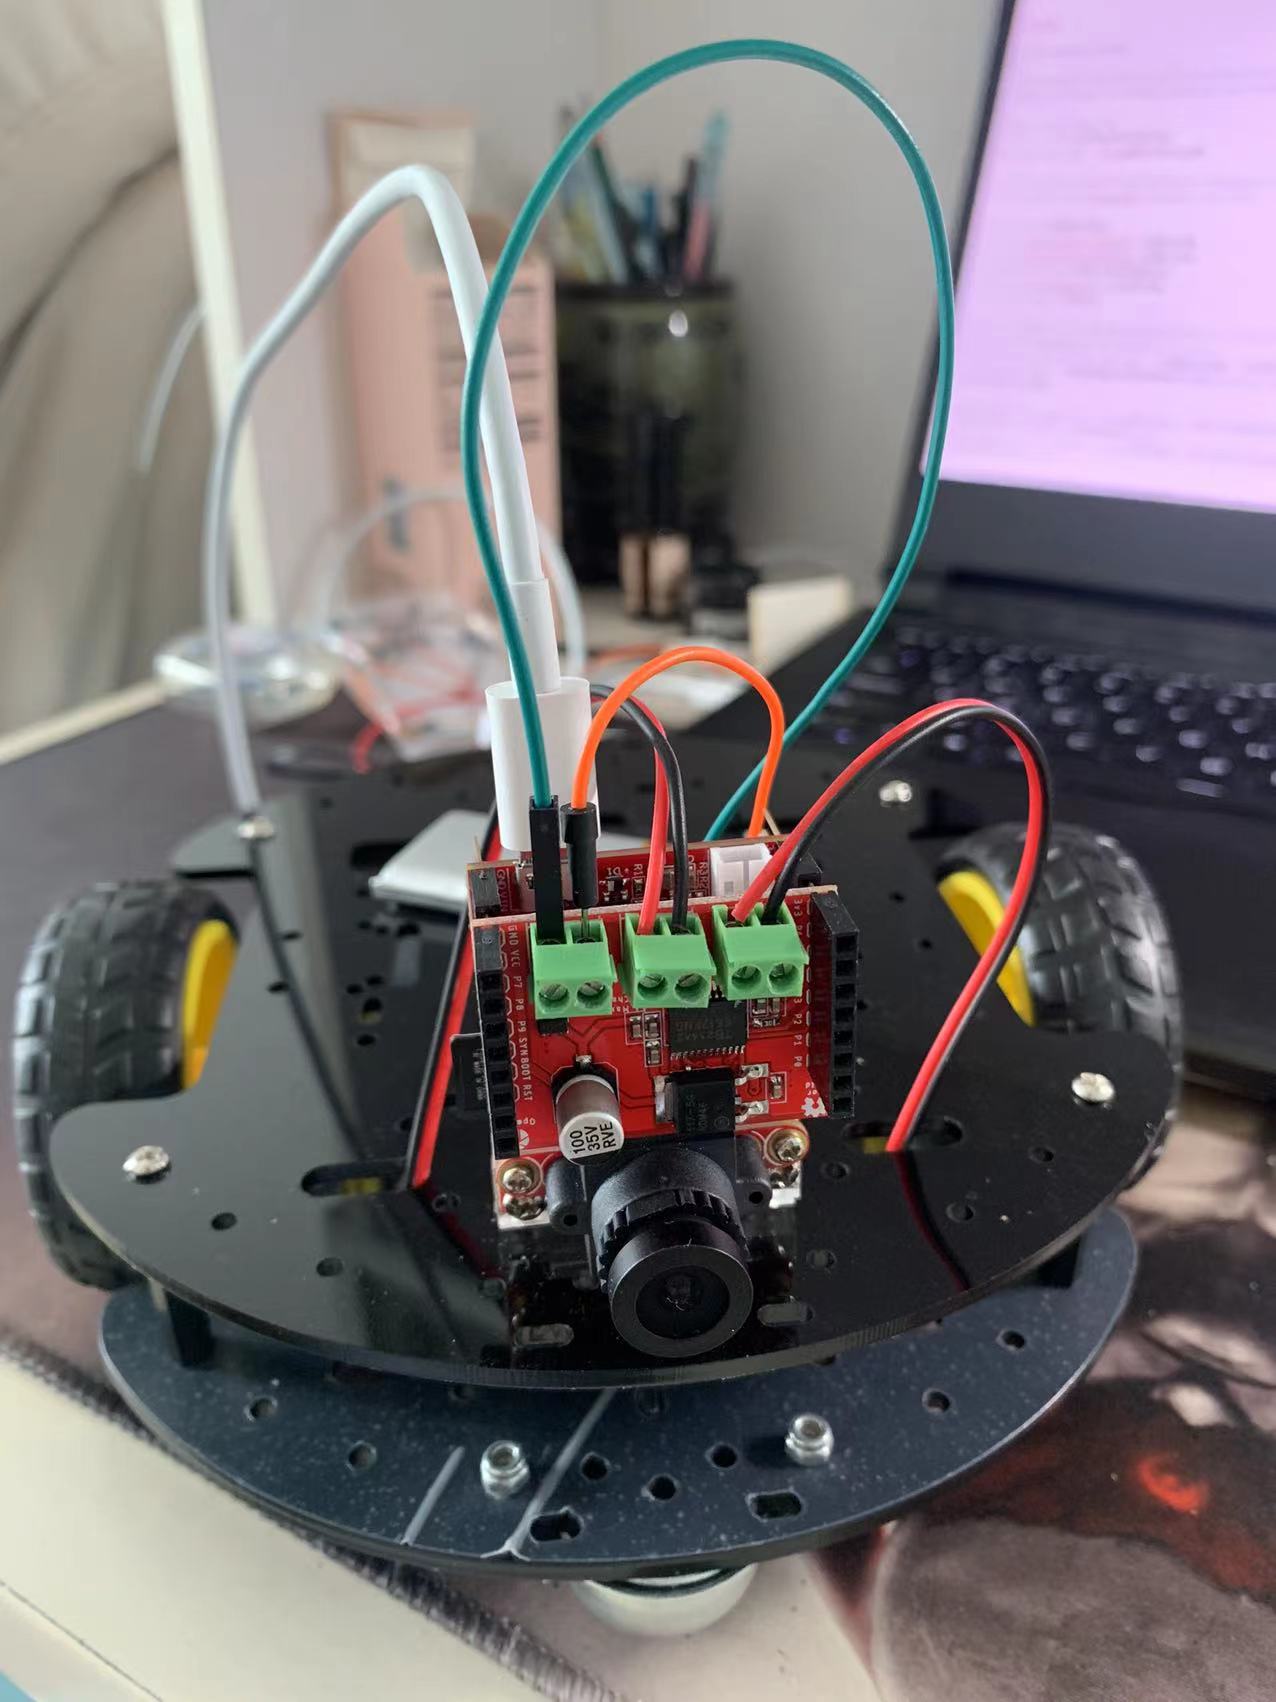
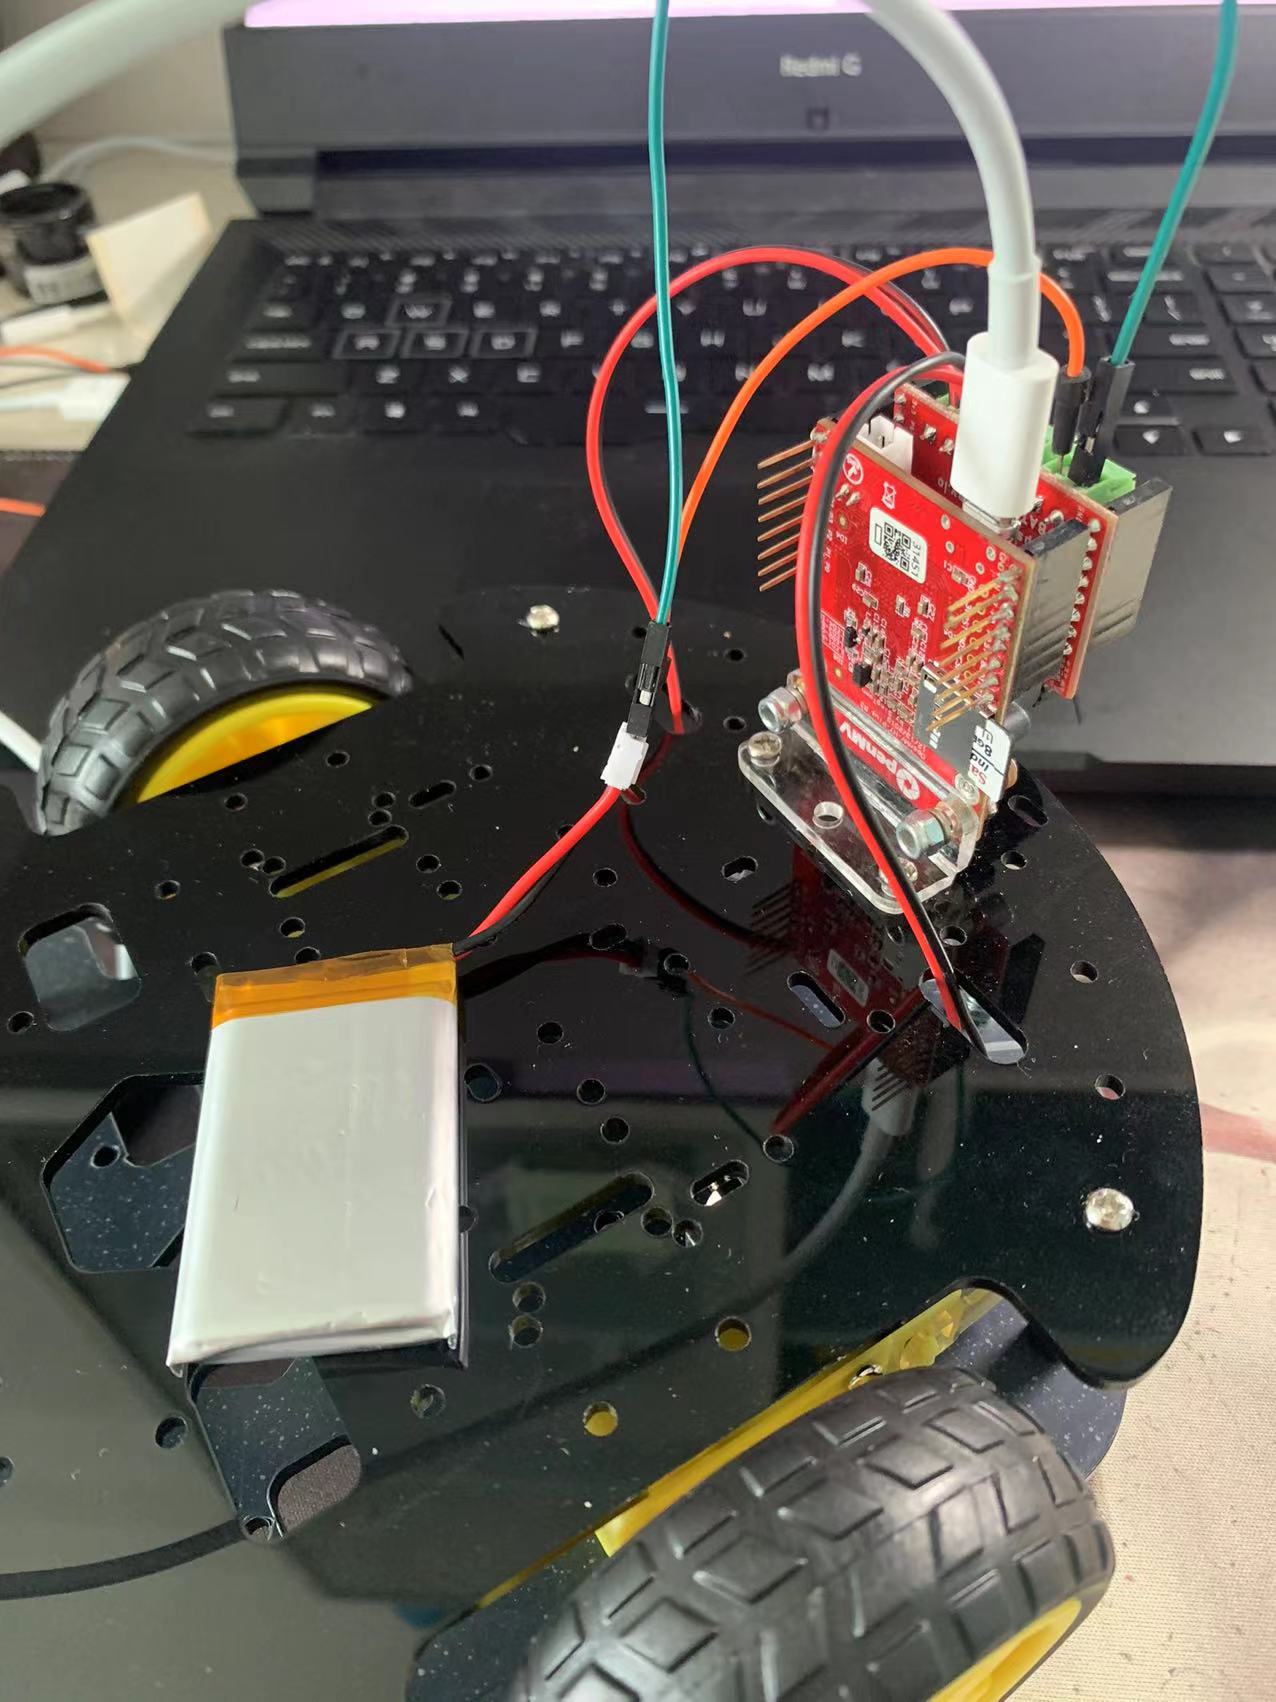
线接好了,运行追小球的小车代码 openmv会报警!发出类似蜂鸣器的声音(不知道是不是Openmv发出的,大概率是),求解求解!!!
# Blob Detection Example # # This example shows off how to use the find_blobs function to find color # blobs in the image. This example in particular looks for dark green objects. import sensor, image, time import car #引入控制电机运动的代码 from pid import PID #从pid模块中导入pid类 # You may need to tweak the above settings for tracking green things... # Select an area in the Framebuffer to copy the color settings. sensor.reset() # 重置感光原件 sensor.set_pixformat(sensor.RGB565) # 设置为彩图 sensor.set_framesize(sensor.QQVGA) # 设置分辨率 sensor.skip_frames(10) # 跳过几帧使图像生效 sensor.set_auto_whitebal(False) # 关闭白平衡 clock = time.clock() # 设置时钟 # For color tracking to work really well you should ideally be in a very, very, # very, controlled enviroment where the lighting is constant... green_threshold = (76, 96, -110, -30, 8, 66) #设置颜色阈值,不同颜色要修改!!! size_threshold = 2000 #如果摄像头检测到像素块的面积大于2000,就说明我们的小车离小球非常近,那么需要后退一段距离 x_pid = PID(p=0.5, i=1, imax=100) #x_pid是方向pid:控制小车电机的方向(如果在小车拐弯时发现小车拐的角度非常大,可以把x_pid的参数调得小一点) h_pid = PID(p=0.05, i=0.1, imax=50) #h_pid是距离pid:用于控制小车的速度(如果速度偏快,可以把h_pid的p参数调得再小一点) #定义一个函数去找到视野中最大的块:视野中肯定不止一个小球,我们让小车去追踪最近(最近的在摄像头里就最大)的一个小球 def find_max(blobs): max_size=0 for blob in blobs: if blob[2]*blob[3] > max_size: max_blob=blob max_size = blob[2]*blob[3] return max_blob while(True): clock.tick() # Track elapsed milliseconds between snapshots(). img = sensor.snapshot() # 从sensor中截取一段图像 blobs = img.find_blobs([green_threshold]) #调用颜色识别的函数 if blobs:#如果小球找到色块 max_blob = find_max(blobs) #调用find_max()函数找到视野中最大的色块去追踪 #pid的差值,后面用于计算pid的参数 x_error = max_blob[5]-img.width()/2 h_error = max_blob[2]*max_blob[3]-size_threshold print("x error: ", x_error) ''' for b in blobs: # Draw a rect around the blob. img.draw_rectangle(b[0:4]) # rect img.draw_cross(b[5], b[6]) # cx, cy ''' img.draw_rectangle(max_blob[0:4]) # 在找到的色块上画一个矩形 img.draw_cross(max_blob[5], max_blob[6]) # 在色块的中心cx,cy画一个十字 #调用了pid.py中的函数,用于得到最终的结果,控制小车的运动 x_output=x_pid.get_pid(x_error,1) h_output=h_pid.get_pid(h_error,1) print("h_output",h_output) car.run(-h_output-x_output,-h_output+x_output) #两个轮胎的h_pid应该是一样的(距离),x_pid应该是相反的 else:#没有找到色块 car.run(18,-18) #左右电机向相反的方向慢速运动,让小车在原地以非常慢的速度旋转,可以让小车在原地搜寻小球from pyb import Pin, Timer #导入引脚和定时器 import pyb #如果两个轮子的电机正负接反了,那么就设置为True,在32行可以改 inverse_left=False #change it to True to inverse left wheel inverse_right=False #change it to True to inverse right wheel #新建四个引脚,分别控制左右两个电机的方向 ain1 = pyb.Pin('P0', pyb.Pin.OUT_PP, pyb.Pin.PULL_NONE) #Pin.OUT_PP:设置上拉电阻 ain2 = pyb.Pin('P1', pyb.Pin.OUT_PP, pyb.Pin.PULL_NONE) bin1 = pyb.Pin('P2', pyb.Pin.OUT_PP, pyb.Pin.PULL_NONE) bin2 = pyb.Pin('P3', pyb.Pin.OUT_PP, pyb.Pin.PULL_NONE) ain1.low() ain2.low() #引脚初始化:低电平 bin1.low() bin2.low() #定义P7、P8为PWM pwma = Pin('P7') pwmb = Pin('P8') tim = Timer(4, freq=1000) #设置定时器4,频率为1000HZ #新建两个通道 通过官网的中文文档:Timer4(定时器4)用到的通道是channel 1、2、3(通道1、2、3分别对于引脚P7、P8、P9) ch1 = tim.channel(1, Timer.PWM, pin=pwma) ch2 = tim.channel(2, Timer.PWM, pin=pwmb) ch1.pulse_width_percent(0) ch2.pulse_width_percent(0) #初始化:设置通道的占空比为0 #定义run函数:用于控制小车电机左右运动 def run(left_speed, right_speed):#参数为左右电机的速度 #设置电机正反转(安装的时候直接接上去了,因此正负两条线可能接反,两个电机不一定都是正方向转动,在这里可以调) if inverse_left==True: left_speed=(-left_speed) if inverse_right==True: right_speed=(-right_speed) if left_speed < 0: ain1.low() ain2.high() else: ain1.high() ain2.low() ch1.pulse_width_percent(int(abs(left_speed))) #abs(x)是一个函数,取x的绝对值,进而控制占空比,来控制小车速度 #x越大,即占空比越大,小车就越快 if right_speed < 0: bin1.low() bin2.high() else: bin1.high() bin2.low() ch2.pulse_width_percent(int(abs(right_speed)))
-
是电机模块的蜂鸣器报警 求解!
-
单独运行电机驱动的代码没有报错 轮子可以转动
# 电机驱动板输出PWM例程
#
# A为左轮 B为右轮
#
# 此示例显示如何控制OpenMV Cam上的电机扩展板。
# 通过使用PYB模块控制电机扩展板,可以通过PWM控制速度并设置数字I/O引脚状态。
# 电机扩展板需要6个I/O引脚用于两个电机。

import pyb  # 导入pyb模块(pyb 模块包含与插件相关的特定函数)

# 初始化4个引脚
    # 这些引脚控制我们的方向,而下面的其他PWN引脚控制速度。
    # 每个电机的方向由H桥设置,其中A0/1是一个H桥驱动器的两侧。 B0/1是另一个H桥。
pinADir0 = pyb.Pin('P3', pyb.Pin.OUT_PP, pyb.Pin.PULL_NONE)
pinADir1 = pyb.Pin('P2', pyb.Pin.OUT_PP, pyb.Pin.PULL_NONE)
                                                           # 每两个引脚控制其中一个电机的方向(是由电机驱动板的芯片决定的)
pinBDir0 = pyb.Pin('P1', pyb.Pin.OUT_PP, pyb.Pin.PULL_NONE)
pinBDir1 = pyb.Pin('P0', pyb.Pin.OUT_PP, pyb.Pin.PULL_NONE)

# 控制电机的方向
    # 对于向前或向后操作:Dir0/1必须彼此不相等。如果它们相等则那就是刹车操作。
    # 如果它们不相等,则电机将以另一个方式旋转,这取决于它的连接和dir 0的值。
pinADir0.value(0)   # 把P3引脚设置为低电平
pinADir1.value(1)   # 把P2引脚设置为高电平       控制其中一个轮子正转(如果是1 0 就是轮子反转;如果是0 0 就是停止不动)

    # 对于向前或向后操作,Dir0/1必须彼此不相等。如果它们相等则那就是刹车操作。
    # 如果它们不相等,则电机将以另一个方式旋转,这取决于它的连接和dir 0的值。
pinBDir0.value(0)
pinBDir1.value(1)                   # 控制两个电机的另一个正转

# 设置一个定时器
    # 创建一个以1KHz运行的定时器对象,它将为我们的OpenMV Cam上的PWM输出供电。
    # 只需要创建一次。
tim = pyb.Timer(4, freq=1000)

# 通过定时器来控制PWM信号
    # 使用timer对象在OpenMV Cam上创建两个PWM输出。这些定时器控制电机的速度。
    # 您将在循环中重复设置这些定时器的PWM百分比。


# chA为左轮    chB为右轮
chA = tim.channel(1, pyb.Timer.PWM, pin=pyb.Pin("P7"))
chB = tim.channel(2, pyb.Timer.PWM, pin=pyb.Pin("P8"))      # 通过定时器来控制两个PWM信号,来控制电机速度

while (True):

    for i in range(100):# i从0-99增加
        pyb.delay(100)
        chA.pulse_width_percent(i)      # 第一个电机的占空比从0-99 ——> 速度越来越快
        chB.pulse_width_percent(99-i)   # 第二个电机的占空比从99-0 ——> 速度越来越慢

    for i in range(100):# 这是相反的
        pyb.delay(100)
        chA.pulse_width_percent(99-i)   # 第一个电机的占空比从99-0 ——> 速度越来越慢
        chB.pulse_width_percent(i)      # 第二个电机的占空比从0-99 ——> 速度越来越快


# 如果只控制单个电机
#while (True):
#    chA.pulse_width_percent(20) # 左轮
#    #chB.pulse_width_percent(20) # 右轮
-
因为小车不是配套的小车,引脚定义不太一样。
ain1 = pyb.Pin('P0', pyb.Pin.OUT_PP, pyb.Pin.PULL_NONE)   #Pin.OUT_PP:设置上拉电阻
ain2 = pyb.Pin('P1', pyb.Pin.OUT_PP, pyb.Pin.PULL_NONE)
bin1 = pyb.Pin('P2', pyb.Pin.OUT_PP, pyb.Pin.PULL_NONE)
bin2 = pyb.Pin('P3', pyb.Pin.OUT_PP, pyb.Pin.PULL_NONE)
改为
ain1 = pyb.Pin('P3', pyb.Pin.OUT_PP, pyb.Pin.PULL_NONE)   #Pin.OUT_PP:设置上拉电阻
ain2 = pyb.Pin('P2', pyb.Pin.OUT_PP, pyb.Pin.PULL_NONE)
bin1 = pyb.Pin('P1', pyb.Pin.OUT_PP, pyb.Pin.PULL_NONE)
bin2 = pyb.Pin('P0', pyb.Pin.OUT_PP, pyb.Pin.PULL_NONE)
-
@kidswong999 不行啊还是报警
-
@kidswong999 电机驱动模块的蜂鸣器还是会报警 所以蜂鸣器报警是因为什么原因啊???
-
@16yd 电机扩展板上没有蜂鸣器。
-
@kidswong999 那我报警是为什么啊 我拆下了拓展板就不会报警了 很奇怪
-
@kidswong999 大大求解!
-
@16yd 我没法解决啊,我没有你的硬件,也不知道哪里出错了.
那你就在单机驱动的代码和car.py检查一下.