@kidswong999 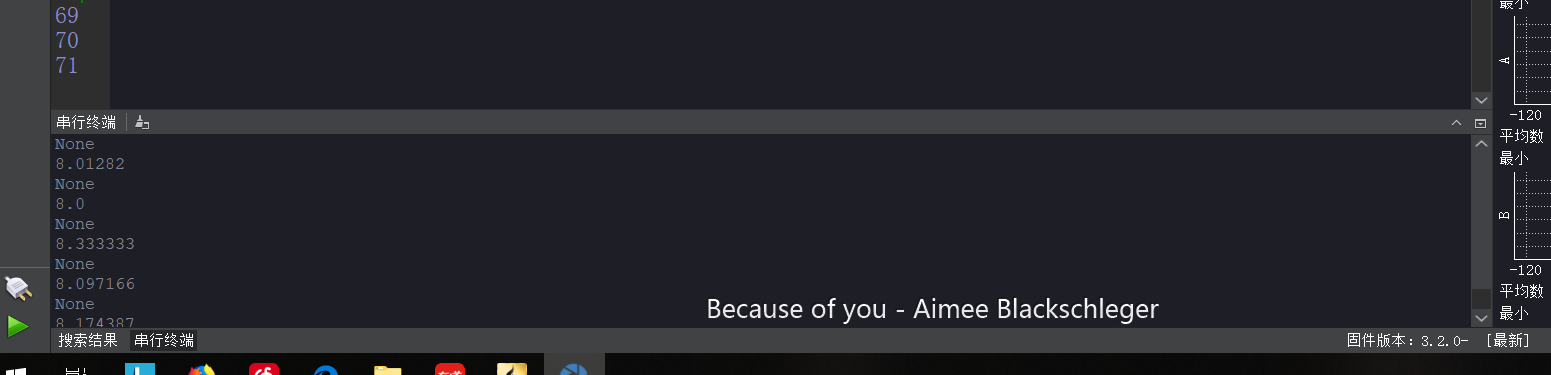
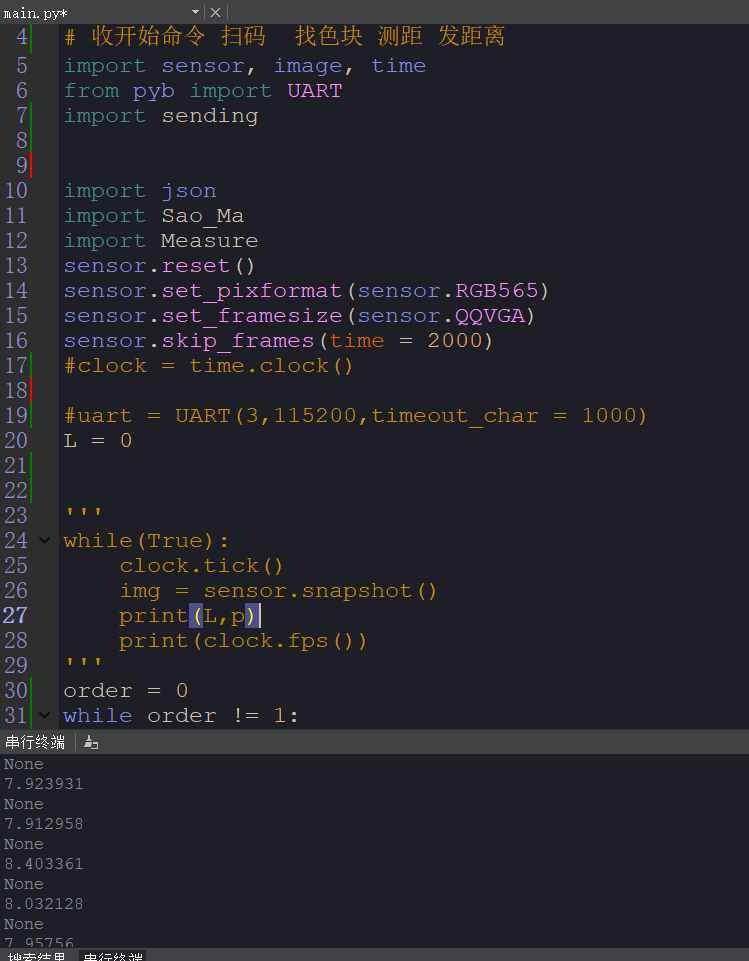
一直这样,灯不亮,终端也没有显示收到的数据。当我单独调试串口接收的程序时又能接收到发过来的字符。
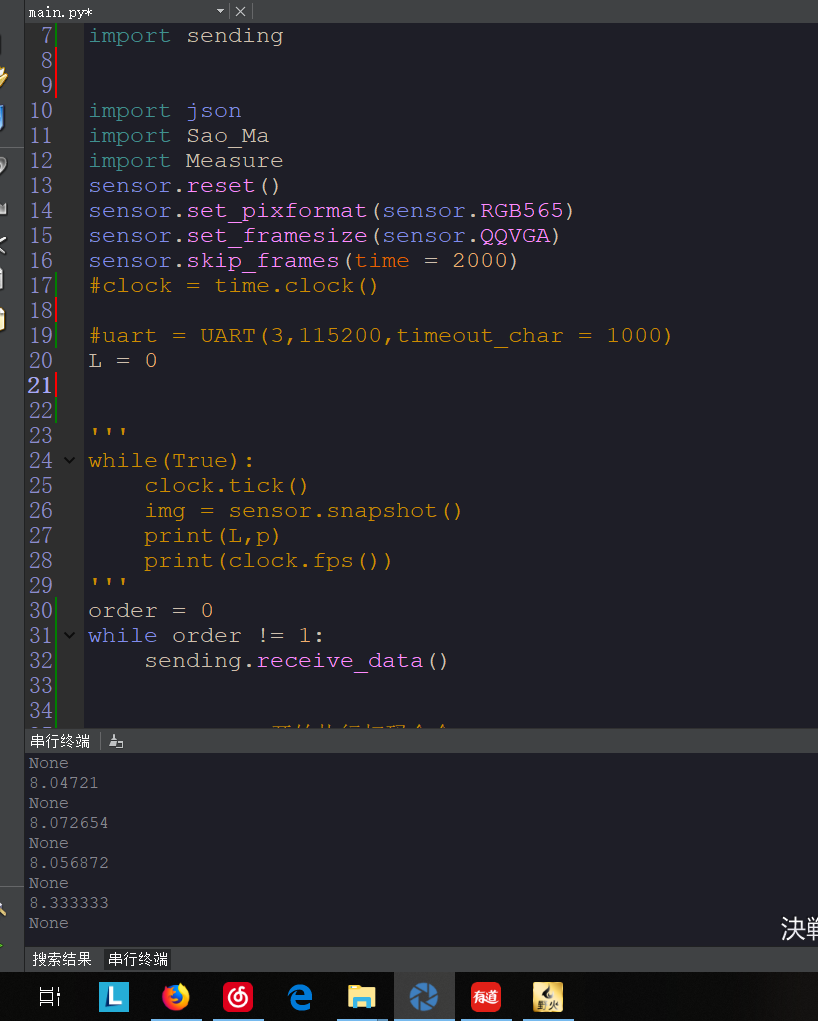
main.py
# Untitled - By: Lee - 周六 2月 23 2019
# Untitled - By: Lee - 周六 1月 26 2019
# 收开始命令 扫码 找色块 测距 发距离
import sensor, image, time,pyb,math
from pyb import UART
import sending
import json
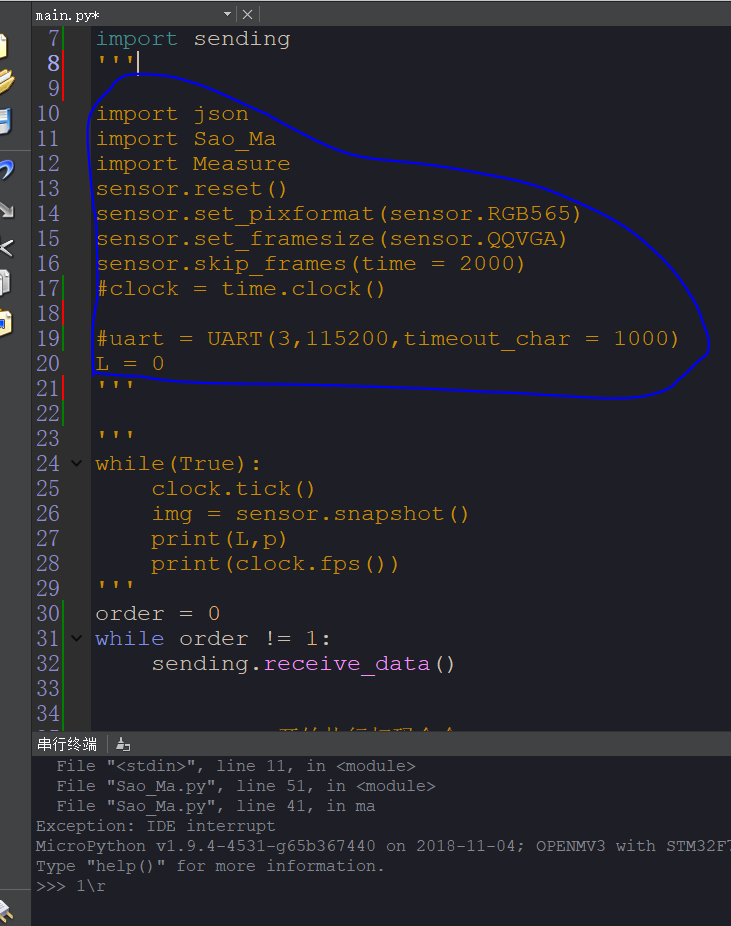
from Sao_Ma import ma
from Measure import measure_distance
sensor.reset()
sensor.set_pixformat(sensor.RGB565)
sensor.set_framesize(sensor.QQVGA)
sensor.skip_frames(time = 2000)
#uart = UART(3,115200,timeout_char = 1000)
L = 0
i = 0
order = 0
#while True:
clock = time.clock()
for x in range(2):
pyb.LED(3).on()
time.sleep(200)
pyb.LED(3).off()
time.sleep(100)
while order == 0:
order = sending.receive_data()
print(order)
#print('ok')
#开始执行扫码命令
'''
while(True):
clock.tick()
img = sensor.snapshot()
print(L,p)
print(clock.fps())
'''
fan_kui = 0
p = 3
print(p)
while fan_kui != 0 and p > 0:
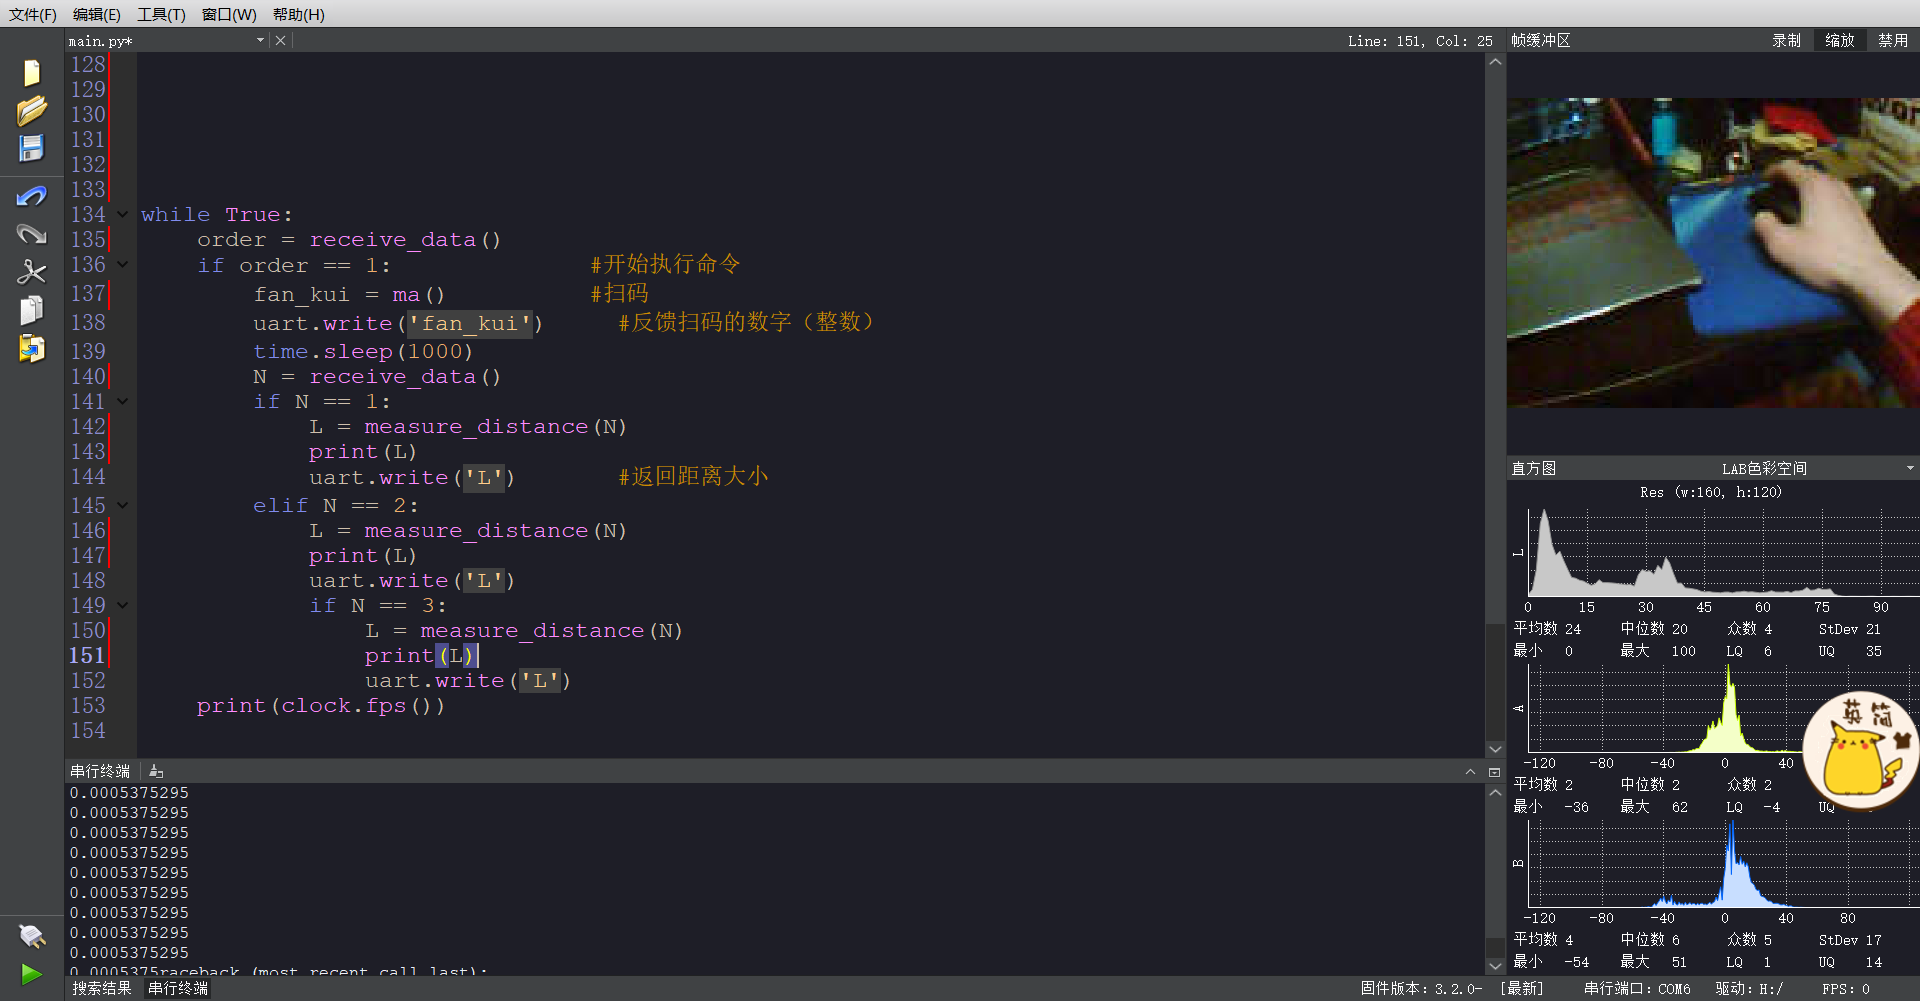
fan_kui = ma() #扫码
print(fan_kui)
uart.write('fan_kui') #反馈扫码的数字(整数)
p -=1
print(p)
q = 0
while q < 3:
q += 1
N = 11
while N != 11 and N != 12 and N !=13: #当接收到11、12、13时才开始识别色块和测距
N = receive_data()
if N % 10 == 1: #红色
L = measure_distance(N)
print(L)
sending_data(L) #发送距离大小
elif N % 10 == 2: #绿色
L = measure_distance(N)
print(L)
sending_data(L)
elif N % 10 == 3: #蓝色
L = measure_distance(N)
print(L)
sending_data(L)
sending.py
Untitled - By: Lee - 周日 2月 3 2019
import time,sensor
from pyb import UART
uart = UART(3, 115200,timeout_char = 1000)
#uart.init(115200, bits=8, parity=None, stop=1) # init with given parameters
clock = time.clock()
def sending_data(jj):
global uart
j = str(jj)
print(j)
uart.write(j+'\r\n') #发送字符串
def receive_data():
clock.tick()
img = sensor.snapshot()
if uart.any():#如果收到数据
print('OK')
message = uart.readline().decode().strip()
#print(message) #打印数据
return message
if(d=='A'):#如果是A,亮灯
pyb.LED(2).on()
#else:
#return 2
'''
while(True):
sending_data(233)
receive_data()
print(receive_data())
time.sleep(1000)
'''
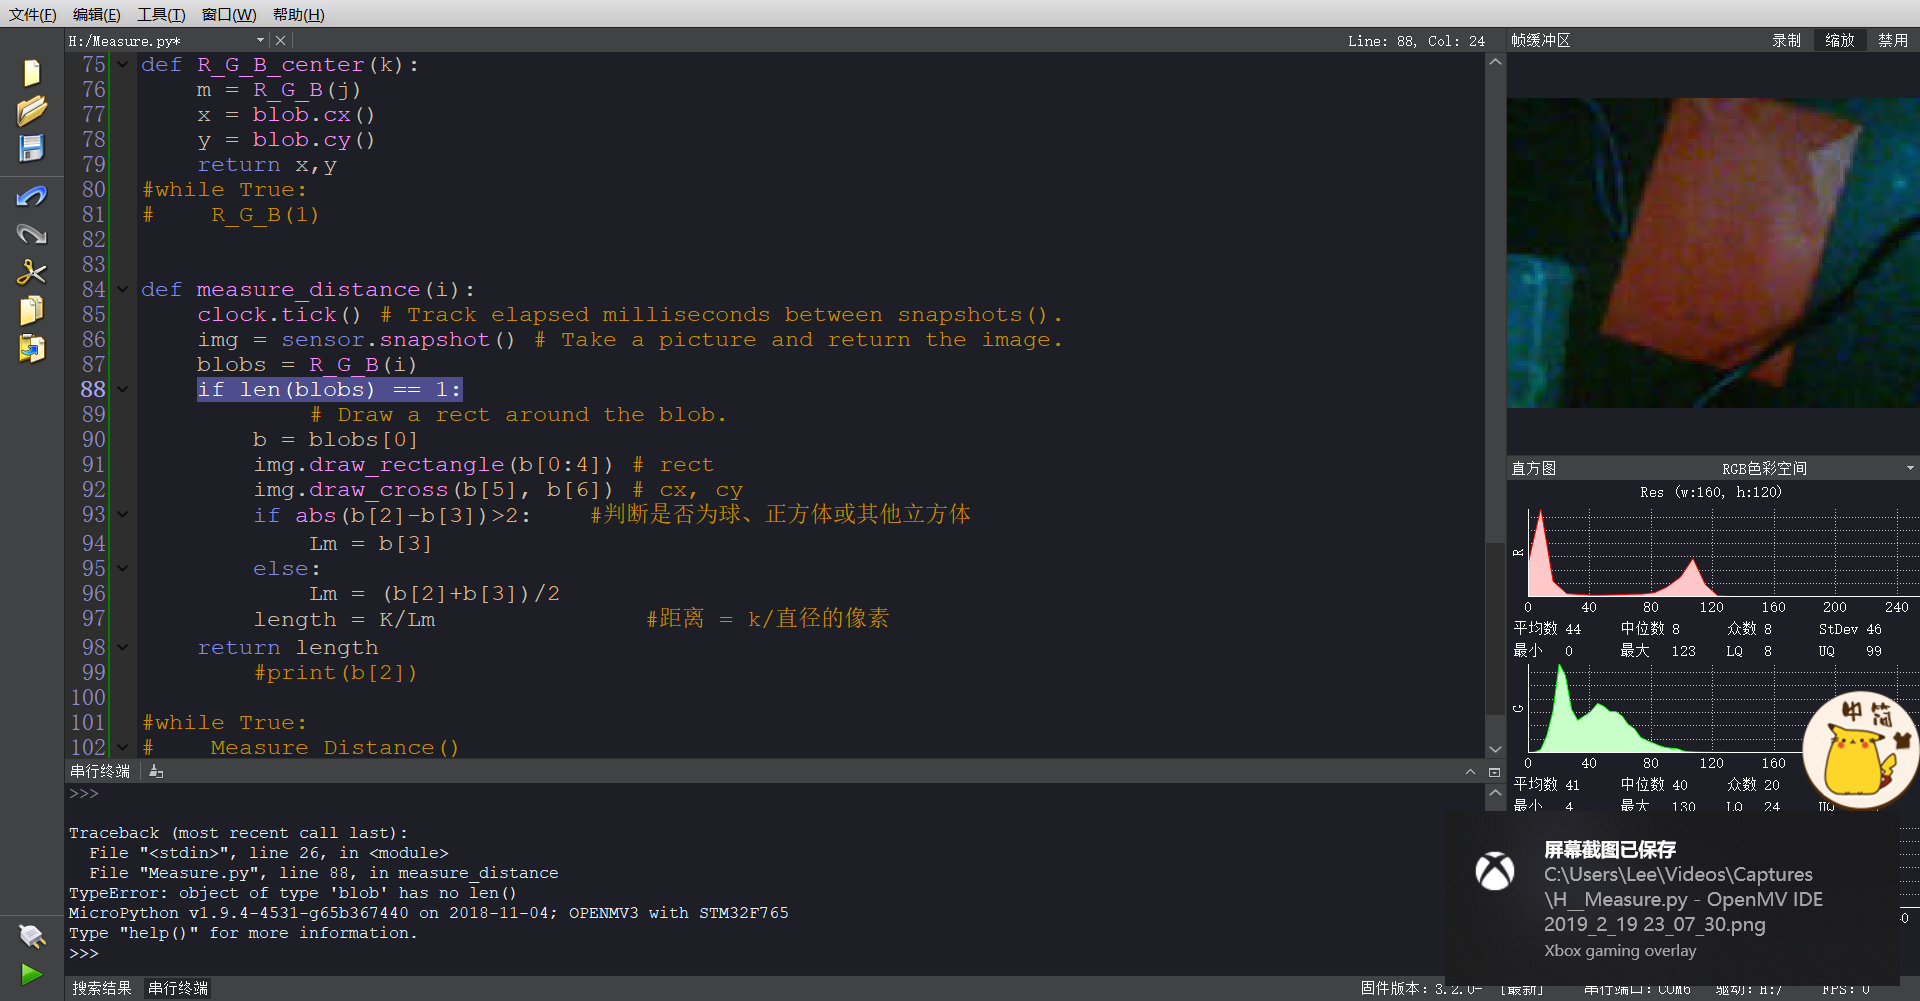
Measure.py
# Untitled - By: Lee - 周五 2月 22 2019
# Single Color RGB565 Blob Tracking Example
#
# This example shows off single color RGB565 tracking using the OpenMV Cam.
import sensor,image,math,time
import sending
threshold_index = 0 # 0 for red, 1 for green, 2 for blue
# Color Tracking Thresholds (L Min, L Max, A Min, A Max, B Min, B Max)
# The below thresholds track in general red/green/blue things. You may wish to tune them...
red_thresholds = (36, 66, 14, 72, -6, 60) # generic_red_thresholds #只有红色
green_thresholds = (70, 100, -10, 7, 0, 35) # generic_green_thresholds #只有绿色
blue_thresholds = (34, 50, -17, 22, -40, -10) # generic_blue_thresholds #只有蓝色
#while (True):
# View_Color()
'''
Measure the distance
This example shows off how to measure the distance through the size in imgage
This example in particular looks for yellow pingpong ball.
For color tracking to work really well you should ideally be in a very, very,
very, controlled enviroment where the lighting is constant...
yellow_threshold = ( 56, 83, 5, 57, 63, 80)
You may need to tweak the above settings for tracking green things...
Select an area in the Framebuffer to copy the color settings.
'''
sensor.reset() # Initialize the camera sensor.
sensor.set_pixformat(sensor.RGB565) # use RGB565.
sensor.set_framesize(sensor.QQVGA) # use QQVGA for speed.
sensor.skip_frames(10) # Let new settings take affect.
sensor.set_auto_whitebal(False) # turn this off.
clock = time.clock() # Tracks FPS.
i = sending.receive_data()
K=5000 #the value should be measured 需根据要识别物体来确定初始化比例大小
#实际大小=K*宽的像素
''' Single Color RGB565 Blob Tracking Example
This example shows off single color RGB565 tracking using the OpenMV Cam.
分别给i赋值1,2,3
'''
def R_G_B(j): #寻找最大色块的坐标
if j <= 3:
max_size=0
clock.tick()
img = sensor.snapshot()
if j == 1:
blob = img.find_blobs([red_thresholds]) #色块中心的
elif j ==2:
blob = img.find_blobs([green_thresholds])
else:
blob = img.find_blobs([blue_thresholds])
'''if blob.pixels() > max_size:
max_blob = blob
max_size = blob.pixels()
img.draw_rectangle(blob.rect())
img.draw_cross(blob.cx(), blob.cy())
return max_blob
print('sum :', len(blob))
else:
return 0
'''
return blob
print(clock.fps())
def R_G_B_center(k):
m = R_G_B(j)
x = blob.cx()
y = blob.cy()
return x,y
#while True:
# R_G_B(1)
def measure_distance(i):
m = i
clock.tick() # Track elapsed milliseconds between snapshots().
img = sensor.snapshot() # Take a picture and return the image.
blobs = R_G_B(m)
length = 0
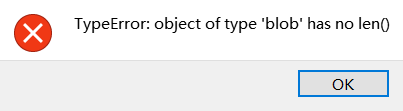
if len(blobs) == 1:
# Draw a rect around the blob.
b = blobs[0]
img.draw_rectangle(b[0:4]) # rect
img.draw_cross(b[5], b[6]) # cx, cy
if abs(b[2]-b[3])>2: #判断是否为球、正方体或其他立方体
Lm = b[3]
else:
Lm = (b[2]+b[3])/2
length = K/Lm #距离 = k/直径的像素
print(length)
return length
#print(b[2])
'''while True:
clock.tick()
ff = measure_distance(1)
print(clock.fps()) # Note: Your OpenMV Cam runs about half as fast while
# connected to your computer. The FPS should increase once disconnected.
'''
Sao_Ma.py
'''import sensor, image,time
sensor.reset()
sensor.set_pixformat(sensor.RGB565)
sensor.set_framesize(sensor.QQVGA) # can be QVGA on M7...
sensor.skip_frames(30)
sensor.set_auto_gain(False) # must turn this off to prevent image washout...
clock = time.clock()
def ma():
img = sensor.snapshot()
img.lens_corr(1.8) # strength of 1.8 is good for the 2.8mm lens.
for code in img.find_qrcodes():
img.draw_rectangle(code.rect(),color = (0,0,0))
numbers = code.payload()
if code.payload() >= '0':
numbers = list(map(int, numbers))
number = 0
number = numbers[0]*100+numbers[1]*10+numbers[2]
return nunmer
#print(number)
else:
return 'fail'
'''
二维码例程
这个例子展示了OpenMV Cam使用镜头校正来检测QR码的功能(请参阅qrcodes_with_lens_corr.py脚本以获得更高的性能)。
import sensor, image, time
sensor.reset()
sensor.set_pixformat(sensor.RGB565)
sensor.set_framesize(sensor.QVGA)
sensor.skip_frames(time = 2000)
sensor.set_auto_gain(False) # must turn this off to prevent image washout...
clock = time.clock()
def ma():
clock.tick()
img = sensor.snapshot()
img.lens_corr(1.8) # strength of 1.8 is good for the 2.8mm lens.
for code in img.find_qrcodes():
img.draw_rectangle(code.rect(), color = (255, 0, 0))
print(code)
number = code.payload() #返回二维码有效载荷的字符串
print('payload',number)
return int(number) #整型
print(clock.fps())
#while (True):
print(ma())

 也没有显示
也没有显示