那请问有什么办法可以将摄像头当前拍摄的内容在远程输入网址查看呢?就没有连到同个局域网上可以查看吗?
S
stw1 发布的帖子
-
RE: 请问使用WiFi扩展板传视频流是需要电脑或手机连上OpenMV的WIFI后才能打开那个网址进行查看吗?发布在 OpenMV Cam
-
请问使用WiFi扩展板传视频流是需要电脑或手机连上OpenMV的WIFI后才能打开那个网址进行查看吗?发布在 OpenMV Cam
请问使用WiFi扩展板传视频流是需要电脑或手机连上OpenMV的WIFI后才能打开那个网址进行查看吗?不能远程输入那个网址查看吗?
-
在识别颜色时有时出现帧超时是什么原因呢?发布在 OpenMV Cam
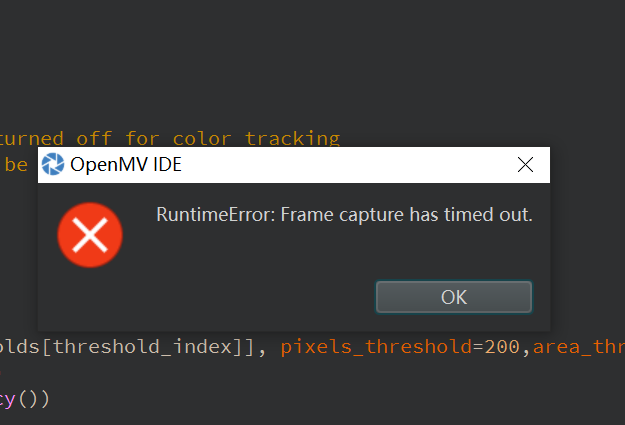
# Untitled - By: Lenovo - 周三 9月 27 2023 import sensor, image, time threshold_index = 2 # 0 for red, 1 for green, 2 for blue thresholds = [(30, 100, 15, 127, 15, 127), # generic_red_thresholds (30, 100, -64, -8, -32, 32), # generic_green_thresholds (41, 64, -20, 6, -44, -28)] # generic_blue_thresholds sensor.reset() sensor.set_pixformat(sensor.RGB565) sensor.set_framesize(sensor.QVGA) sensor.skip_frames(time = 2000) sensor.set_auto_gain(False) # must be turned off for color tracking sensor.set_auto_whitebal(False) # must be turned off for color tracking clock = time.clock() while(True): clock.tick() img = sensor.snapshot() for blob in img.find_blobs([thresholds[threshold_index]], pixels_threshold=200,area_threshold=200,merge=True): img.draw_rectangle(blob.rect()) img.draw_cross(blob.cx(),blob.cy()) print(clock.fps()) -
请问识别矩形中为什么加了roi坐标位置后就提示存储空间不够了?发布在 OpenMV Cam
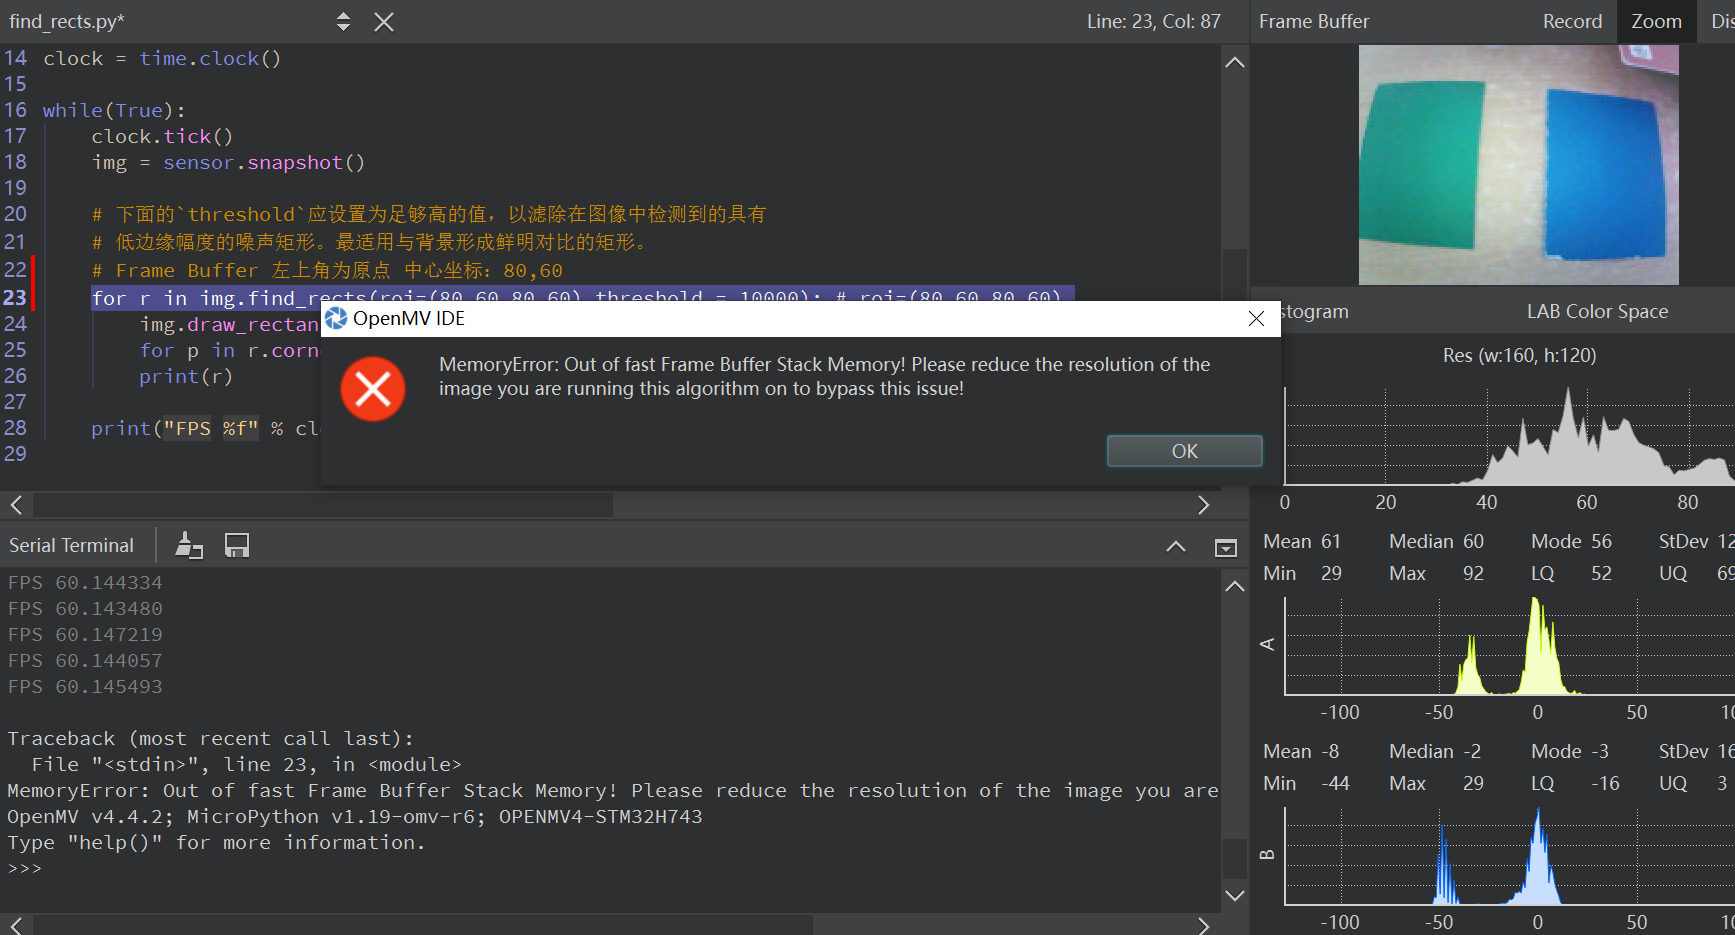
# Find Rects Example # # 这个例子展示了如何使用april标签代码中的四元检测代码在图像中找到矩形。 四元检测算法以非常稳健的方式检测矩形,并且比基于Hough变换的方法好得多。 例如,即使镜头失真导致这些矩形看起来弯曲,它仍然可以检测到矩形。 圆角矩形是没有问题的! # (但是,这个代码也会检测小半径的圆)... import sensor, image, time sensor.reset() sensor.set_pixformat(sensor.RGB565) # 灰度更快(160x120 max on OpenMV-M7) sensor.set_framesize(sensor.QQVGA) # 160*120 sensor.skip_frames(time = 2000) clock = time.clock() while(True): clock.tick() img = sensor.snapshot() # 下面的`threshold`应设置为足够高的值,以滤除在图像中检测到的具有 # 低边缘幅度的噪声矩形。最适用与背景形成鲜明对比的矩形。 # Frame Buffer 左上角为原点 中心坐标:80,60 for r in img.find_rects(roi=(80,60,80,60),threshold = 10000): # roi=(80,60,80,60) img.draw_rectangle(r.rect(), color = (255, 0, 0)) for p in r.corners(): img.draw_circle(p[0], p[1], 5, color = (0, 255, 0)) print(r) print("FPS %f" % clock.fps()) -
请问为什么在终端上没有输出二维码的信息?发布在 OpenMV Cam
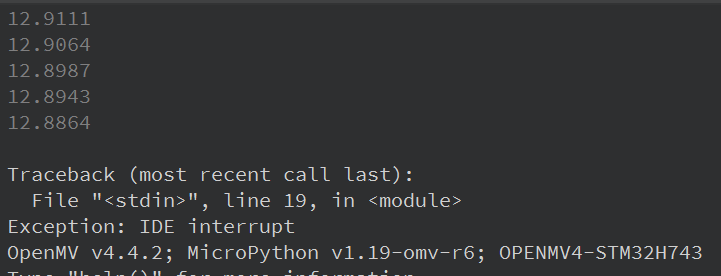
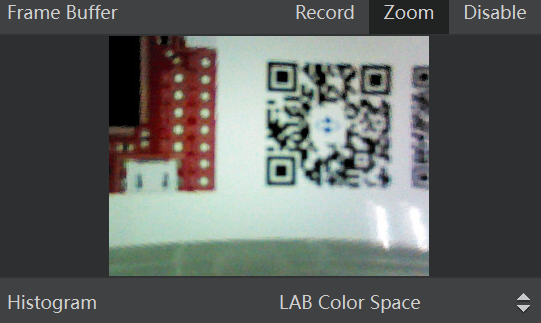
import sensor, image, time sensor.reset() sensor.set_pixformat(sensor.RGB565) sensor.set_framesize(sensor.QVGA) sensor.skip_frames(time = 2000) sensor.set_auto_gain(False) # must turn this off to prevent image washout... clock = time.clock() while(True): clock.tick() img = sensor.snapshot() img.lens_corr(1.8) # strength of 1.8 is good for the 2.8mm lens. for code in img.find_qrcodes(): img.draw_rectangle(code.rect(), color = (255, 0, 0)) print(code) print(clock.fps()) -
RE: 请问为什么运行这个多颜色识别的代码会出现多个框框出来,请问如何消除其他框呢?发布在 OpenMV Cam
@kidswong999 可是我是想多颜色识别的,所以设三个阈值啊,每个颜色能识别的阈值是设置好的,可为什么会出现那么多白框呢?
-
请问为什么运行这个多颜色识别的代码会出现多个框框出来,请问如何消除其他框呢?发布在 OpenMV Cam
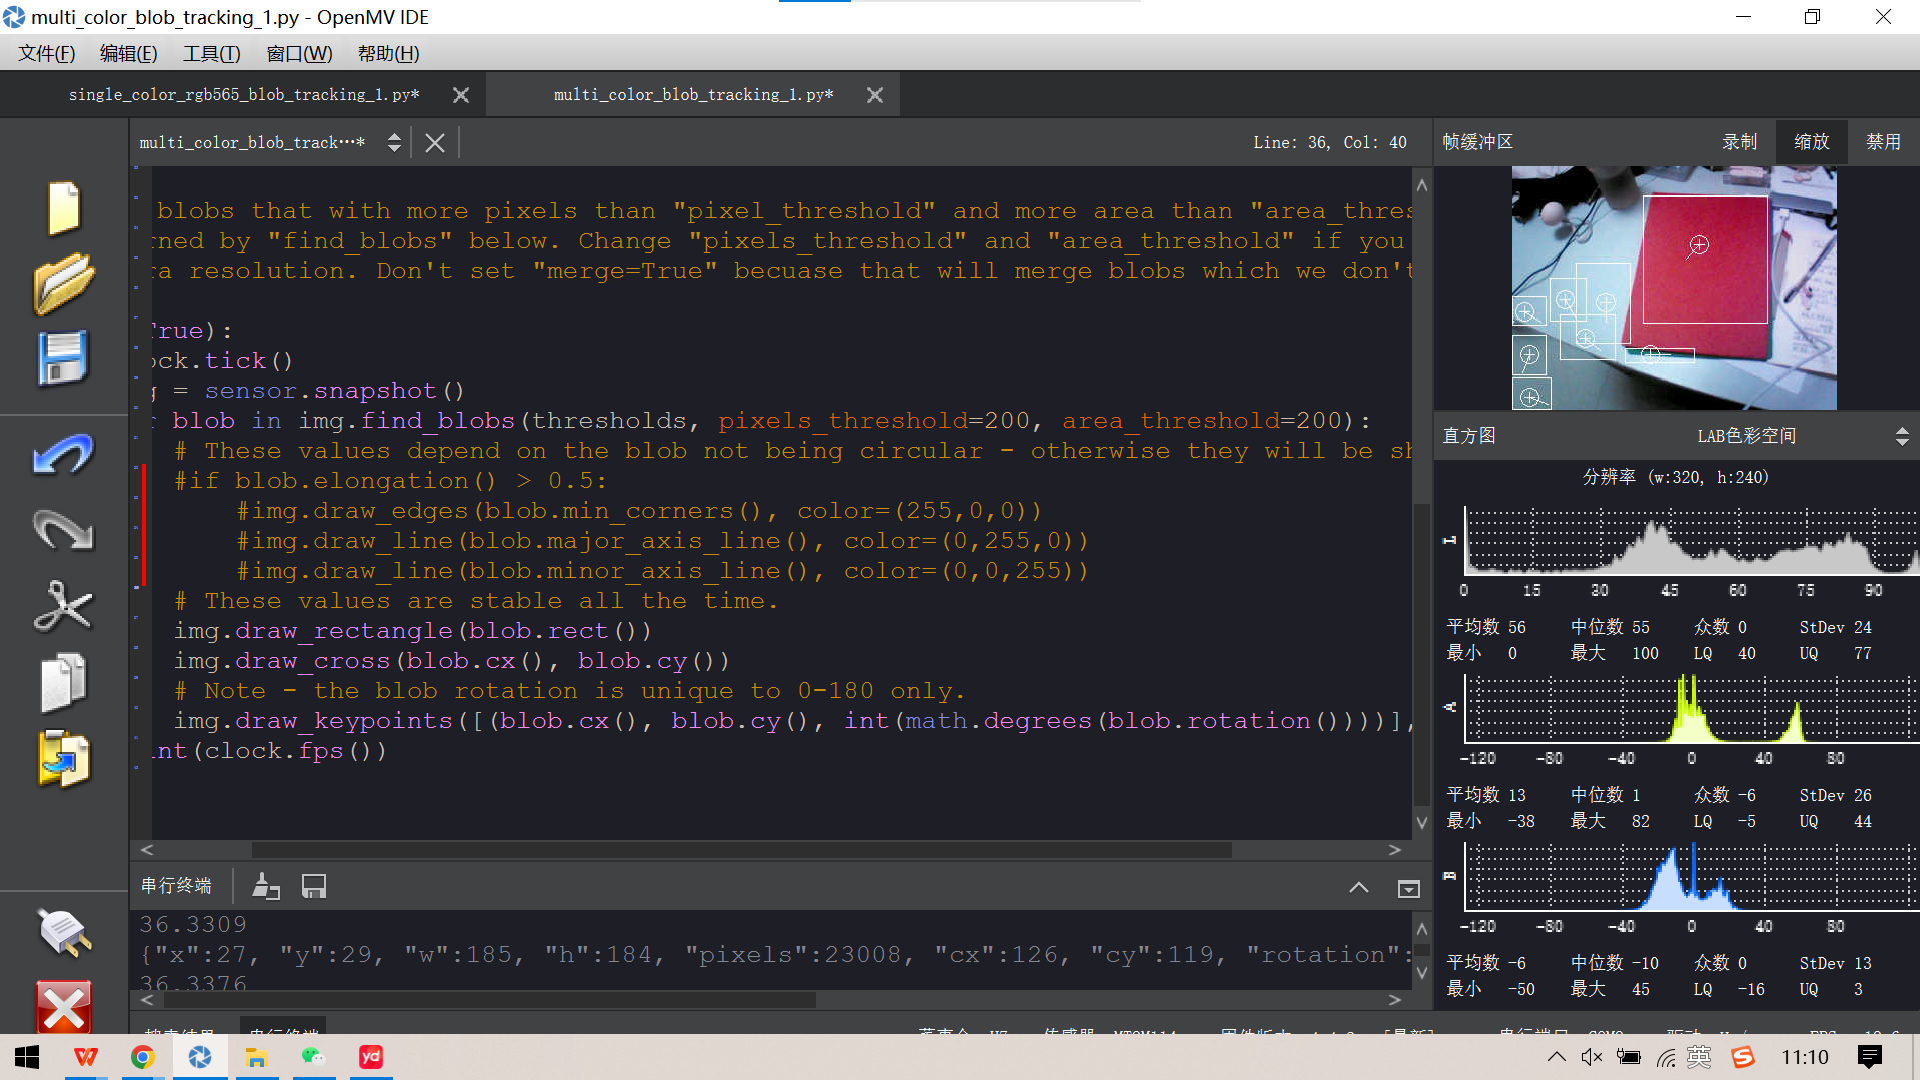
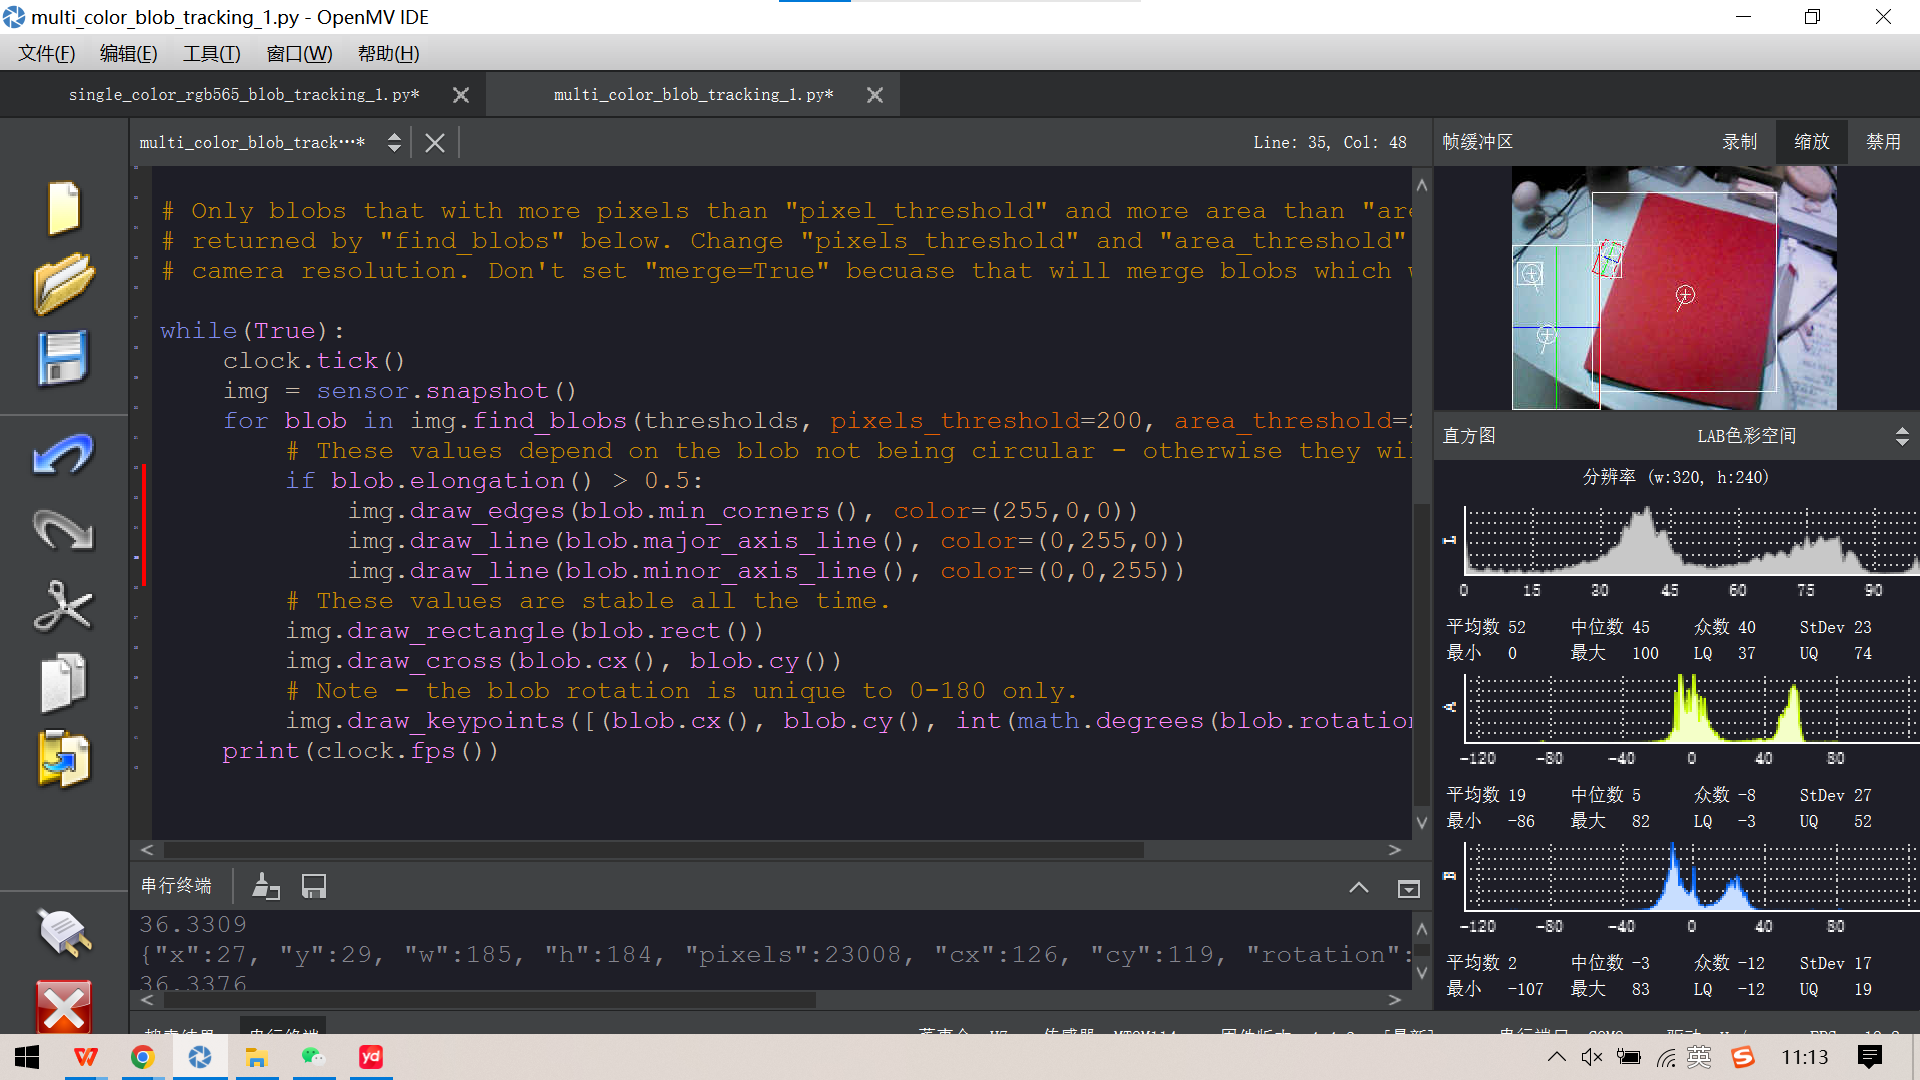
请问为什么运行这个多颜色识别的代码会出现多个框框出来,明明只有这个红色才需要框出来的,请问如何消除其他框呢?而且还有在白框中有其他彩色的线出来,为什么有这些红蓝绿的线,他们起什么作用呢对颜色识别?可以不要消除吗?# Multi Color Blob Tracking Example # # This example shows off multi color blob tracking using the OpenMV Cam. import sensor, image, time, math # Color Tracking Thresholds (L Min, L Max, A Min, A Max, B Min, B Max) # The below thresholds track in general red/green things. You may wish to tune them... thresholds = [(30, 100, 15, 127, 15, 127), # generic_red_thresholds (30, 100, -64, -8, -32, 32), # generic_green_thresholds (0, 15, 0, 40, -80, -20)] # generic_blue_thresholds # You may pass up to 16 thresholds above. However, it's not really possible to segment any # scene with 16 thresholds before color thresholds start to overlap heavily. sensor.reset() sensor.set_pixformat(sensor.RGB565) sensor.set_framesize(sensor.QVGA) sensor.skip_frames(time = 2000) sensor.set_auto_gain(False) # must be turned off for color tracking sensor.set_auto_whitebal(False) # must be turned off for color tracking clock = time.clock() # Only blobs that with more pixels than "pixel_threshold" and more area than "area_threshold" are # returned by "find_blobs" below. Change "pixels_threshold" and "area_threshold" if you change the # camera resolution. Don't set "merge=True" becuase that will merge blobs which we don't want here. while(True): clock.tick() img = sensor.snapshot() for blob in img.find_blobs(thresholds, pixels_threshold=200, area_threshold=200): # These values depend on the blob not being circular - otherwise they will be shaky. if blob.elongation() > 0.5: img.draw_edges(blob.min_corners(), color=(255,0,0)) img.draw_line(blob.major_axis_line(), color=(0,255,0)) img.draw_line(blob.minor_axis_line(), color=(0,0,255)) # These values are stable all the time. img.draw_rectangle(blob.rect()) img.draw_cross(blob.cx(), blob.cy()) # Note - the blob rotation is unique to 0-180 only. img.draw_keypoints([(blob.cx(), blob.cy(), int(math.degrees(blob.rotation())))], size=20) print(clock.fps()) -
为什么外界光线增强后图像变成灰色的?发布在 OpenMV Cam
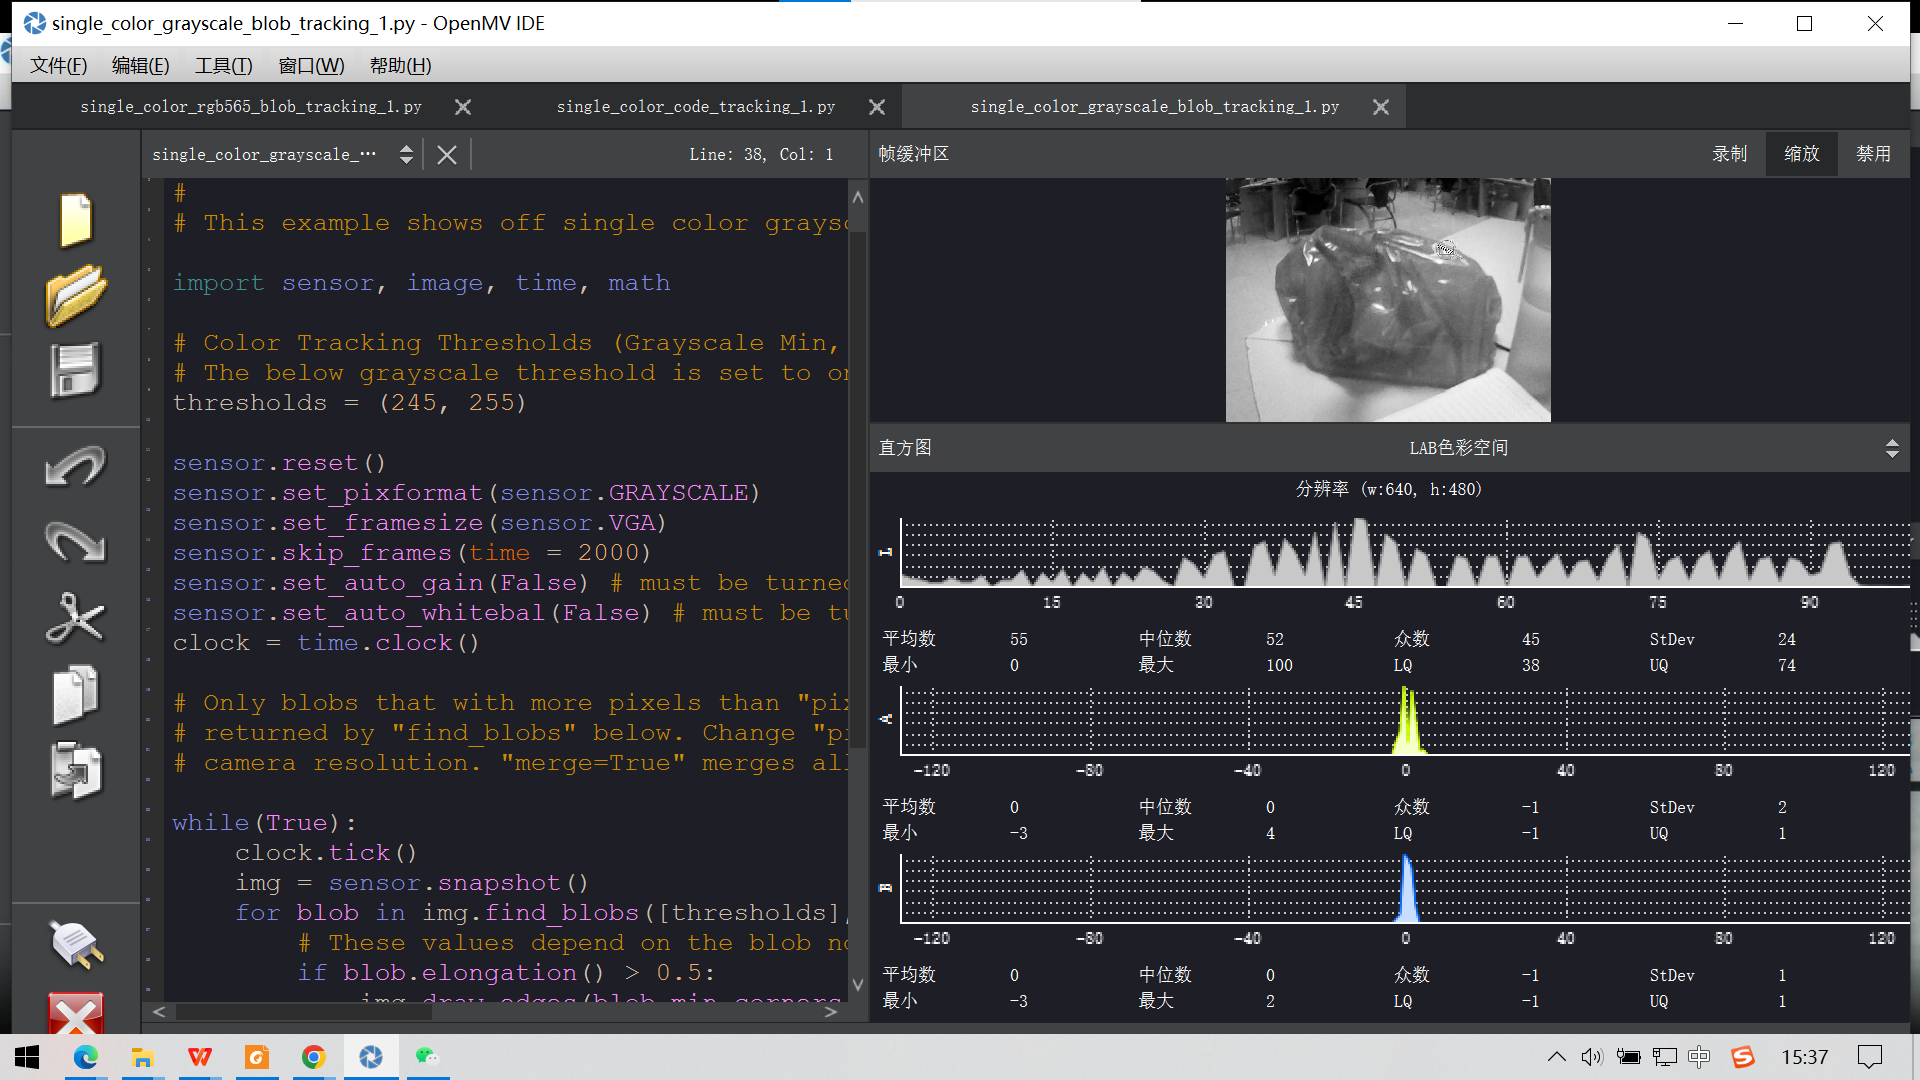
为什么外界光线增强后图像变成灰色的?# Single Color Grayscale Blob Tracking Example # # This example shows off single color grayscale tracking using the OpenMV Cam. import sensor, image, time, math # Color Tracking Thresholds (Grayscale Min, Grayscale Max) # The below grayscale threshold is set to only find extremely bright white areas. thresholds = (245, 255) sensor.reset() sensor.set_pixformat(sensor.GRAYSCALE) sensor.set_framesize(sensor.VGA) sensor.skip_frames(time = 2000) sensor.set_auto_gain(False) # must be turned off for color tracking sensor.set_auto_whitebal(False) # must be turned off for color tracking clock = time.clock() # Only blobs that with more pixels than "pixel_threshold" and more area than "area_threshold" are # returned by "find_blobs" below. Change "pixels_threshold" and "area_threshold" if you change the # camera resolution. "merge=True" merges all overlapping blobs in the image. while(True): clock.tick() img = sensor.snapshot() for blob in img.find_blobs([thresholds], pixels_threshold=100, area_threshold=100, merge=True): # These values depend on the blob not being circular - otherwise they will be shaky. if blob.elongation() > 0.5: img.draw_edges(blob.min_corners(), color=0) img.draw_line(blob.major_axis_line(), color=0) img.draw_line(blob.minor_axis_line(), color=0) # These values are stable all the time. img.draw_rectangle(blob.rect(), color=127) img.draw_cross(blob.cx(), blob.cy(), color=127) # Note - the blob rotation is unique to 0-180 only. img.draw_keypoints([(blob.cx(), blob.cy(), int(math.degrees(blob.rotation())))], size=40, color=127) print(clock.fps())
