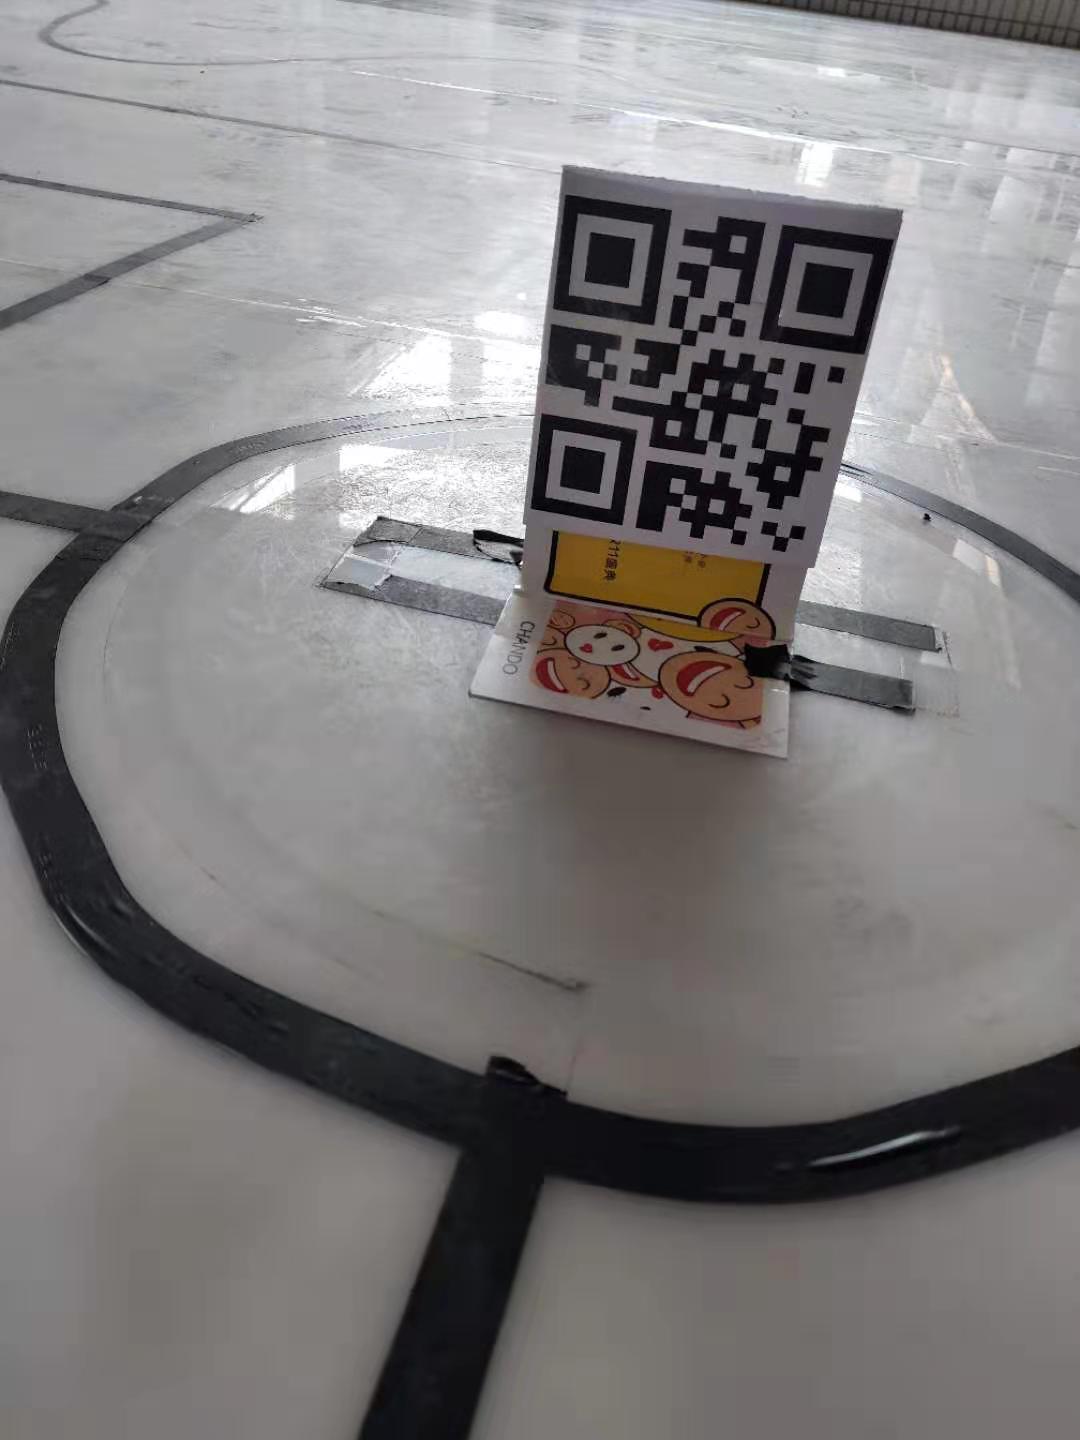
@kidswong999 微信直接按住图片不能显示扫描,但如果手机对着屏幕还是可以的
O
o6dm
@o6dm
0
声望
6
楼层
923
资料浏览
0
粉丝
0
关注
o6dm 发布的帖子
-
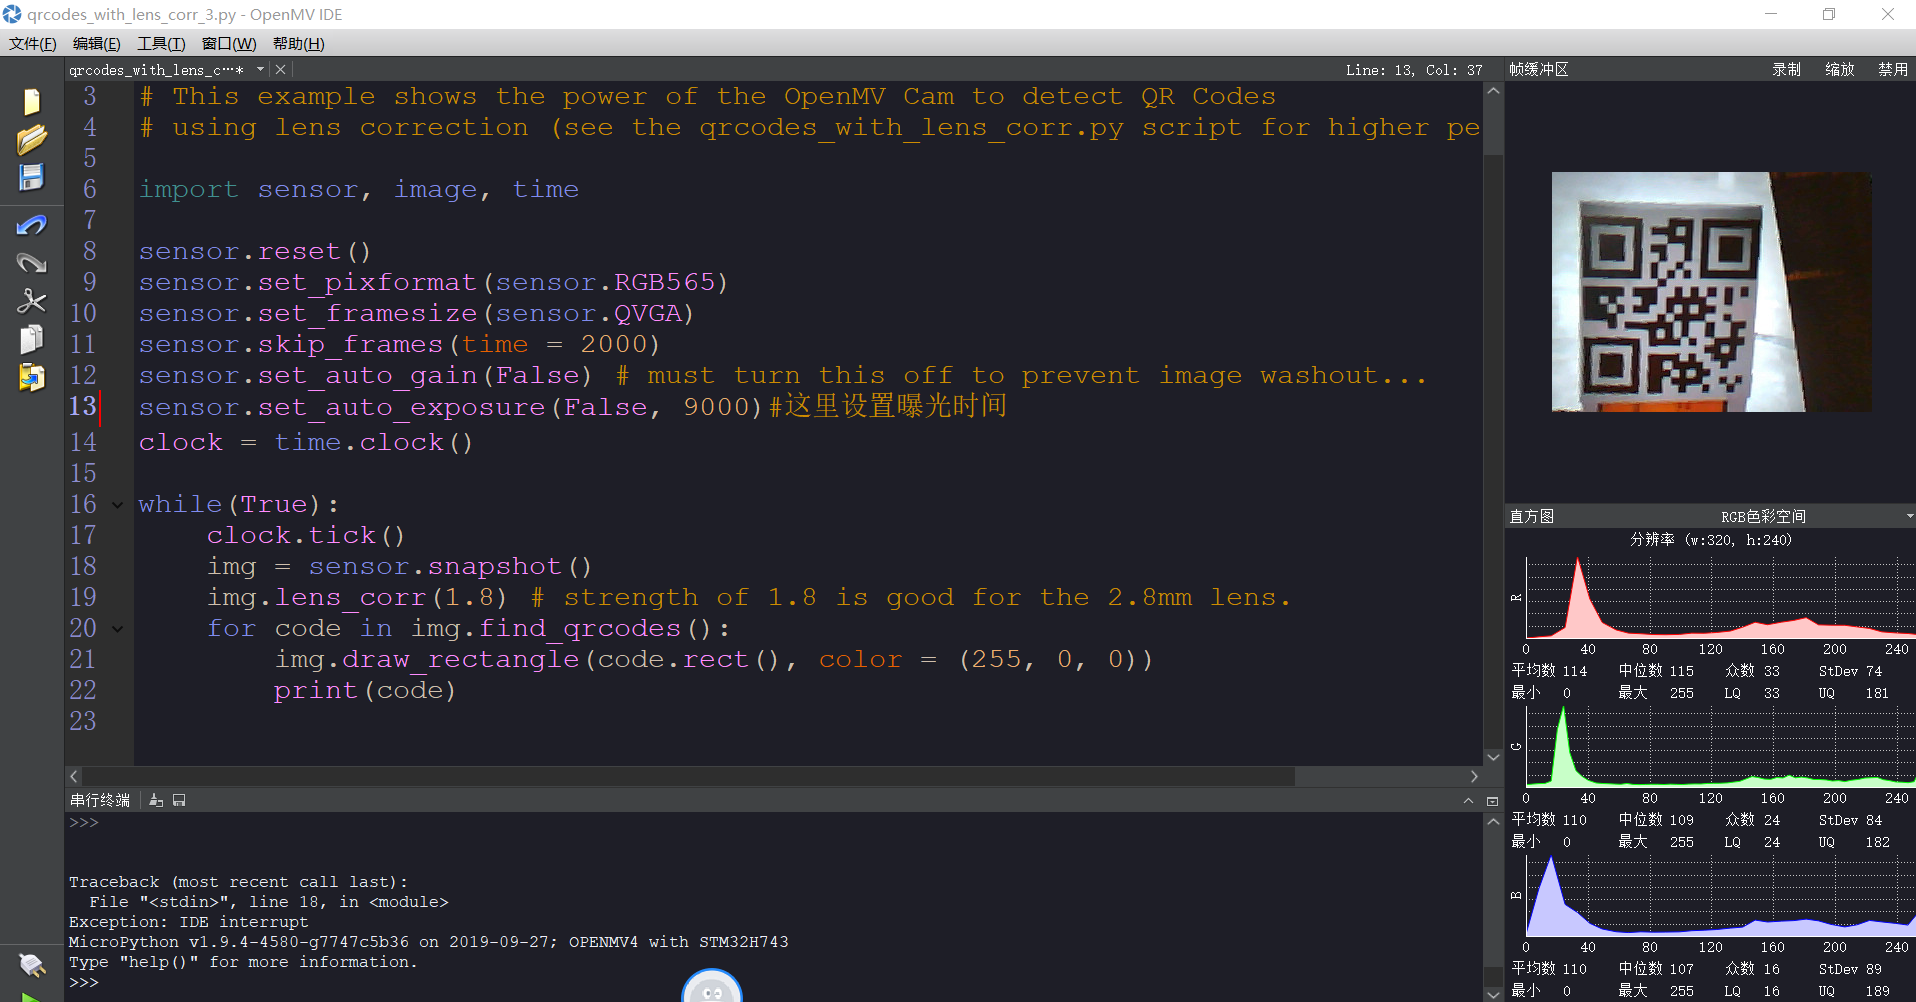
使用例程的二维码识别程序无法识别二维码发布在 OpenMV Cam
如图所示,

# QRCode Example
#
# This example shows the power of the OpenMV Cam to detect QR Codes
# using lens correction (see the qrcodes_with_lens_corr.py script for higher performance).

import sensor, image, time

sensor.reset()
sensor.set_pixformat(sensor.RGB565)
sensor.set_framesize(sensor.QVGA)
sensor.skip_frames(time = 2000)
sensor.set_auto_gain(False) # must turn this off to prevent image washout...
sensor.set_auto_exposure(False, 9000)#这里设置曝光时间
clock = time.clock()

while(True):
    clock.tick()
    img = sensor.snapshot()
    img.lens_corr(1.8) # strength of 1.8 is good for the 2.8mm lens.
    for code in img.find_qrcodes():
        img.draw_rectangle(code.rect(), color = (255, 0, 0))
        print(code)
请问是什么情况呢
-
特征点检测识别例程中为何把VGA改为QQVGA便无法识别特征点了发布在 OpenMV Cam
RT:代码如下:
# 利用特征点检测特定物体例程。 # 向相机显示一个对象,然后运行该脚本。 一组关键点将被提取一次,然后 # 在以下帧中进行跟踪。 如果您想要一组新的关键点,请重新运行该脚本。 # 注意:请参阅文档以调整find_keypoints和match_keypoints。 import sensor, time, image # Reset sensor sensor.reset() # Sensor settings sensor.set_contrast(3) sensor.set_gainceiling(16) sensor.set_framesize(sensor.QQVGA) #修改为QQVGA sensor.set_windowing((160, 120)) #这里减少了 sensor.set_pixformat(sensor.GRAYSCALE) sensor.skip_frames(time = 2000) sensor.set_auto_gain(False, value=100) #画出特征点 def draw_keypoints(img, kpts): if kpts: print(kpts) img.draw_keypoints(kpts) img = sensor.snapshot() time.sleep(1000) kpts1 = None #kpts1保存目标物体的特征,可以从文件导入特征,但是不建议这么做。 #kpts1 = image.load_descriptor("/desc.orb") #img = sensor.snapshot() #draw_keypoints(img, kpts1) clock = time.clock() while (True): clock.tick() img = sensor.snapshot() if (kpts1 == None): #如果是刚开始运行程序,提取最开始的图像作为目标物体特征,kpts1保存目标物体的特征 #默认会匹配目标特征的多种比例大小,而不仅仅是保存目标特征时的大小,比模版匹配灵活。 # NOTE: By default find_keypoints returns multi-scale keypoints extracted from an image pyramid. kpts1 = img.find_keypoints(max_keypoints=150, threshold=10, scale_factor=1.2) #image.find_keypoints(roi=Auto, threshold=20, normalized=False, scale_factor=1.5, max_keypoints=100, corner_detector=CORNER_AGAST) #roi表示识别的区域,是一个元组(x,y,w,h),默认与framsesize大小一致。 #threshold是0~255的一个阈值,用来控制特征点检测的角点数量。用默认的AGAST特征点检测,这个阈值大概是20。用FAST特征点检测,这个阈值大概是60~80。阈值越低,获得的角点越多。 #normalized是一个布尔数值,默认是False,可以匹配目标特征的多种大小(比ncc模版匹配效果灵活)。如果设置为True,关闭特征点检测的多比例结果,仅匹配目标特征的一种大小(类似于模版匹配),但是运算速度会更快一些。 #scale_factor是一个大于1.0的浮点数。这个数值越高,检测速度越快,但是匹配准确率会下降。一般在1.35~1.5左右最佳。 #max_keypoints是一个物体可提取的特征点的最大数量。如果一个物体的特征点太多导致RAM内存爆掉,减小这个数值。 #corner_detector是特征点检测采取的算法,默认是AGAST算法。FAST算法会更快但是准确率会下降。 draw_keypoints(img, kpts1) #画出此时的目标特征 else: #当与最开始的目标特征进行匹配时,默认设置normalized=True,只匹配目标特征的一种大小。 # NOTE: When extracting keypoints to match the first descriptor, we use normalized=True to extract # keypoints from the first scale only, which will match one of the scales in the first descriptor. kpts2 = img.find_keypoints(max_keypoints=150, threshold=10, normalized=True) #如果检测到特征物体 if (kpts2): #匹配当前找到的特征和最初的目标特征的相似度 match = image.match_descriptor(kpts1, kpts2, threshold=85) #image.match_descriptor(descritor0, descriptor1, threshold=70, filter_outliers=False)。本函数返回kptmatch对象。 #threshold阈值设置匹配的准确度,用来过滤掉有歧义的匹配。这个值越小,准确度越高。阈值范围0~100,默认70 #filter_outliers默认关闭。 #match.count()是kpt1和kpt2的匹配的近似特征点数目。 #如果大于10,证明两个特征相似,匹配成功。 if (match.count()>10): # If we have at least n "good matches" # Draw bounding rectangle and cross. #在匹配到的目标特征中心画十字和矩形框。 img.draw_rectangle(match.rect()) img.draw_cross(match.cx(), match.cy(), size=10) #match.theta()是匹配到的特征物体相对目标物体的旋转角度。 print(kpts2, "matched:%d dt:%d"%(match.count(), match.theta())) #不建议draw_keypoints画出特征角点。 # NOTE: uncomment if you want to draw the keypoints #img.draw_keypoints(kpts2, size=KEYPOINTS_SIZE, matched=True) # Draw FPS #打印帧率。 img.draw_string(0, 0, "FPS:%.2f"%(clock.fps())) -
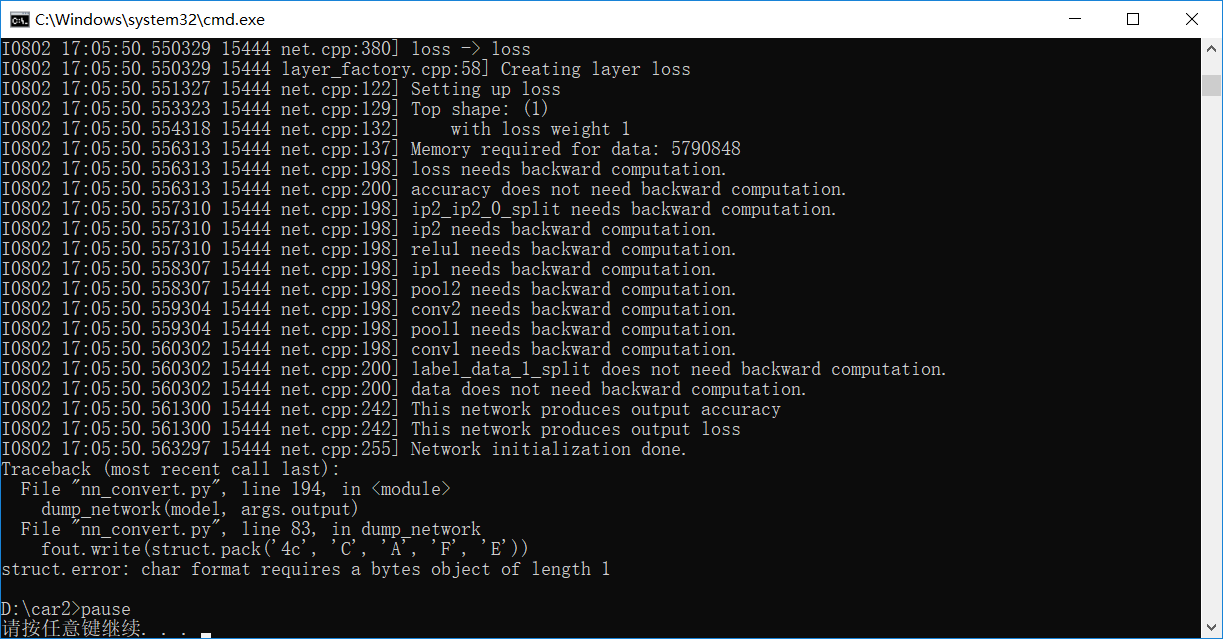
根据github提供的openmv基于caffe训练神经网络,到最后一步转为二进制文件network时py脚本编译错误发布在 OpenMV Cam
如题,python脚本代码源于https://github.com/openmv/openmv/blob/master/ml/cmsisnn/nn_convert.py
训练教程源于:https://openmv.io/blogs/news/deep-learning-on-a-cortex-m7-camera-3ma-deep-learning
提示错误:
