# Template Matching Example - Normalized Cross Correlation (NCC)
#
# 这个例子展示了如何使用OpenMV凸轮的NCC功能将小部分图像与图像的各个部分
# 进行匹配...期望获得极其可控的环境NCC并不是全部有用的。
#
# 警告:NCC支持需要重做!到目前为止,这个功能需要做大量的工作才能有用。
# 这个脚本将重新表明功能的存在,但在目前的状态是不足的。

import time, sensor, image
from image import SEARCH_EX, SEARCH_DS
#从imgae模块引入SEARCH_EX和SEARCH_DS。使用from import仅仅引入SEARCH_EX,
#SEARCH_DS两个需要的部分,而不把image模块全部引入。

# Reset sensor
sensor.reset()

# Set sensor settings
sensor.set_contrast(1)
sensor.set_gainceiling(16)
# Max resolution for template matching with SEARCH_EX is QQVGA
sensor.set_framesize(sensor.QQVGA)
# You can set windowing to reduce the search image.
#sensor.set_windowing(((640-80)//2, (480-60)//2, 80, 60))
sensor.set_pixformat(sensor.GRAYSCALE)

# Load template.
# Template should be a small (eg. 32x32 pixels) grayscale image.
templates = ["/0.pgm", "/1.pgm", "/2.pgm", "/6.pgm"] #保存多个模板
#加载模板图片

clock = time.clock()

# Run template matching
while (True):
    clock.tick()
    img = sensor.snapshot()

    # find_template(template, threshold, [roi, step, search])
    # ROI: The region of interest tuple (x, y, w, h).
    # Step: The loop step used (y+=step, x+=step) use a bigger step to make it faster.
    # Search is either image.SEARCH_EX for exhaustive search or image.SEARCH_DS for diamond search
    #
    # Note1: ROI has to be smaller than the image and bigger than the template.
    # Note2: In diamond search, step and ROI are both ignored.
    for t in templates:
        template = image.Image(t)
        #对每个模板遍历进行模板匹配
        r = img.find_template(template, 0.70, step=4, search=SEARCH_EX) #, roi=(10, 0, 60, 60))
    #find_template(template, threshold, [roi, step, search]),threshold中
    #的0.7是相似度阈值,roi是进行匹配的区域(左上顶点为(10,0),长80宽60的矩形),
    #注意roi的大小要比模板图片大,比frambuffer小。
    #把匹配到的图像标记出来
        if r:
            img.draw_rectangle(r)
            print(t) #打印模板名字

    #print(clock.fps())
L
luro
@luro
0
声望
3
楼层
516
资料浏览
0
粉丝
0
关注
luro 发布的帖子
-
openmv怎么同时识别两到四个数字,并将他们输出呢?为什么我只能同时识别一个数字发布在 OpenMV Cam
-
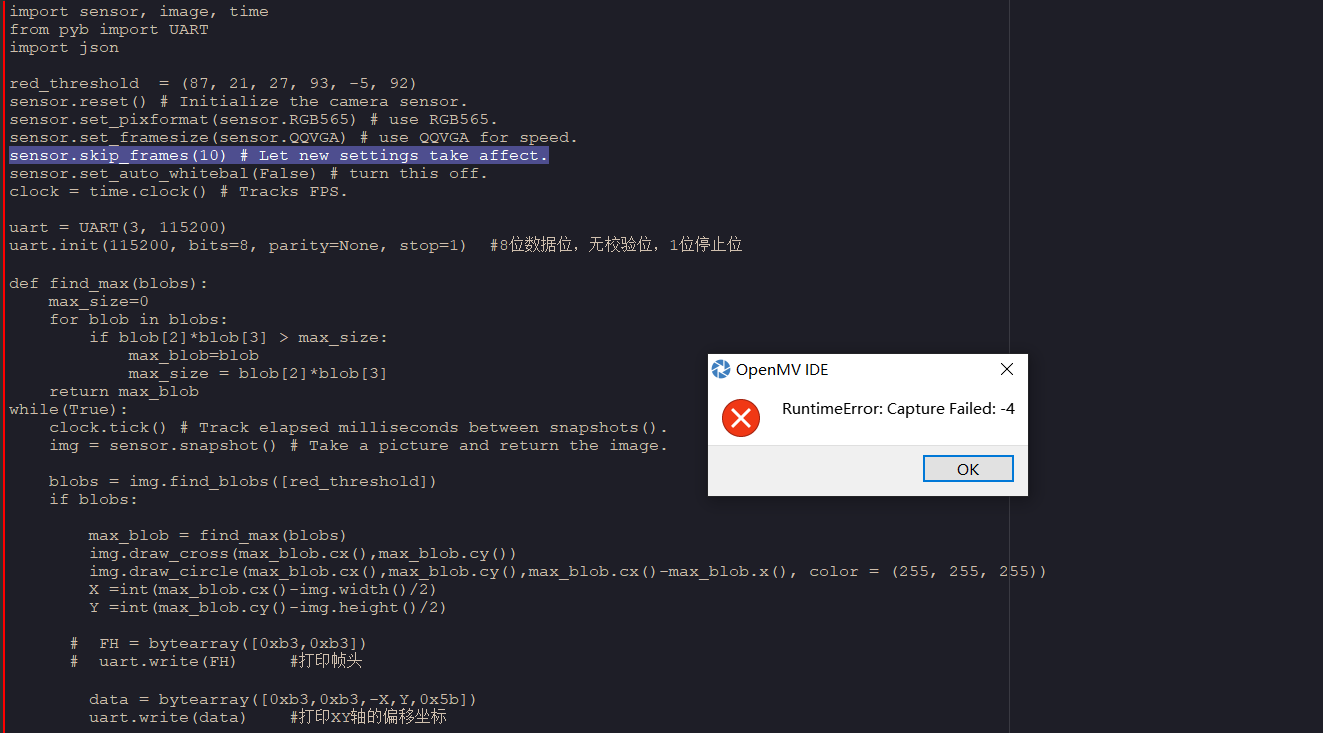
这个代码之前用的一直好好的 吃顿饭回来就成这样了 走的时候线也拔掉了,求看看怎么解决发布在 OpenMV Cam

import sensor, image, time
from pyb import UART
import json

red_threshold  = (87, 21, 27, 93, -5, 92)
sensor.reset() # Initialize the camera sensor.
sensor.set_pixformat(sensor.RGB565) # use RGB565.
sensor.set_framesize(sensor.QQVGA) # use QQVGA for speed.
sensor.skip_frames(10) # Let new settings take affect.
sensor.set_auto_whitebal(False) # turn this off.
clock = time.clock() # Tracks FPS.

uart = UART(3, 115200)
uart.init(115200, bits=8, parity=None, stop=1)  #8位数据位,无校验位,1位停止位

def find_max(blobs):
    max_size=0
    for blob in blobs:
        if blob[2]*blob[3] > max_size:
            max_blob=blob
            max_size = blob[2]*blob[3]
    return max_blob
while(True):
    clock.tick() # Track elapsed milliseconds between snapshots().
    img = sensor.snapshot() # Take a picture and return the image.

    blobs = img.find_blobs([red_threshold])
    if blobs:

        max_blob = find_max(blobs)
        img.draw_cross(max_blob.cx(),max_blob.cy())
        img.draw_circle(max_blob.cx(),max_blob.cy(),max_blob.cx()-max_blob.x(), color = (255, 255, 255))
        X =int(max_blob.cx()-img.width()/2)
        Y =int(max_blob.cy()-img.height()/2)

      #  FH = bytearray([0xb3,0xb3])
      #  uart.write(FH)     #打印帧头

        data = bytearray([0xb3,0xb3,-X,Y,0x5b])
        uart.write(data)    #打印XY轴的偏移坐标


        print("X轴偏移坐标 : ",-X)
        print("Y轴偏移坐标 : ",Y)


        print("帧率 : ",clock.fps())请在这里粘贴代码
