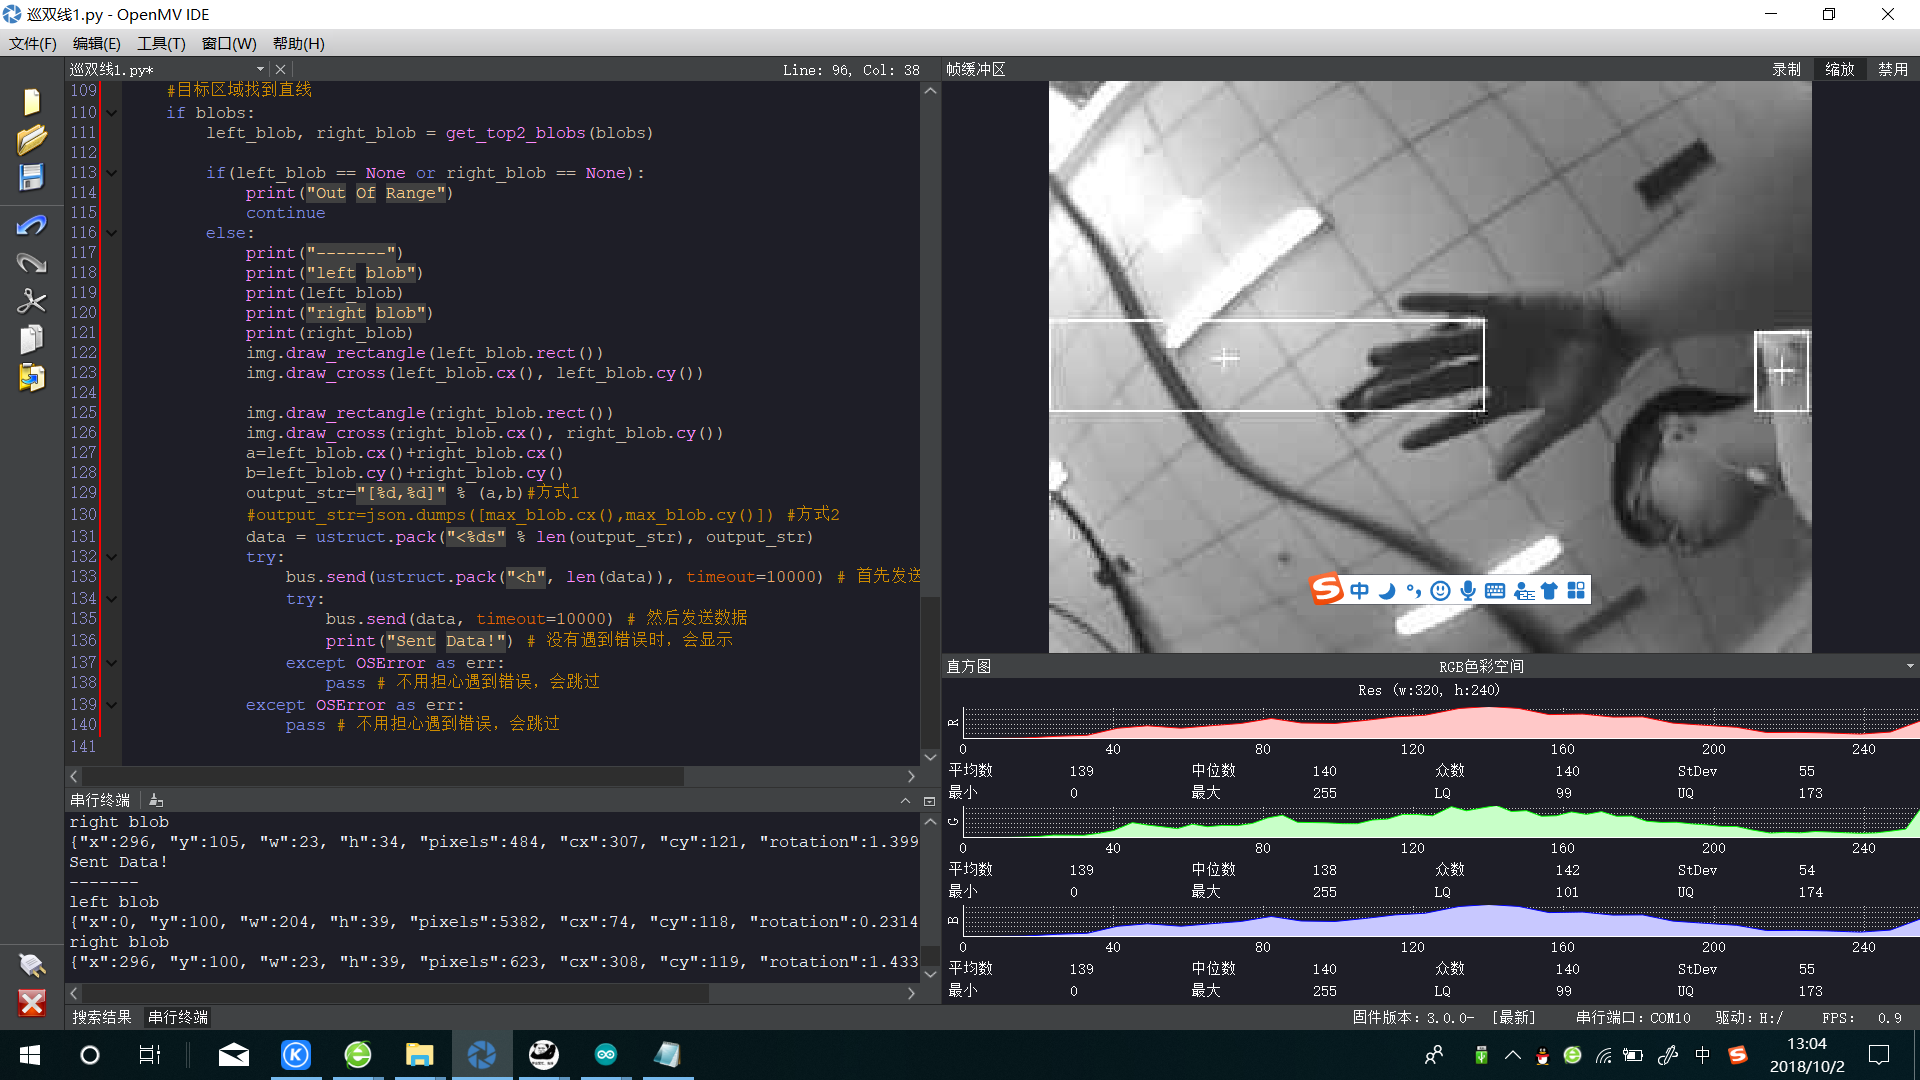
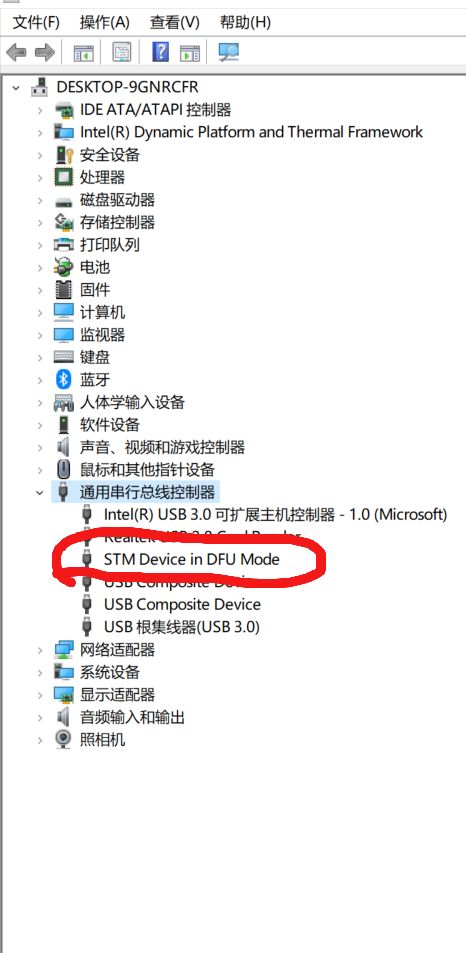
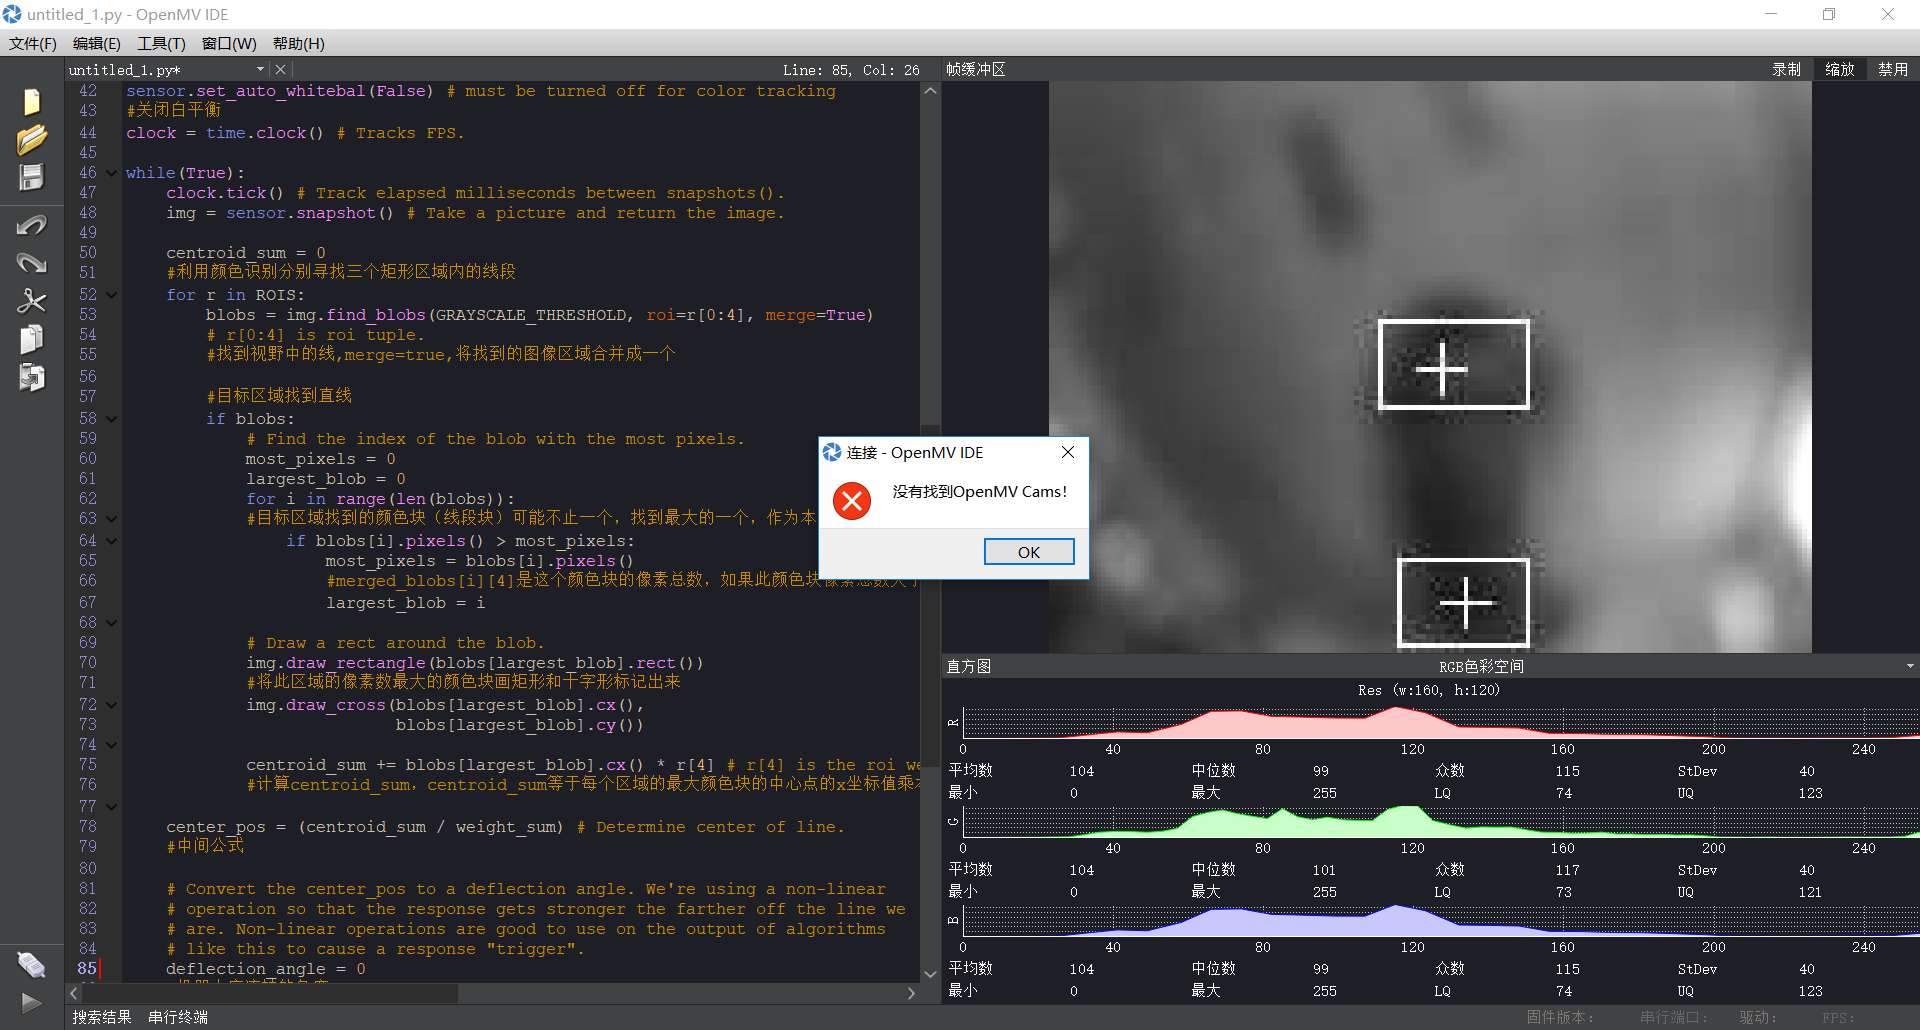
@kidswong999 在例子的基础上改了改,运行例子不卡顿,可以正常读取数据,但加了些东西后卡顿,程序的原因吗?
1
1zud
@1zud
0
声望
10
楼层
2059
资料浏览
0
粉丝
0
关注
1zud 发布的帖子
-
RE: openmv使用i2c通信卡顿问题发布在 OpenMV Cam
arduino程序
#include <avr\pgmspace.h> #include <Wire.h> #include "GI2C_V11.h" #define BAUD_RATE 19200 #define CHAR_BUF 128 #include <stdio.h> #include <stdlib.h> struct zuobiao { int xx; int yy; }; /*变量定义及对象实例化*/ unsigned char Buf[61+1]; GI2CV11 MenSao_RCB1(Buf,sizeof(Buf)); /*动作组定义*/ const unsigned char ActionCode[][49] PROGMEM = { 137,103,115, 97,153,251,251,251,251,251,251,251,251,251,251,251,251,251,251,134,135,197,165,144, 20, 20, 20, 20, 30, 1, 1, 1, 1, 1, 1, 1, 1, 1, 1, 1, 1, 1, 1, 18, 20, 20, 20, 20,4, 126, 71, 72, 99,142,251,251,251,251,251,251,251,251,251,251,251,251,251,251,127,124,128, 75,132, 20, 20, 28, 20, 27, 1, 1, 1, 1, 1, 1, 1, 1, 1, 1, 1, 1, 1, 1, 18, 20, 20, 20, 20,4, 115,124,128, 92,118,251,251,251,251,251,251,251,251,251,251,251,251,251,251, 95,148,114, 79,125, 20, 20, 20, 18, 18, 1, 1, 1, 1, 1, 1, 1, 1, 1, 1, 1, 1, 1, 1, 18, 20, 20, 20, 20,4, 129,146,119,129,135,251,251,251,251,251,251,251,251,251,251,251,251,251,251,115,168,160,150,131, 20, 20, 20, 18, 18, 1, 1, 1, 1, 1, 1, 1, 1, 1, 1, 1, 1, 1, 1, 18, 20, 20, 20, 20,4 }; void setup() { MenSao_RCB1.Read(1,13,48);//读回控制器中所有通道当量位置和当量速度的当前值 Serial.begin(BAUD_RATE); Wire.begin(); delay(1000); // 给OpenMV一个启动的时间 } void loop() { int x,y; struct zuobiao zb1; zb1=getzb(); x=zb1.xx/2; y=zb1.yy/2; Serial.println(x); Serial.println(y); Serial.println(); // delay(1); // Don't loop to quickly. if(1) {Action((unsigned char *)(&ActionCode[0][0]), sizeof(ActionCode) / sizeof(ActionCode[0])); } } void substring( char *s, char ch1, char ch2, char *substr ) { while( *s && *s++!=ch1 ) ; while( *s && *s!=ch2 ) *substr++=*s++ ; *substr='\0'; } /*通用的动作组执行函数*/ void Action(unsigned char *p, unsigned char r) { int i,j; //计算行数,即动作组的个数 int row = r; for(j=0;j<row;j++) { //更新缓冲区 for(i=0;i<48;i++) { Buf[i+13] = pgm_read_byte(&p[49*j + i]); } //将缓冲区中的数据发送给舵机控制单元,完成舵机控制 MenSao_RCB1.Write(1,13,48); //动作组间的延时,注意:若导出动作组的延时单位为10ms,就*10;若导出动作组的延时单位为100ms,就*100; delay((int)(pgm_read_byte(&p[49*j + i])) * 100); } } //得到色块坐标 struct zuobiao getzb() { int32_t temp = 0; char buff[CHAR_BUF] = {0}; char a[5],b[5]; struct zuobiao zb; Wire.requestFrom(0x12, 2); if (Wire.available() == 2) { // got length? temp = Wire.read() | (Wire.read() << 8); delay(1); // Give some setup time... Wire.requestFrom(0x12, temp); if (Wire.available() == temp) { // got full message? temp = 0; while (Wire.available()) buff[temp++] = Wire.read(); } else { while (Wire.available()) Wire.read(); // Toss garbage bytes. } } else { while (Wire.available()) Wire.read(); // Toss garbage bytes. } substring( buff, '[', ',', a ); substring( buff, ',', ']', b ); zb.xx=atoi(a); zb.yy=atoi(b); return zb; } -
openmv使用i2c通信卡顿问题发布在 OpenMV Cam
arduino和openmv通过i2c通信,用的教程上的例程,可以实现通信,arduino和openmv上电运行,但运行程序后会非常卡顿,画面一秒一帧左右,甚至更慢,请问什么原因
巡双线,通信的程序import sensor, image, time, math,pyb,ustruct # Tracks a black line. Use [(128, 255)] for a tracking a white line. GRAYSCALE_THRESHOLD = [(128, 255)] #设置阈值,如果是黑线,GRAYSCALE_THRESHOLD = [(0, 64)]; #如果是白线,GRAYSCALE_THRESHOLD = [(128,255)] ROI = (0, 100, 320, 40) bus = pyb.I2C(2, pyb.I2C.SLAVE, addr=0x12) bus.deinit() # 完全关闭设备 bus = pyb.I2C(2, pyb.I2C.SLAVE, addr=0x12) print("Waiting for Arduino...") # Camera setup... sensor.reset() # Initialize the camera sensor. sensor.set_pixformat(sensor.GRAYSCALE) # use grayscale. sensor.set_framesize(sensor.QVGA) # use QVGA for speed. 320* 240 sensor.skip_frames(30) # Let new settings take affect. sensor.set_auto_gain(False) # must be turned off for color tracking sensor.set_auto_whitebal(False) # must be turned off for color tracking #关闭白平衡 clock = time.clock() # Tracks FPS. # 选择排序的属性, 这里我们选取的是色块宽度 def get_blob_value(blob): return blob.w() # 选择最大的两个黑线色块 def compare_blob(blob1, blob2): comp_result = get_blob_value(blob1) - get_blob_value(blob2) if comp_result > 3: return 1 elif comp_result < -3: return -1 else: return 0 def get_direction(left_blob, right_blob): # 根据左中右三块白色部分,计算出角度值 # ratio < 0 左拐 # ratio > 0 右拐 MAX_WIDTH = 320 # 调节theta来设置中间宽度的比重, theta越高ratio越靠近0 # 需要根据赛道宽度与摄像头高度重新设定到合适大小 theta = 0.01 # 这里的b是为了防止除数是0的情况发生, 设定一个小一点的值 b = 3 x1 = left_blob.x() - int(0.5 * left_blob.w()) x2 = right_blob.x() + int(0.5 * right_blob.w()) w_left = x1 w_center = math.fabs(x2 - x1) w_right = math.fabs(MAX_WIDTH - x2) direct_ratio = (w_left + b + theta * w_center) / (w_left + w_right + 2 * b + 2 * theta * w_center) - 0.5 return direct_ratio def get_top2_blobs(blobs): # 找到最大的两个色块, 返回左色块与右色块 for blob in blobs: pass #print(blob) # img.draw_rectangle(blob.rect()) if len(blobs) < 2: # 已偏离轨道 return (None, None) top_blob1 = blobs[0] top_blob2 = blobs[1] if compare_blob(top_blob1, top_blob2) == -1: top_blob1, top_blob2 = top_blob2, top_blob1 for i in range(2, len(blobs)): if compare_blob(blobs[i], top_blob1) == 1: top_blob2 = top_blob1 top_blob1 = blobs[i] elif compare_blob(blobs[i], top_blob2) == 1: top_blob2 = blobs[i] if top_blob1.cx() > top_blob2.cx(): return (top_blob2, top_blob1) else: return (top_blob1, top_blob2) def draw_direct(img, direct_ratio): # 可视化方向(左右) 标识及其幅度 img.draw_circle(160, 80, 5) img.draw_line((160, 80, int(160 + direct_ratio * 200), 80)) while(True): clock.tick() # Track elapsed milliseconds between snapshots(). img = sensor.snapshot() # Take a picture and return the image. blobs = img.find_blobs(GRAYSCALE_THRESHOLD, roi=ROI, merge=True) #目标区域找到直线 if blobs: left_blob, right_blob = get_top2_blobs(blobs) if(left_blob == None or right_blob == None): print("Out Of Range") continue else: print("-------") print("left blob") print(left_blob) print("right blob") print(right_blob) img.draw_rectangle(left_blob.rect()) img.draw_cross(left_blob.cx(), left_blob.cy()) img.draw_rectangle(right_blob.rect()) img.draw_cross(right_blob.cx(), right_blob.cy()) a=left_blob.cx()+right_blob.cx() b=left_blob.cy()+right_blob.cy() output_str="[%d,%d]" % (a,b)#方式1 #output_str=json.dumps([max_blob.cx(),max_blob.cy()]) #方式2 data = ustruct.pack("<%ds" % len(output_str), output_str) try: bus.send(ustruct.pack("<h", len(data)), timeout=10000) # 首先发送长度 (16-bits). try: bus.send(data, timeout=10000) # 然后发送数据 print("Sent Data!") # 没有遇到错误时,会显示 except OSError as err: pass # 不用担心遇到错误,会跳过 except OSError as err: pass # 不用担心遇到错误,会跳过


