我在网上看到一些程序引入了cv2的库,自己尝试了一下并不可以,他会报错,请问如何能够引入cv2的库
15004226107 发布的帖子
-
光流例程对不上发布在 OpenMV Cam
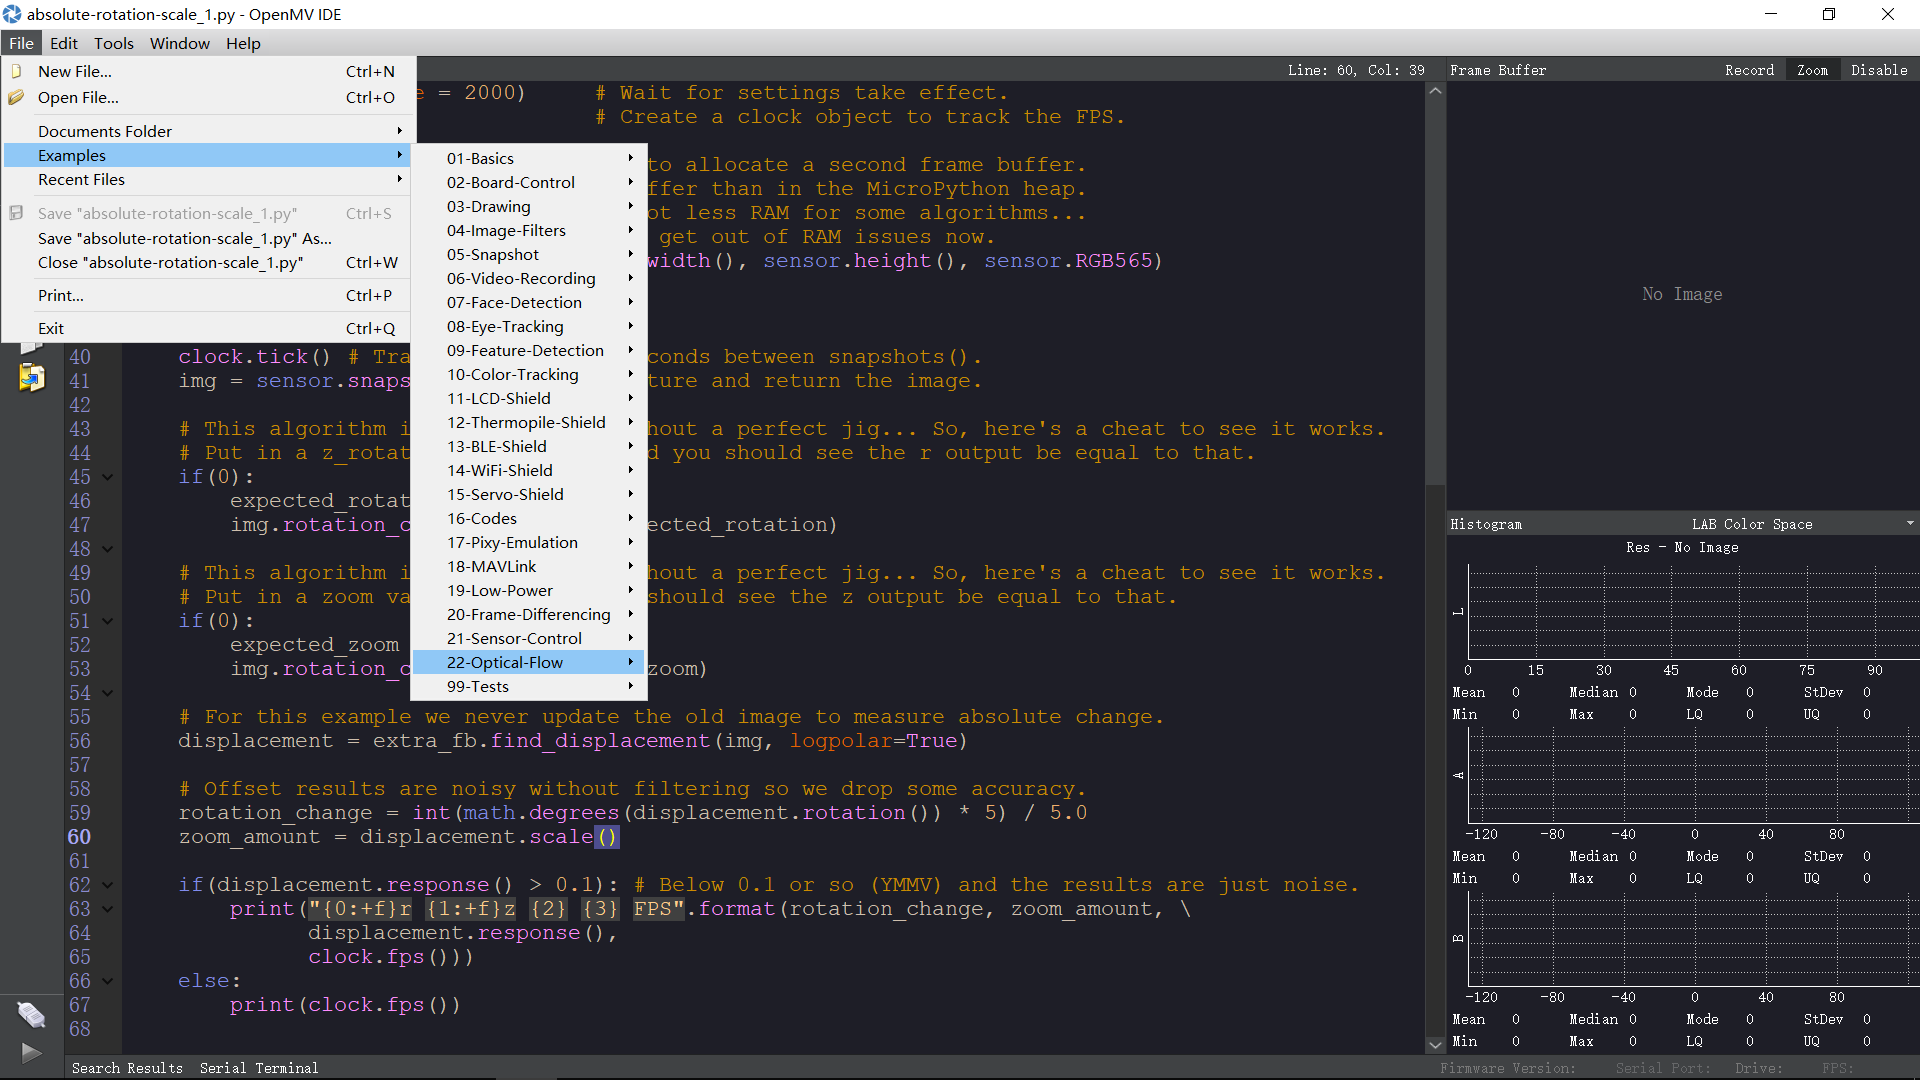
请问在论坛上讲解的光流例程和在openmv IDE中给出的例程是不一样,将论坛上给的例程复制到openmv IDE 上还有错误,不知道为什么,是哪里有新的讲解我找到吗?,求解下图是openmv IDE 中的例程

-
RE: 串口发送有问题发布在 OpenMV Cam
UART Control
This example shows how to use the serial port on your OpenMV Cam. Attach pin
P4 to the serial input of a serial LCD screen to see "Hello World!" printed
on the serial LCD display.
import time
from pyb import UARTAlways pass UART 3 for the UART number for your OpenMV Cam.
The second argument is the UART baud rate. For a more advanced UART control
example see the BLE-Shield driver.
uart = UART(3, 115200, timeout_char = 1000)
while(True):
uart.write("Hello World!\r")
time.sleep(1000) -
RE: 串口发送有问题发布在 OpenMV Cam
Hello World Example
Welcome to the OpenMV IDE! Click on the green run arrow button below to run the script!
import sensor, image, time
sensor.reset() # Reset and initialize the sensor.
sensor.set_pixformat(sensor.RGB565) # Set pixel format to RGB565 (or GRAYSCALE)
sensor.set_framesize(sensor.QVGA) # Set frame size to QVGA (320x240)
sensor.skip_frames(time = 2000) # Wait for settings take effect.
clock = time.clock() # Create a clock object to track the FPS.while(True):
clock.tick() # Update the FPS clock.
img = sensor.snapshot() # Take a picture and return the image.
print(clock.fps()) # Note: OpenMV Cam runs about half as fast when connected
# to the IDE. The FPS should increase once disconnected.