导航

    • 登录
    • 搜索
    • 版块
    • 产品
    • 教程
    • 论坛
    • 淘宝
    1. 主页
    2. fry6
    F
    • 举报资料
    • 资料
    • 关注
    • 粉丝
    • 屏蔽
    • 帖子
    • 楼层
    • 最佳
    • 群组

    fry6

    @fry6

    0
    声望
    5
    楼层
    764
    资料浏览
    0
    粉丝
    0
    关注
    注册时间 最后登录

    fry6 关注

    fry6 发布的帖子

    • 彩色图转灰度图,图像显示出现莫名错误

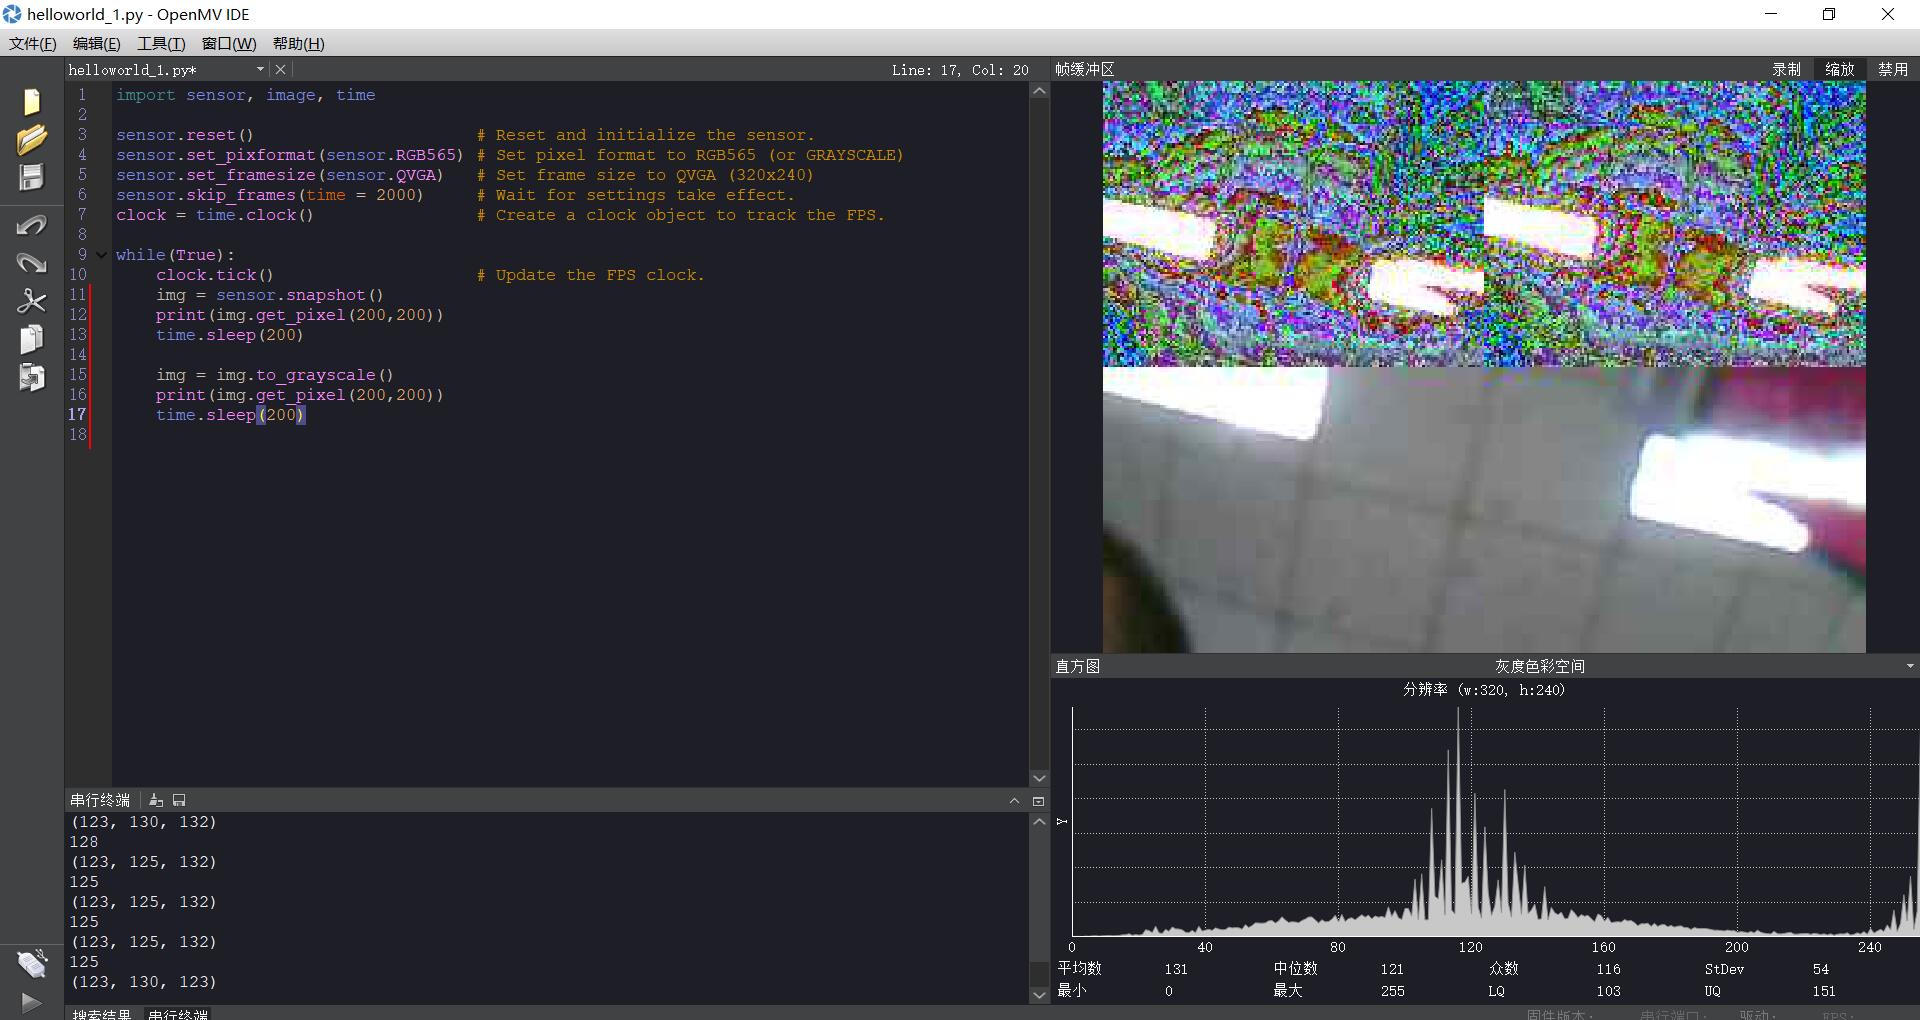
      写程序时需要用到灰度图和彩色图,在初始化时设置RGB565,在后面需要用到灰度图时,不知道什么原因,串行端口打印的值感觉没啥问题(只是感觉),但是显示的图像出现问题。用示例代码进行测试如下:

      import sensor, image, time
      
      sensor.reset()                      # Reset and initialize the sensor.
      sensor.set_pixformat(sensor.RGB565) # Set pixel format to RGB565 (or GRAYSCALE)
      sensor.set_framesize(sensor.QVGA)   # Set frame size to QVGA (320x240)
      sensor.skip_frames(time = 2000)     # Wait for settings take effect.
      clock = time.clock()                # Create a clock object to track the FPS.
      
      while(True):
          clock.tick()                    # Update the FPS clock.
          img = sensor.snapshot()         
          print(img.get_pixel(45,180)) 
          time.sleep(200)
          
          img = img.to_grayscale()
          print(img.get_pixel(45,180))              
          time.sleep(200)
      

      0_1562830183320_TIM图片20190711152920.jpg

      发布在 OpenMV Cam
      F
      fry6
    • RE: RGB图像二值化后不是真正的二值化图

      好的😁

      发布在 OpenMV Cam
      F
      fry6
    • RE: 如何让自适应二值化?

      多谢小姐姐指点😁

      发布在 OpenMV Cam
      F
      fry6
    • 如何让自适应二值化?

      openmv自身的二值化对光照过于敏感,如何做到自适应二值化,减小光照的影响呢?

      发布在 OpenMV Cam
      F
      fry6
    • RGB图像二值化后不是真正的二值化图

      需要利用RGB图像进行二值化进行处理,但是在使用例程RGB选取0_1562589187135_TIM图片20190708203247.jpg 
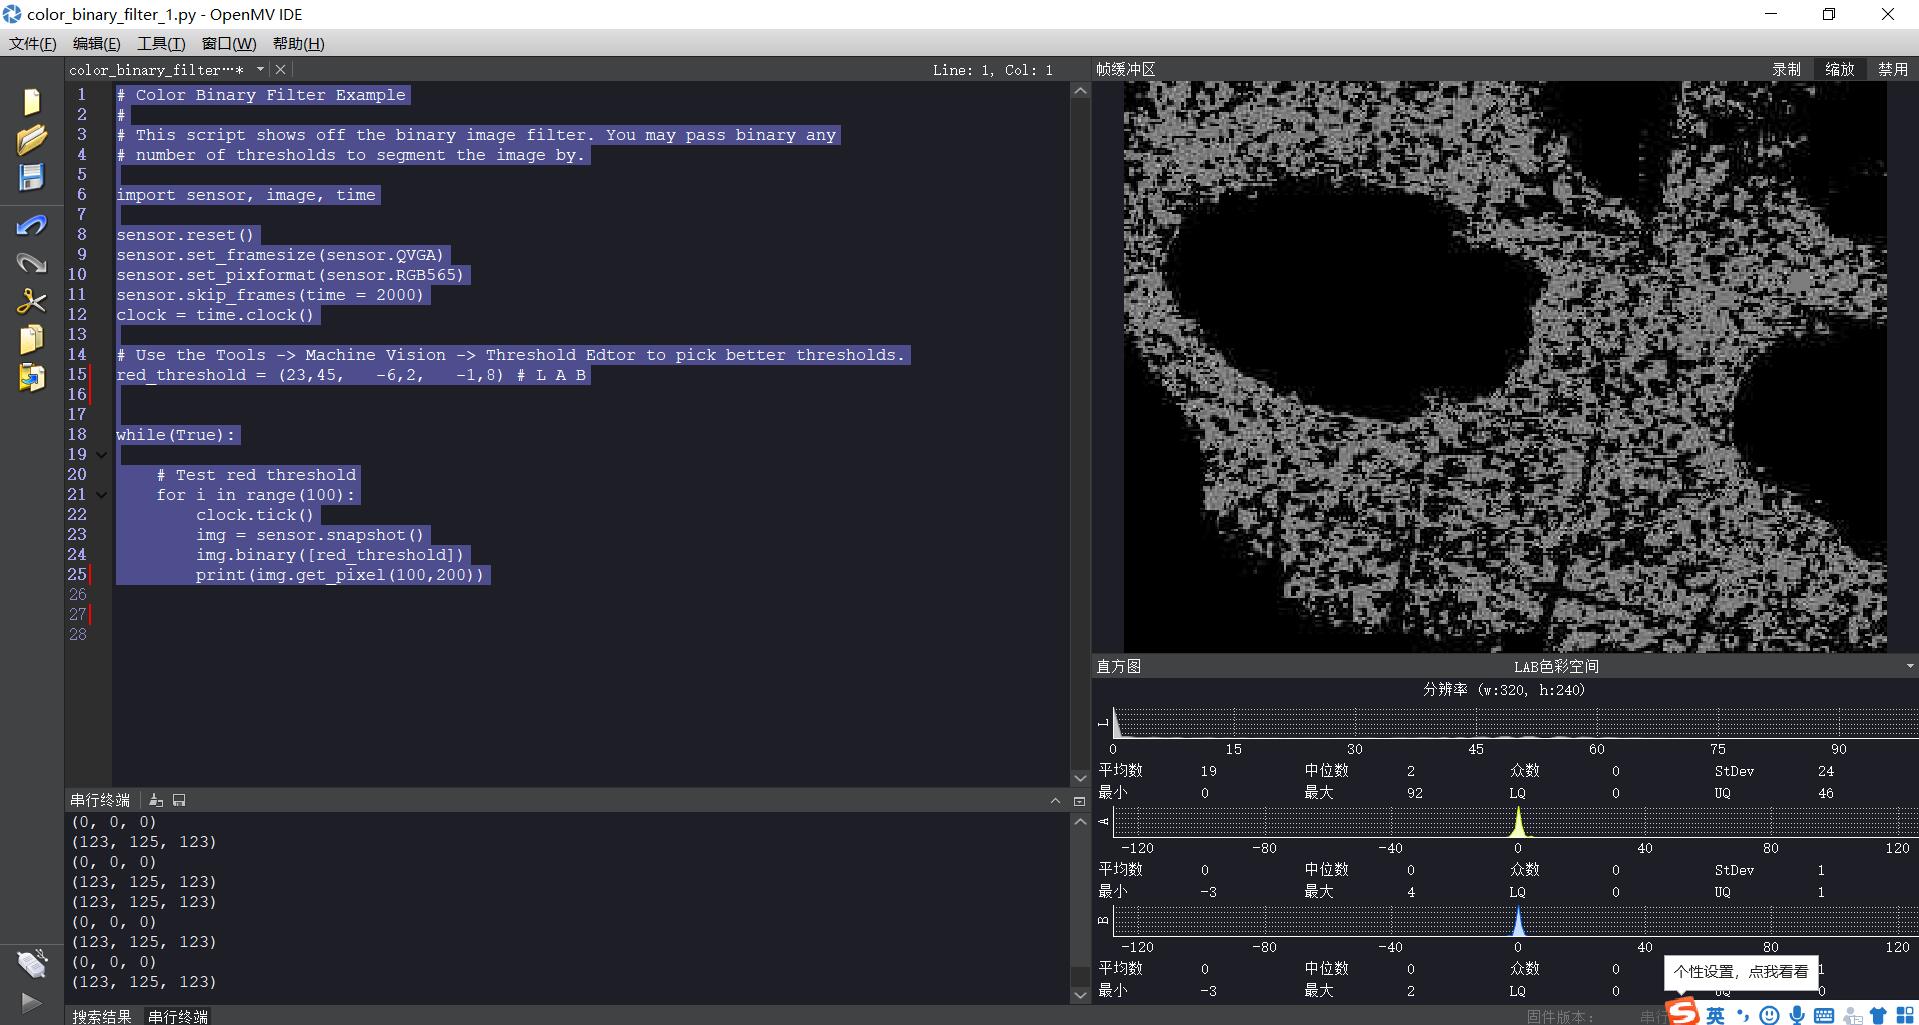
阈值二值化后得到的图像不是二值化图,利用img.get_pixel()函数后,得到的也不是二值化后的值,这是怎么回事呢

      # Color Binary Filter Example
      #
      # This script shows off the binary image filter. You may pass binary any
      # number of thresholds to segment the image by.
      
      import sensor, image, time
      
      sensor.reset()
      sensor.set_framesize(sensor.QVGA)
      sensor.set_pixformat(sensor.RGB565)
      sensor.skip_frames(time = 2000)
      clock = time.clock()
      
      # Use the Tools -> Machine Vision -> Threshold Edtor to pick better thresholds.
      red_threshold = (23,45,   -6,2,   -1,8) # L A B
      
      
      while(True):
      
          # Test red threshold
          for i in range(100):
              clock.tick()
              img = sensor.snapshot()
              img.binary([red_threshold])
              print(img.get_pixel(100,200))
      
      发布在 OpenMV Cam
      F
      fry6