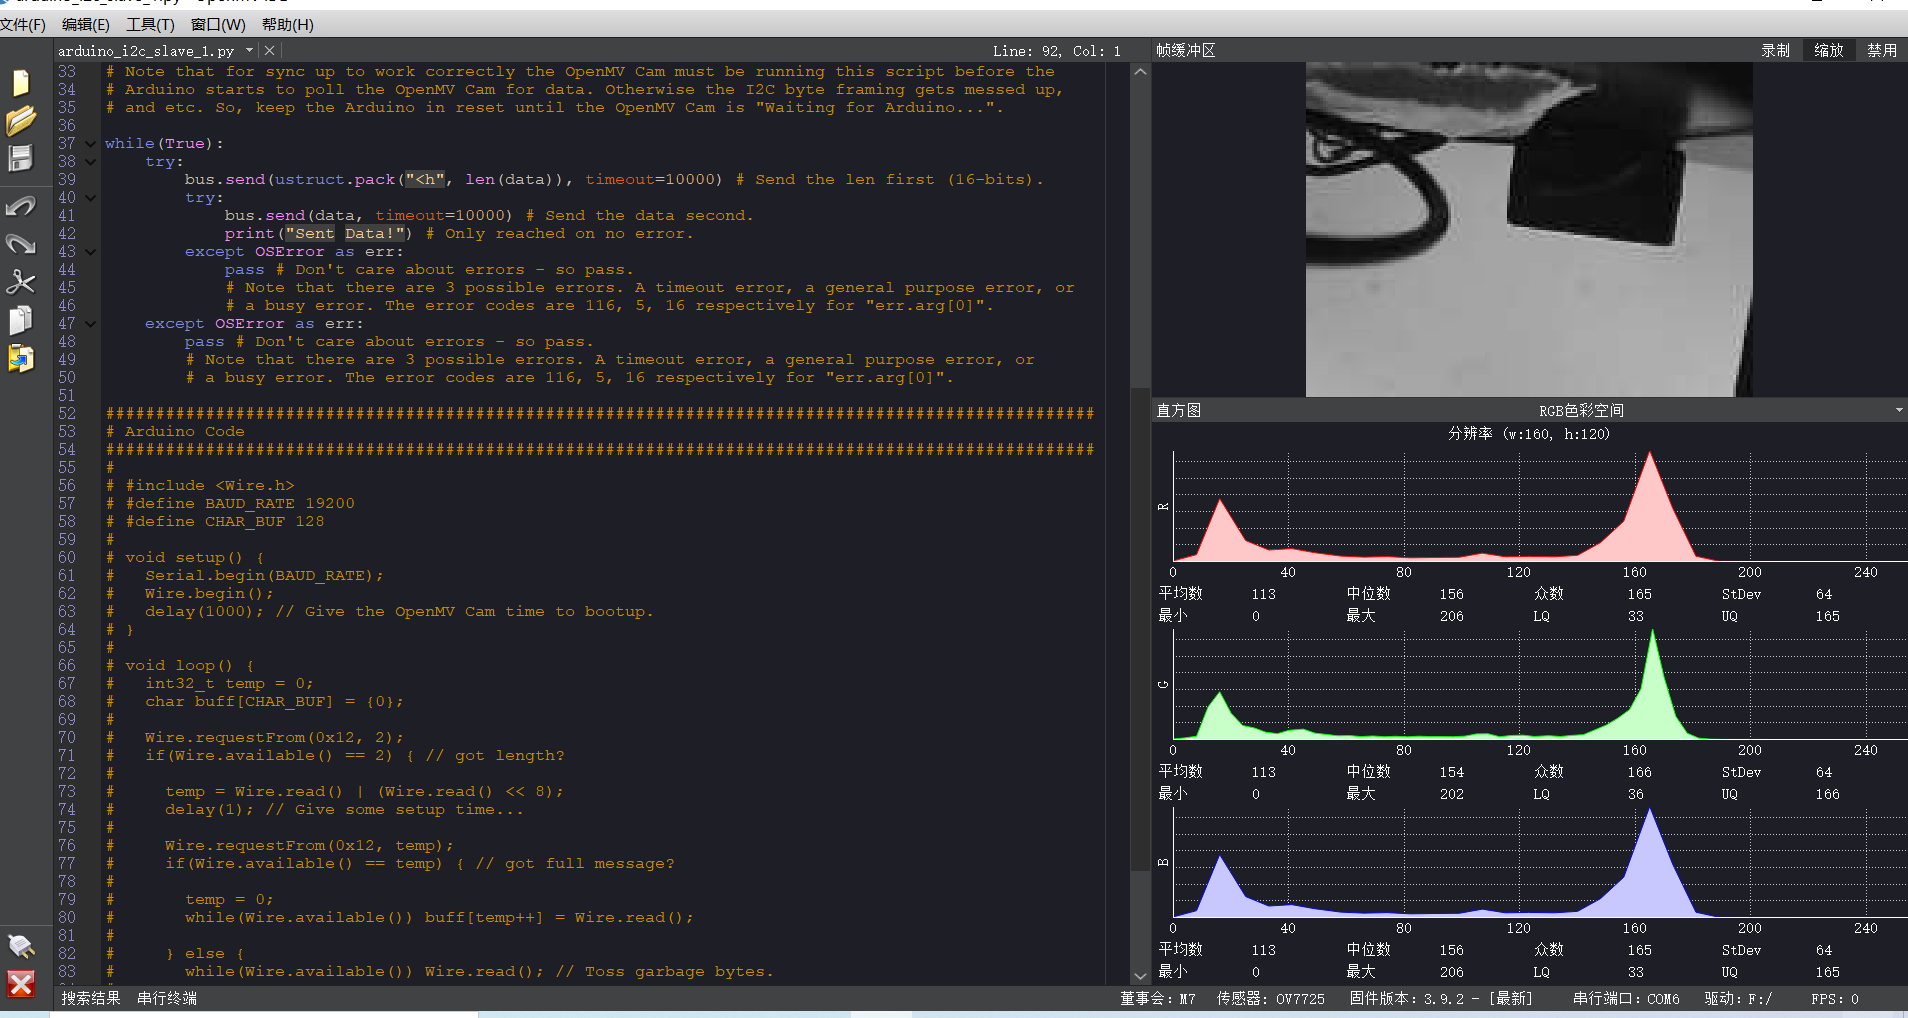
openmv每次打开只能运行一秒,然后ide录得视频就卡死不动
-
# I2C with the Arduino as the master device and the OpenMV Cam as the slave.
#
# Please wire up your OpenMV Cam to your Arduino like this:
#
# OpenMV Cam Master I2C Data  (P5) - Arduino Uno Data  (A4)
# OpenMV Cam Master I2C Clock (P4) - Arduino Uno Clock (A5)
# OpenMV Cam Ground                - Arduino Ground

import pyb, ustruct

text = "Hello World!\n"
data = ustruct.pack("<%ds" % len(text), text)
# Use "ustruct" to build data packets to send.
# "<" puts the data in the struct in little endian order.
# "%ds" puts a string in the data stream. E.g. "13s" for "Hello World!\n" (13 chars).
# See https://docs.python.org/3/library/struct.html

# READ ME!!!
#
# Please understand that when your OpenMV Cam is not the I2C master it may miss responding to
# sending data as a I2C slave no matter if you call "i2c.send()" in an interupt callback or in the
# main loop below. When this happens the Arduino will get a NAK and have to try reading from the
# OpenMV Cam again. Note that both the Arduino and OpenMV Cam I2C drivers are not good at getting
# unstuck after encountering any I2C errors. On the OpenMV Cam and Arduino you can recover by
# de-initing and then re-initing the I2C peripherals.

# The hardware I2C bus for your OpenMV Cam is always I2C bus 2.
bus = pyb.I2C(2, pyb.I2C.SLAVE, addr=0x12)
bus.deinit() # Fully reset I2C device...
bus = pyb.I2C(2, pyb.I2C.SLAVE, addr=0x12)
print("Waiting for Arduino...")

# Note that for sync up to work correctly the OpenMV Cam must be running this script before the
# Arduino starts to poll the OpenMV Cam for data. Otherwise the I2C byte framing gets messed up,
# and etc. So, keep the Arduino in reset until the OpenMV Cam is "Waiting for Arduino...".

while(True):
    try:
        bus.send(ustruct.pack("<h", len(data)), timeout=10000) # Send the len first (16-bits).
        try:
            bus.send(data, timeout=10000) # Send the data second.
            print("Sent Data!") # Only reached on no error.
        except OSError as err:
            pass # Don't care about errors - so pass.
            # Note that there are 3 possible errors. A timeout error, a general purpose error, or
            # a busy error. The error codes are 116, 5, 16 respectively for "err.arg[0]".
    except OSError as err:
        pass # Don't care about errors - so pass.
        # Note that there are 3 possible errors. A timeout error, a general purpose error, or
        # a busy error. The error codes are 116, 5, 16 respectively for "err.arg[0]".

###################################################################################################
# Arduino Code
###################################################################################################
#
# #include <Wire.h>
# #define BAUD_RATE 19200
# #define CHAR_BUF 128
#
# void setup() {
#   Serial.begin(BAUD_RATE);
#   Wire.begin();
#   delay(1000); // Give the OpenMV Cam time to bootup.
# }
#
# void loop() {
#   int32_t temp = 0;
#   char buff[CHAR_BUF] = {0};
#
#   Wire.requestFrom(0x12, 2);
#   if(Wire.available() == 2) { // got length?
#
#     temp = Wire.read() | (Wire.read() << 8);
#     delay(1); // Give some setup time...
#
#     Wire.requestFrom(0x12, temp);
#     if(Wire.available() == temp) { // got full message?
#
#       temp = 0;
#       while(Wire.available()) buff[temp++] = Wire.read();
#
#     } else {
#       while(Wire.available()) Wire.read(); // Toss garbage bytes.
#     }
#   } else {
#     while(Wire.available()) Wire.read(); // Toss garbage bytes.
#   }
#
#   Serial.print(buff);
#   delay(1); // Don't loop to quickly.
# }
-
你这个代码,需要arduino配合的。
而且代码没有使用摄像头。